Interface
Blueprint
- Create a new Agent Builder project
- Clear the demo agent that’s automatically created
- Build the agent’s UI to accept meeting notes and select a summary format
- Build the agent’s blueprint to summarize the meeting notes and display the result in the UI
- Preview the agent
- Deploy the agent
Choose your development approach
This quickstart shows the cloud development workflow. If you prefer to develop locally with your editor of choice, see Develop agents locally for the local development workflow. You can follow the same steps here to build and deploy the quickstart agent locally once you’ve initialized a local project.Create a new Agent Builder project
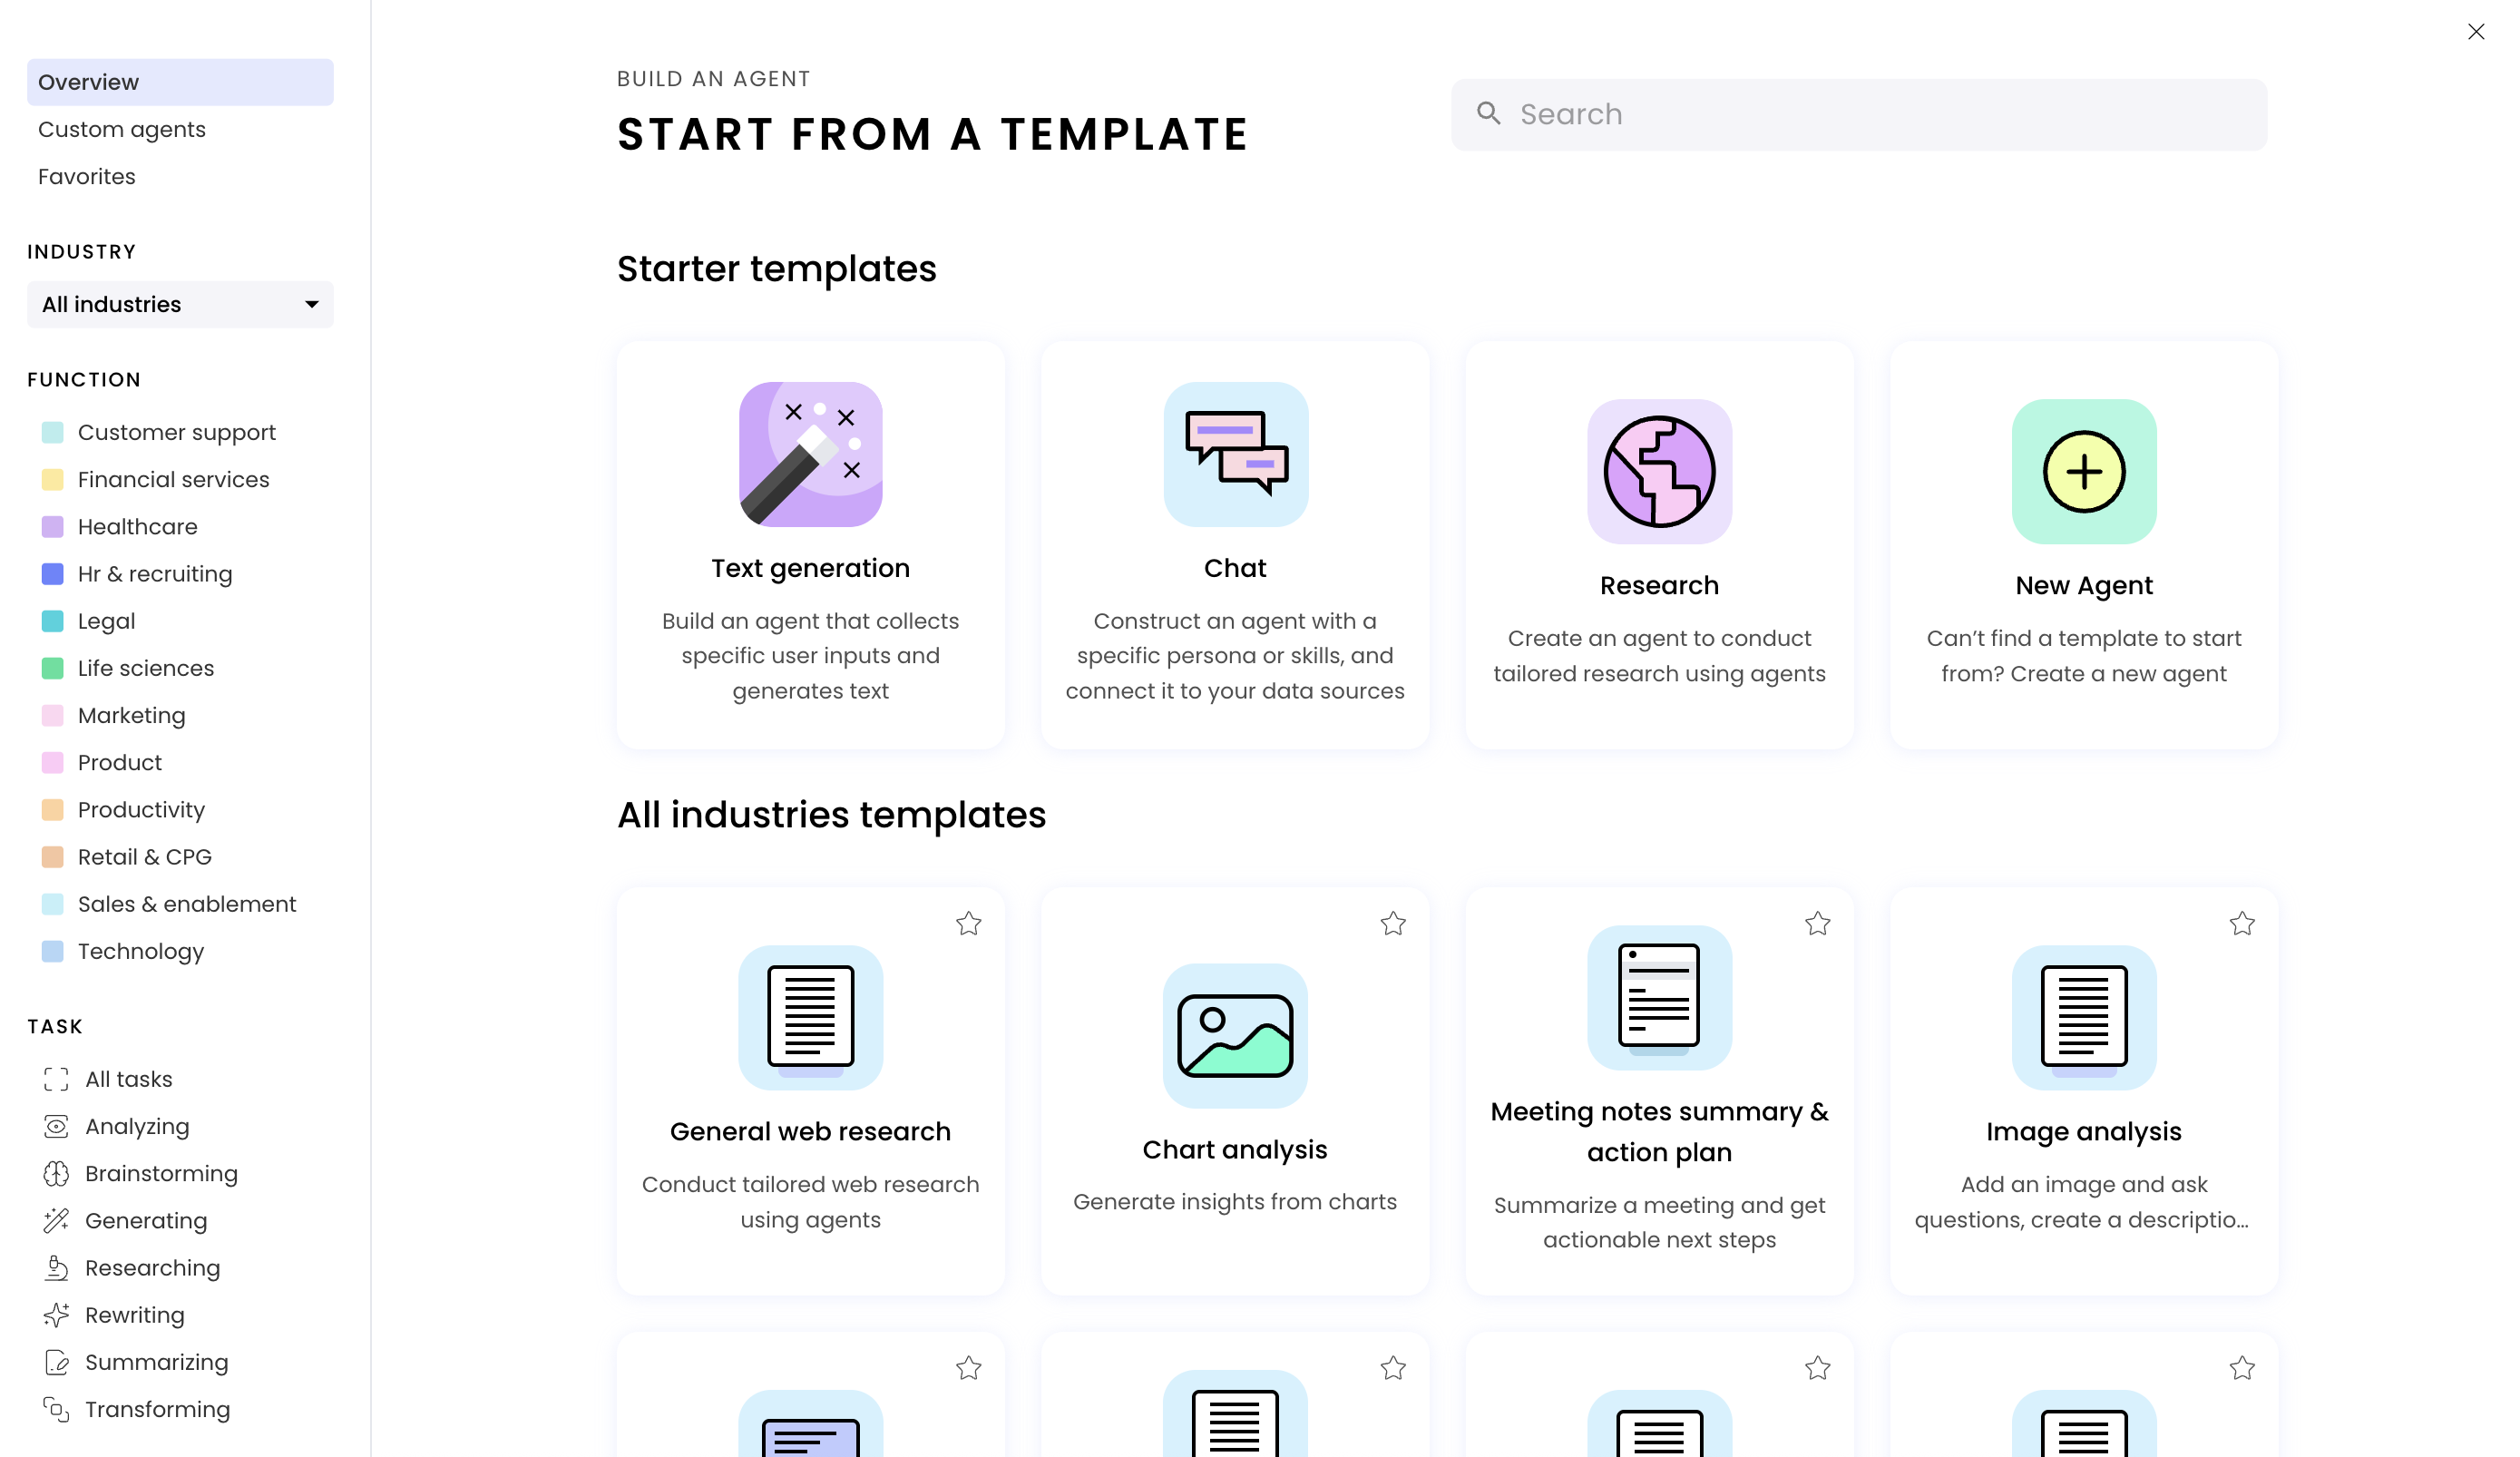
To create an agent with Agent Builder, log in to AI Studio and follow these steps:Click the Build an agent button
Create a new agent
Return to the Agent Builder interface

Clear the demo agent
When you create a new Agent Builder project, a demo agent is automatically created for you. You can remove the demo agent’s components and blueprints to start building your own agent.Clear the UI
Delete the top-level Page component from the Component Tree
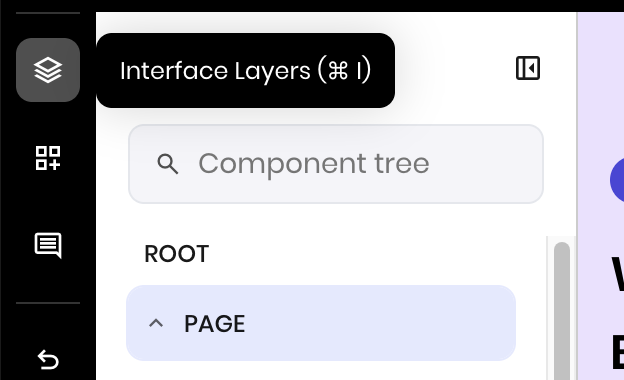
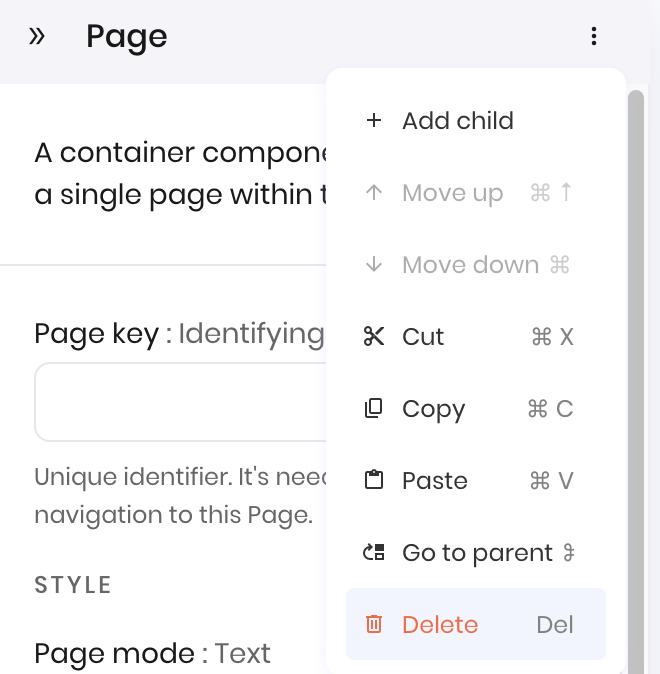
Add a new Page

Clear the blueprint
Delete the first component under Blueprints Root
BUTTON@CLICK_1.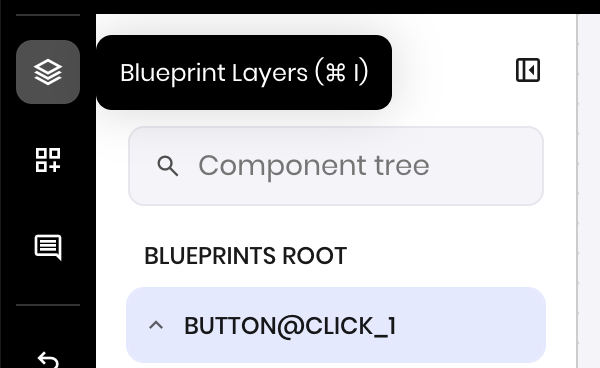
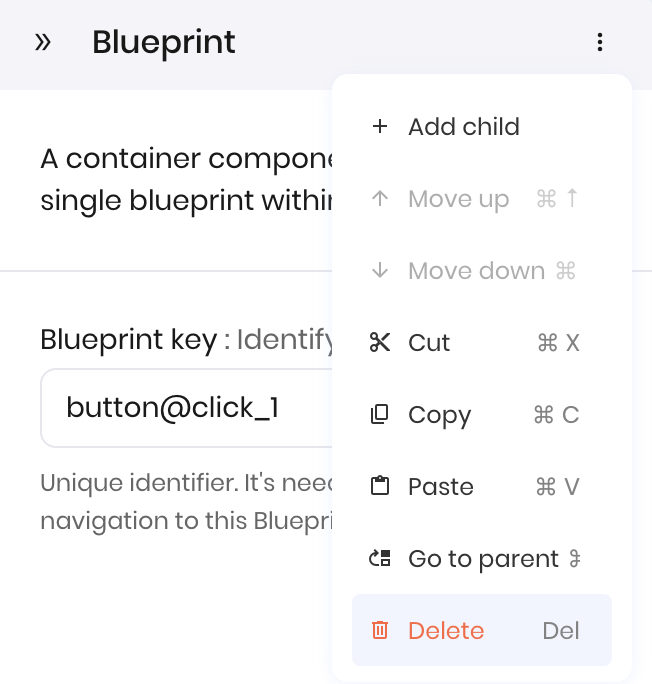
Add a new Blueprint

Build the UI
Now that you have an empty page, build the UI for the new agent. This agent has the following components:- A Text area for users to paste their meeting notes
- A Select input for users to select the summary format they want
- A Button to start the summarization process
- A Message component to display a loading message while summarization is in progress
- A Text component to display the summary
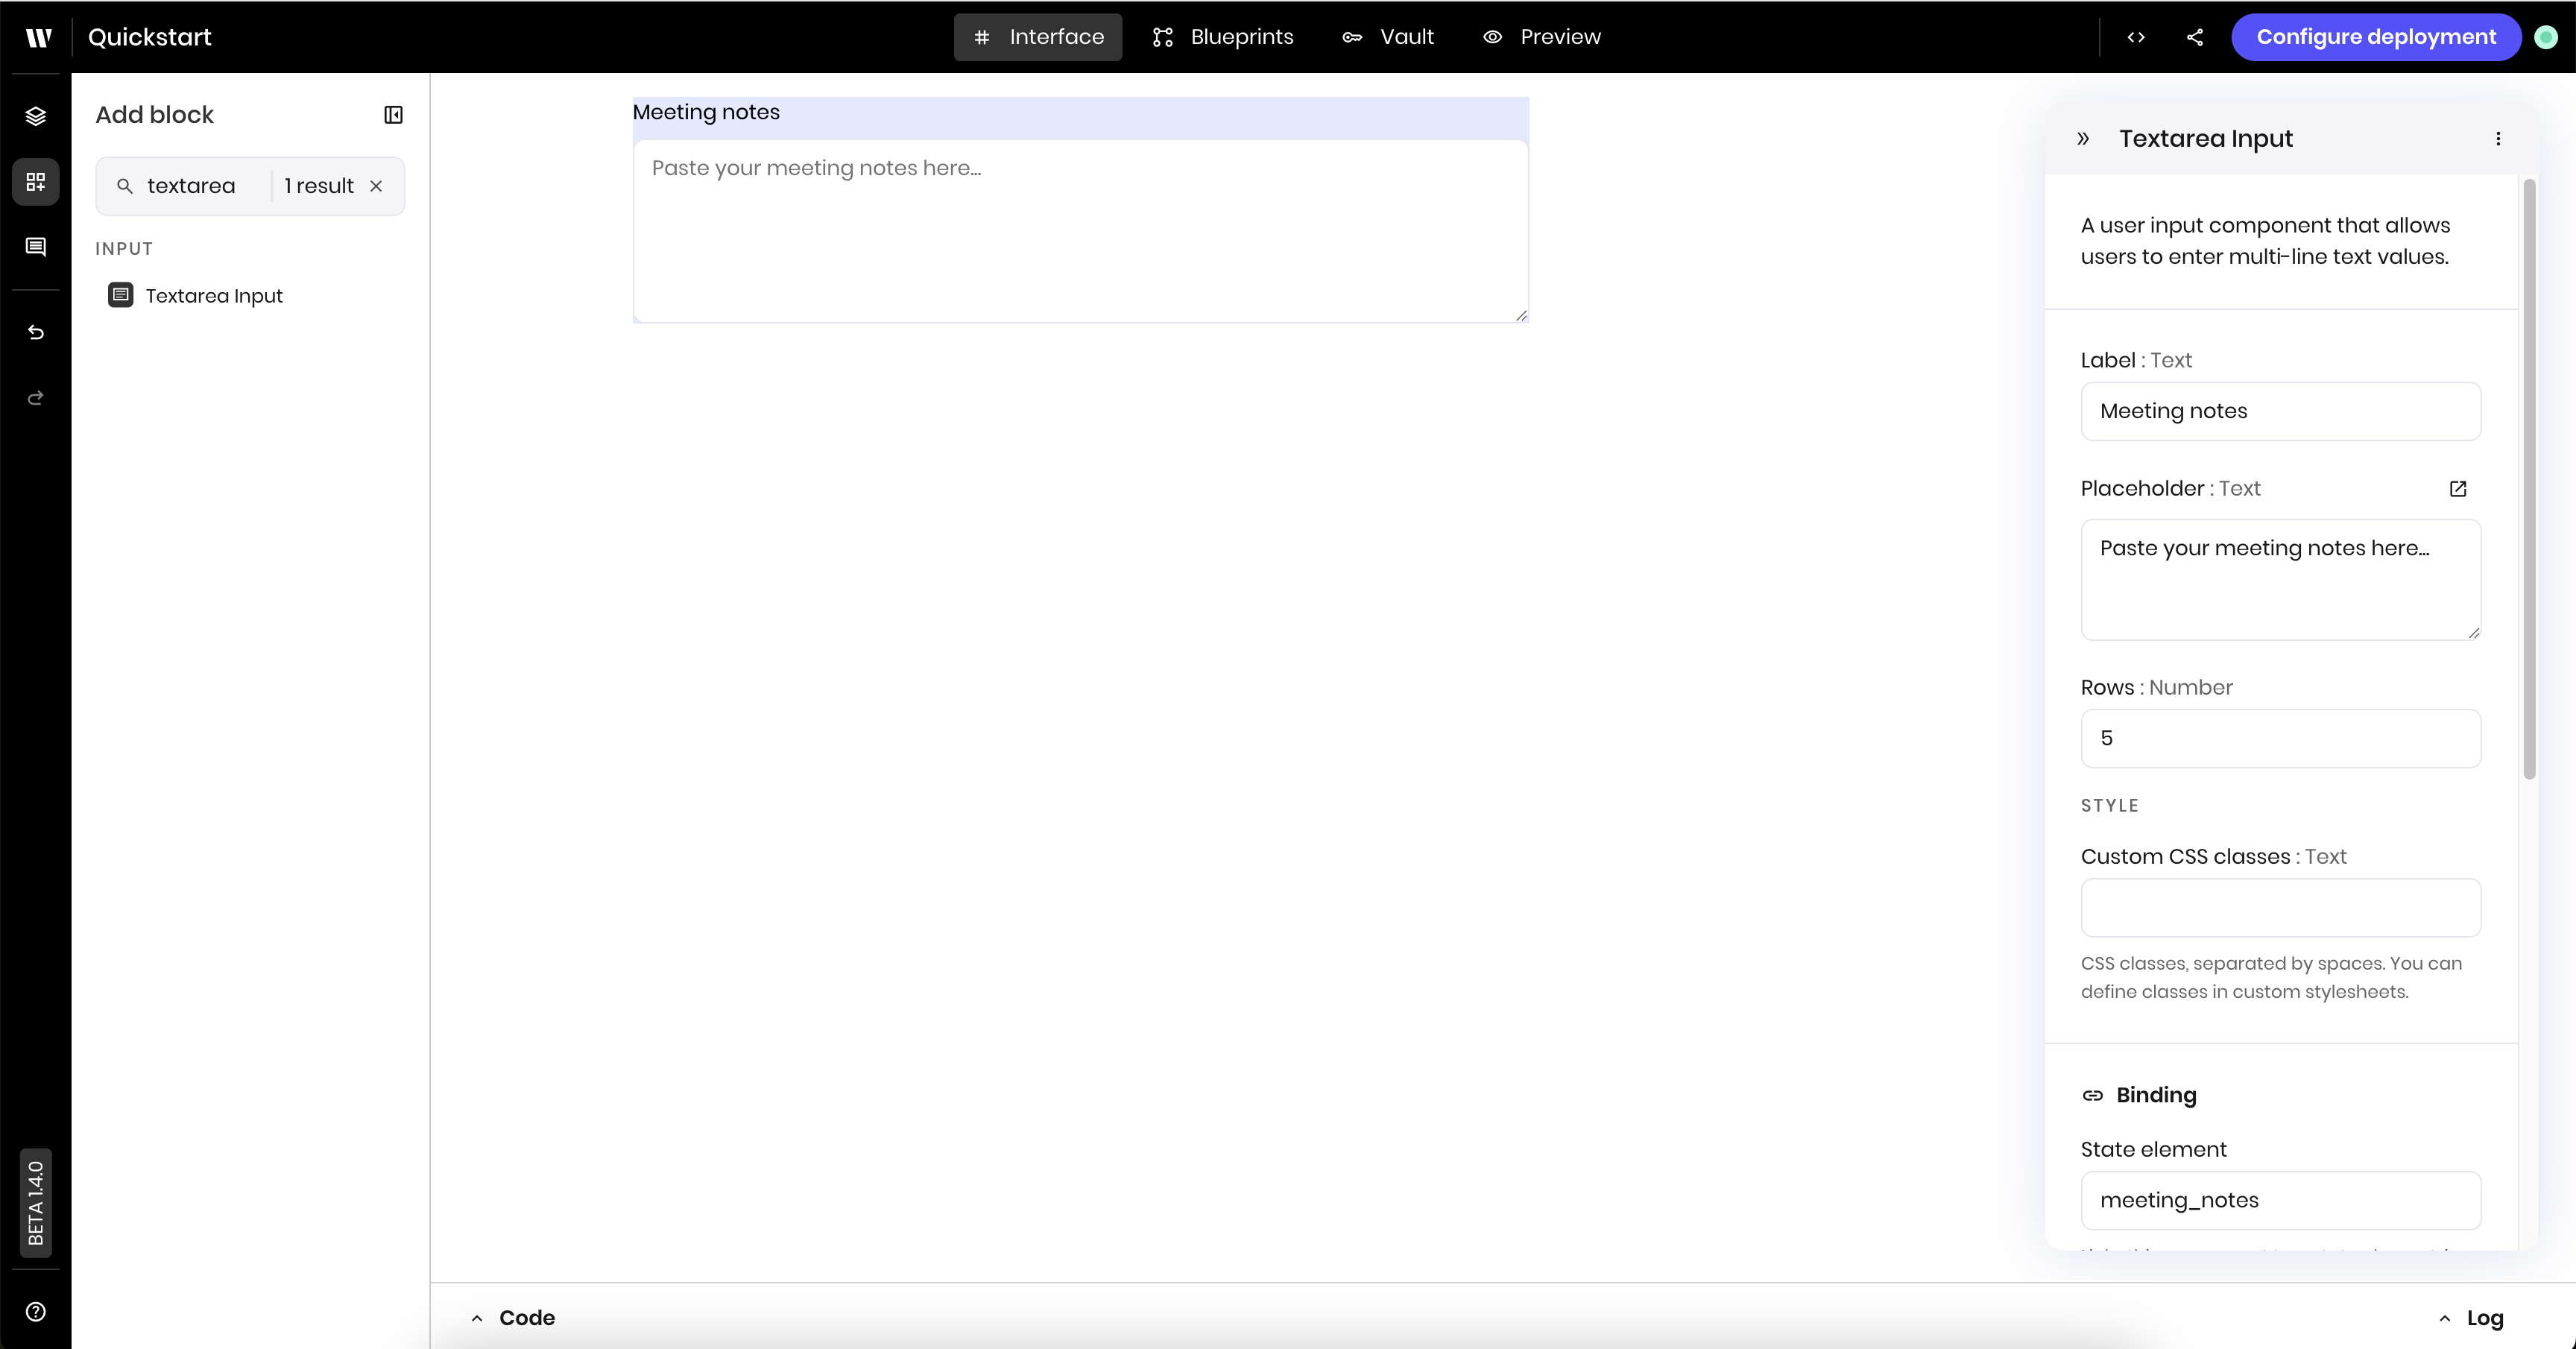
Add the Text area Input
The Text area Input component is where users can paste their meeting notes.Add the Text area Input component to the canvas
Edit the Text area Input component settings
- Label:
Meeting notes - Placeholder:
Paste your meeting notes here. - Link variable under Binding:
meeting_notes. This allows the blueprint to access the meeting notes content whenever the user updates it.
Add the select input
The Select input component is where users can choose what type of summary they want via a dropdown.Add the select input component to the canvas
Edit the select input component settings
-
Label:
Summary format -
Options: Add the options you want to display in the dropdown. For this example, add the following options, with the key and the value both set to the option name.
Executive briefAction items onlyFull summaryKey decisions
-
Link variable under Binding:
summary_format. This allows the blueprint to access the selected format whenever the user changes it.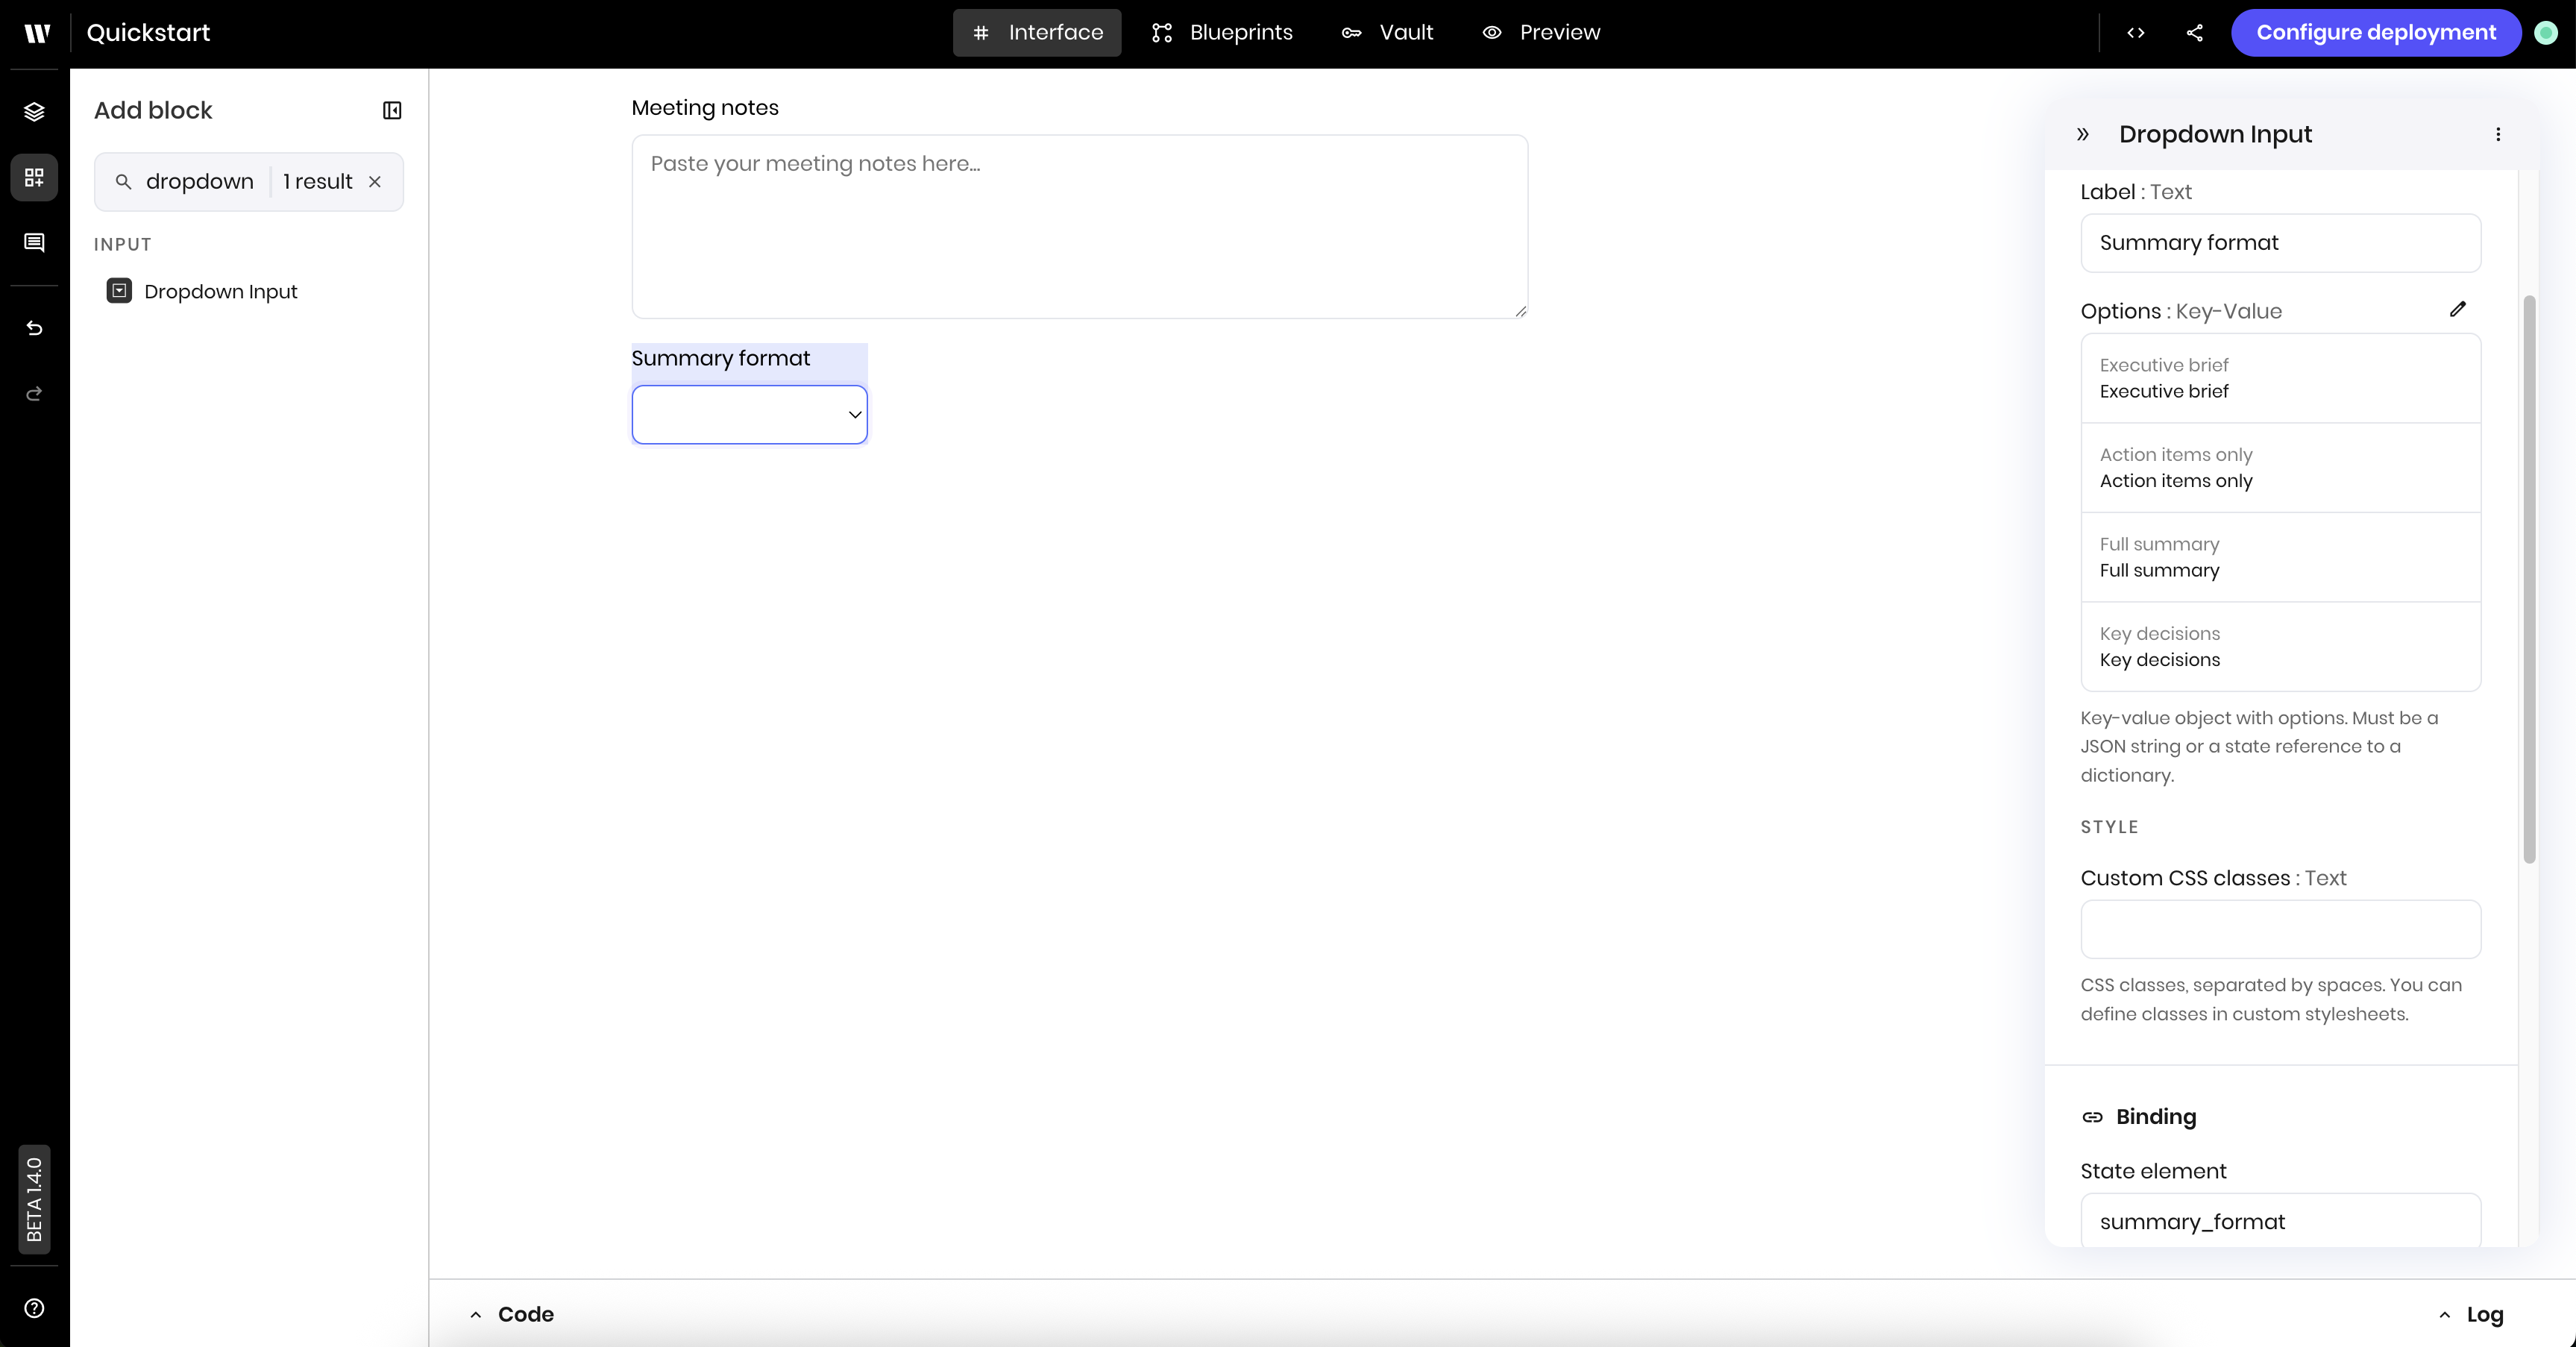
Add the summarize button
Next, add a Button component to the UI. In a later step, you’ll connect this button to the blueprint that triggers the summarization process.Add the button component to the canvas
Edit the button component settings
-
Text:
Generate summary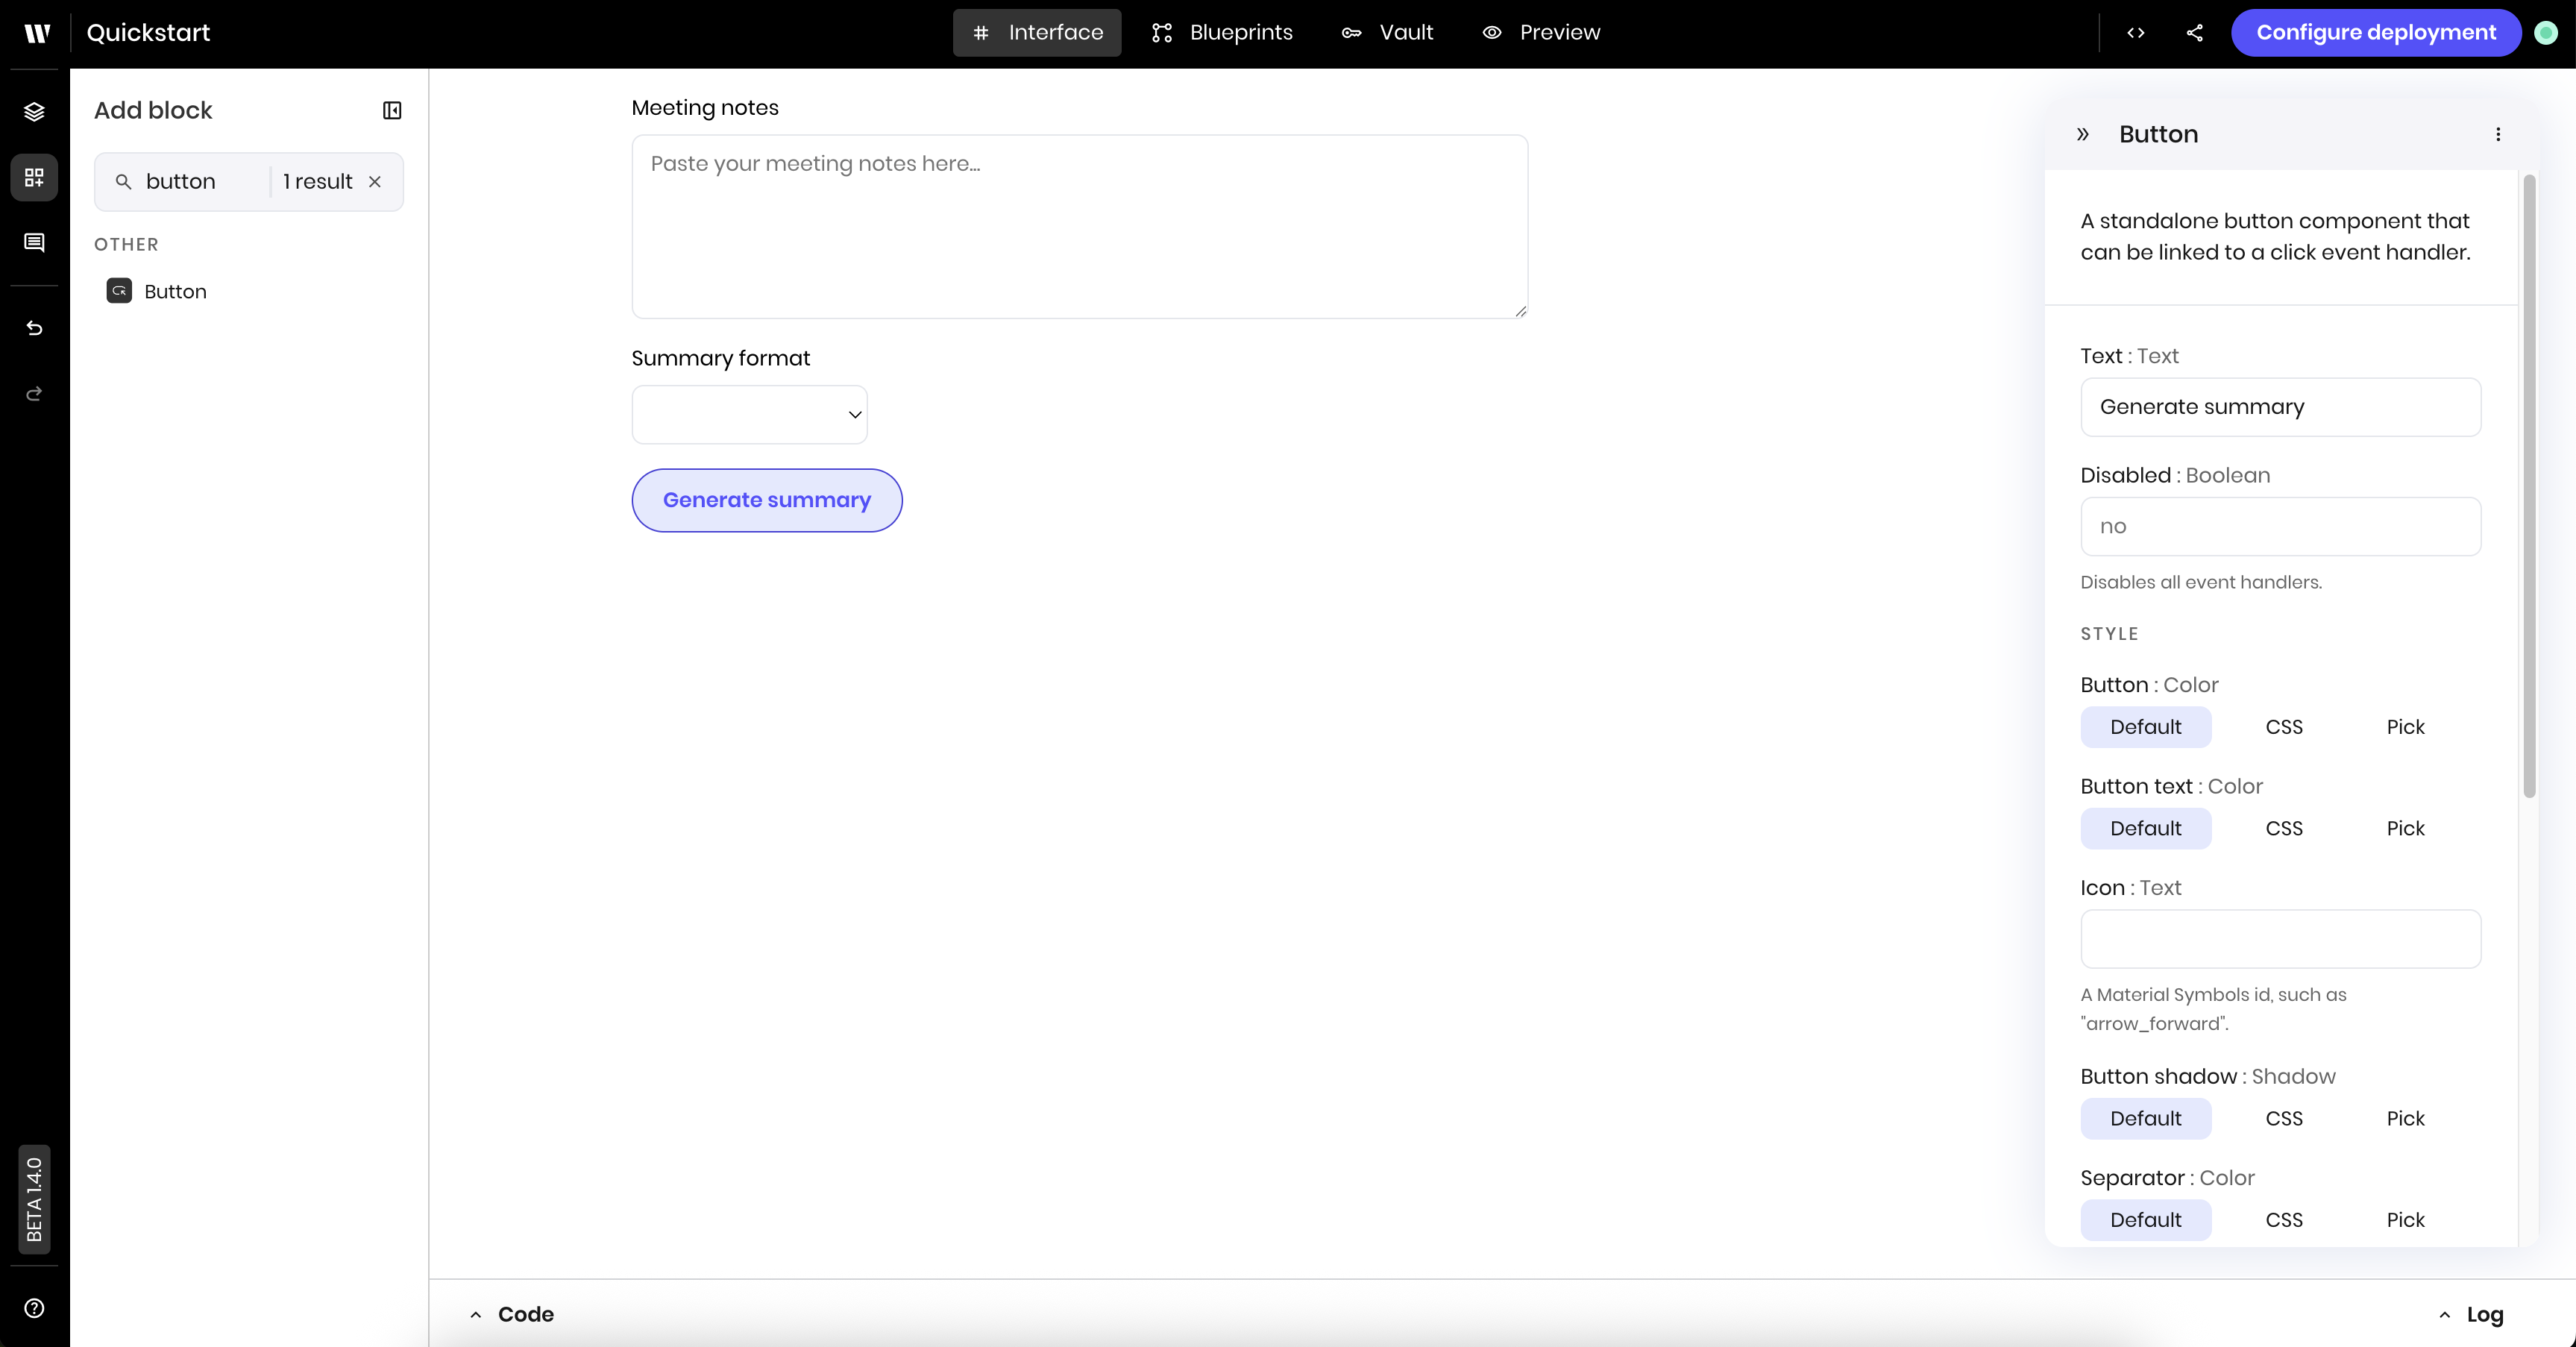
Add the progress message component
The Message component displays messages to users. Here, you use it to display a loading message while summarization is in progress.Add the message component to the canvas
Edit the message component settings
-
Message:
@{status}. This reads from thestatusstate variable, which the blueprint will set to indicate the progress of the summarization.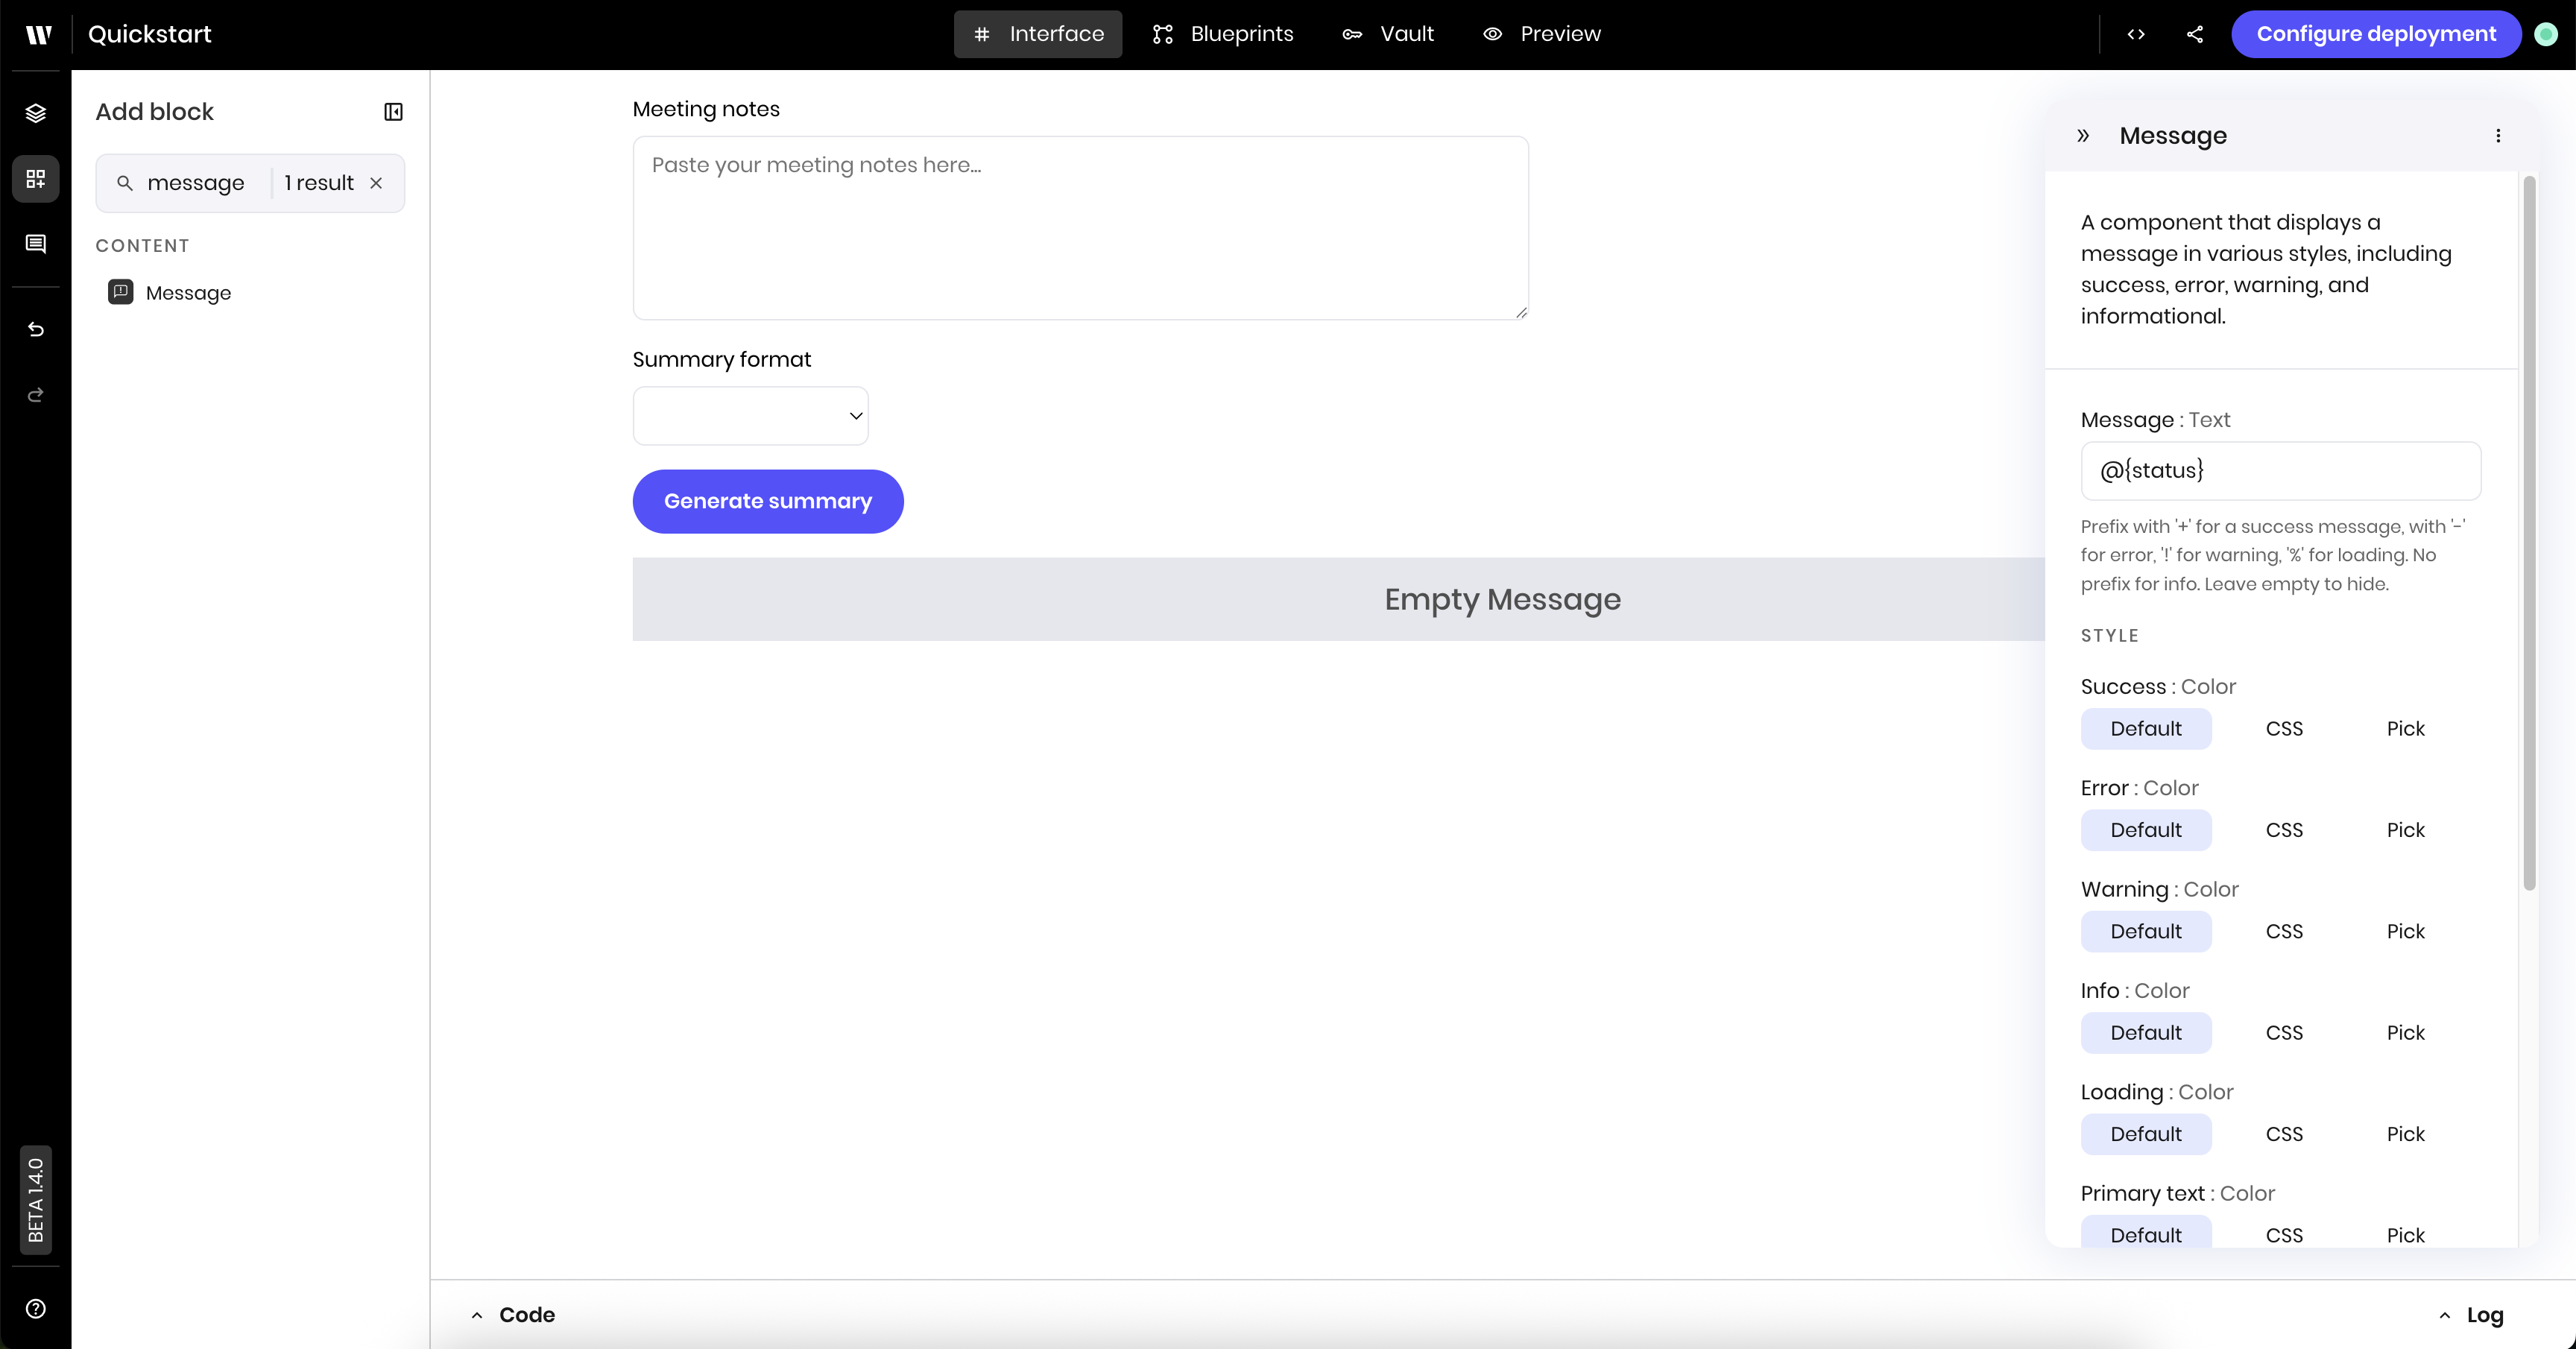
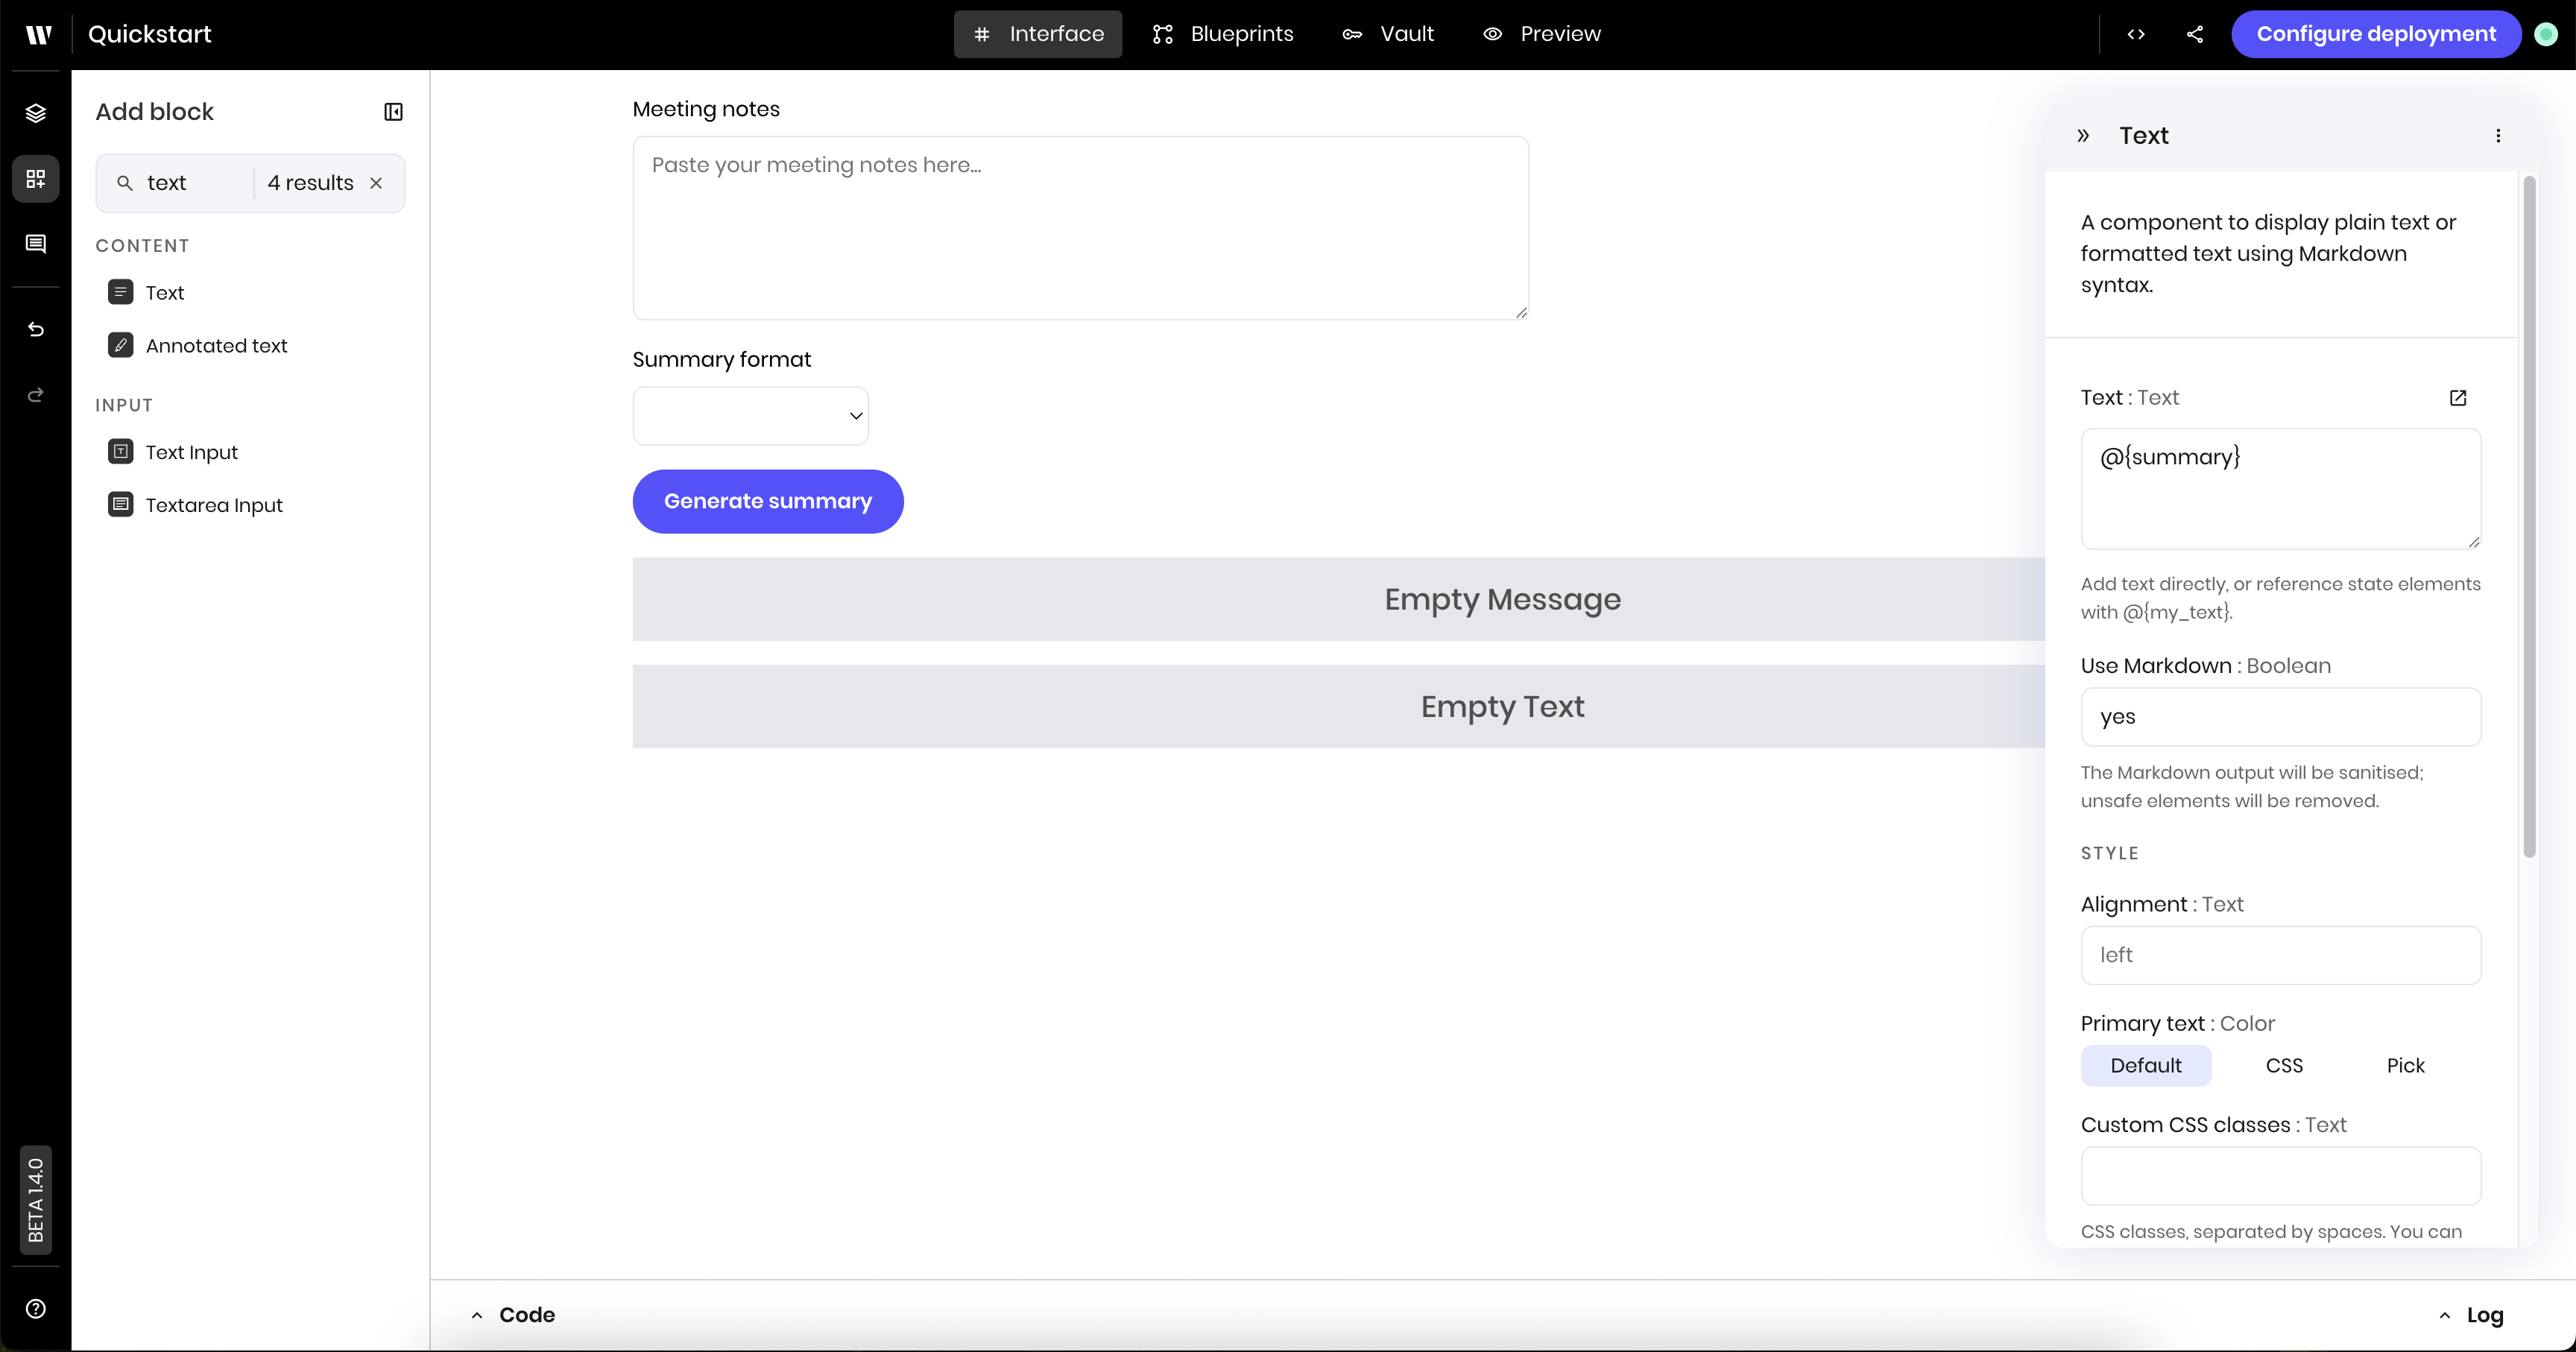
Add the summary text component
The Text component is where the blueprint displays the meeting summary when it’s complete.Add the text component to the canvas
Edit the text component settings
-
Text:
@{summary}. This displays the value of thesummarystate variable, which the blueprint sets to the meeting summary. -
Use Markdown: Select Yes. This allows you to use markdown formatting in the text.
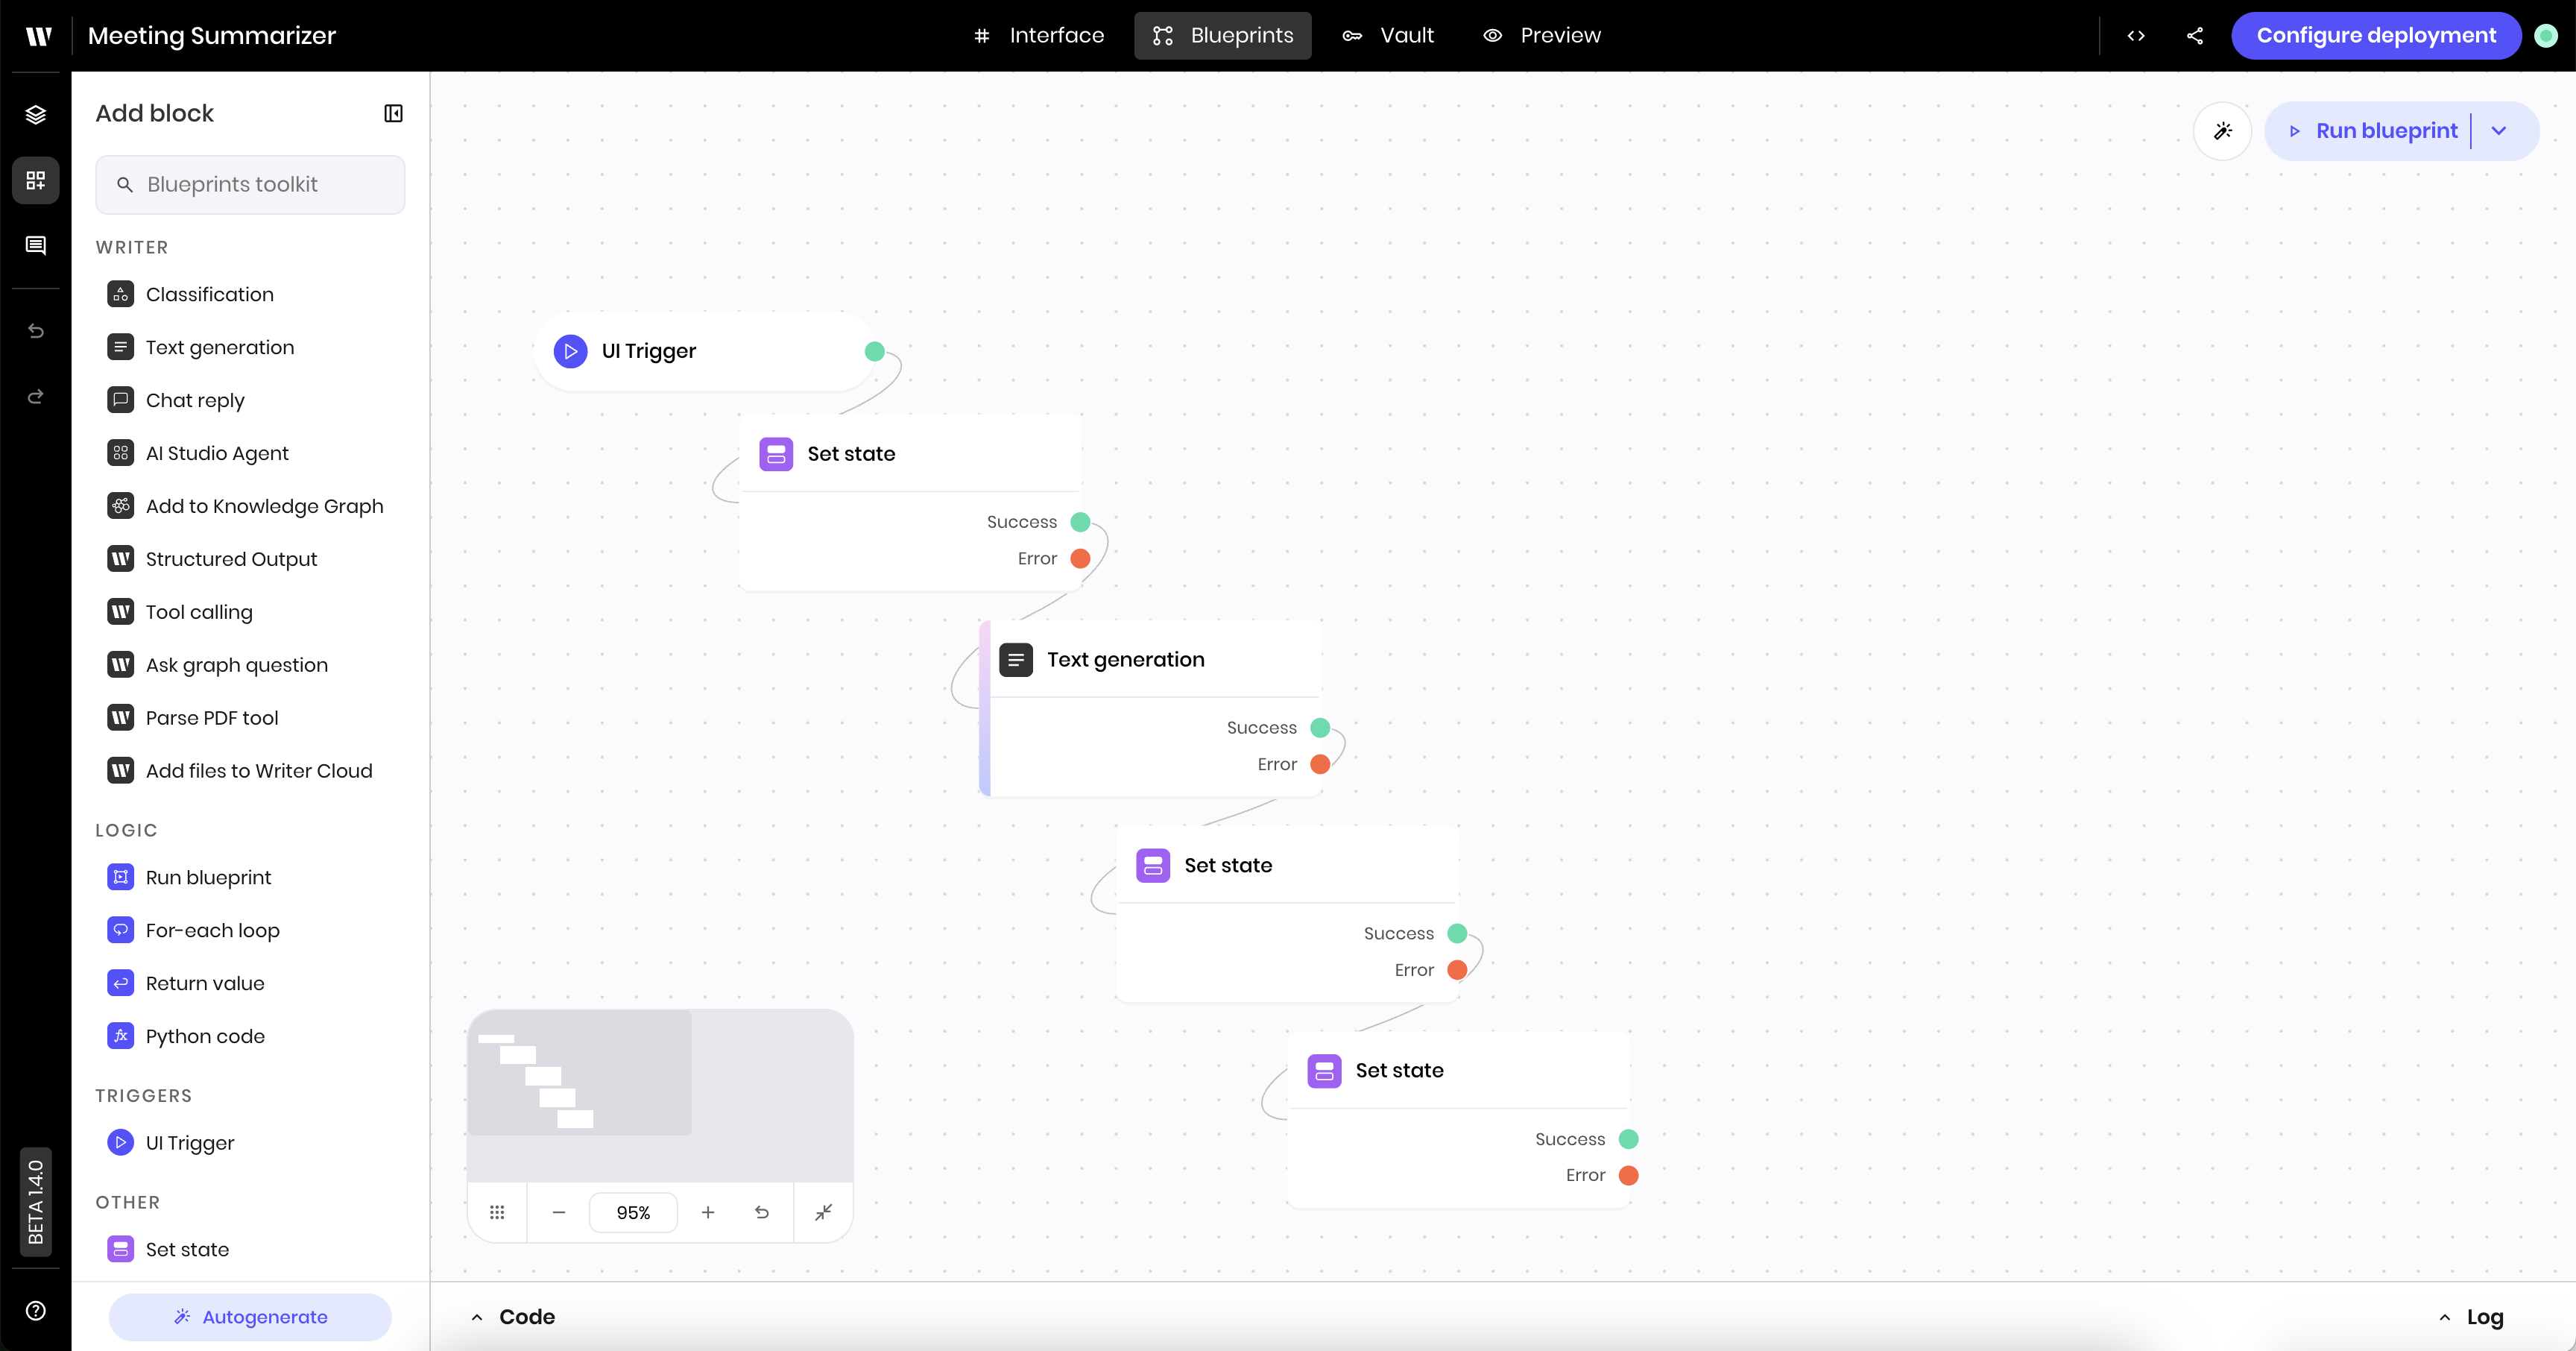
Build the blueprint
With the UI built, you can now build the blueprint for the new agent. The blueprint has the following logic:- The UI trigger block triggers the blueprint when the user clicks the Generate summary button in the UI.
- The Set state block sets the
statusstate variable toSummarizingso that theMessagecomponent in the UI can display it. - The Text generation block generates a summary of the meeting notes based on the selected format.
- The Set state block sets the
summarystate variable to the generated summary so that theTextcomponent in the UI can display it. - The Set state block sets the
statusstate variable back to an empty string to clear the loading message from the UI.
Add the UI trigger
The UI trigger block triggers the blueprint when the user clicks the Generate summary button in the UI.Add the UI trigger block to the canvas
Edit the UI trigger block settings
-
Component ID: Select the button component (it should show as
Generate summary) -
Event type:
wf-click. This triggers the blueprint when the user clicks the Generate summary button in the UI.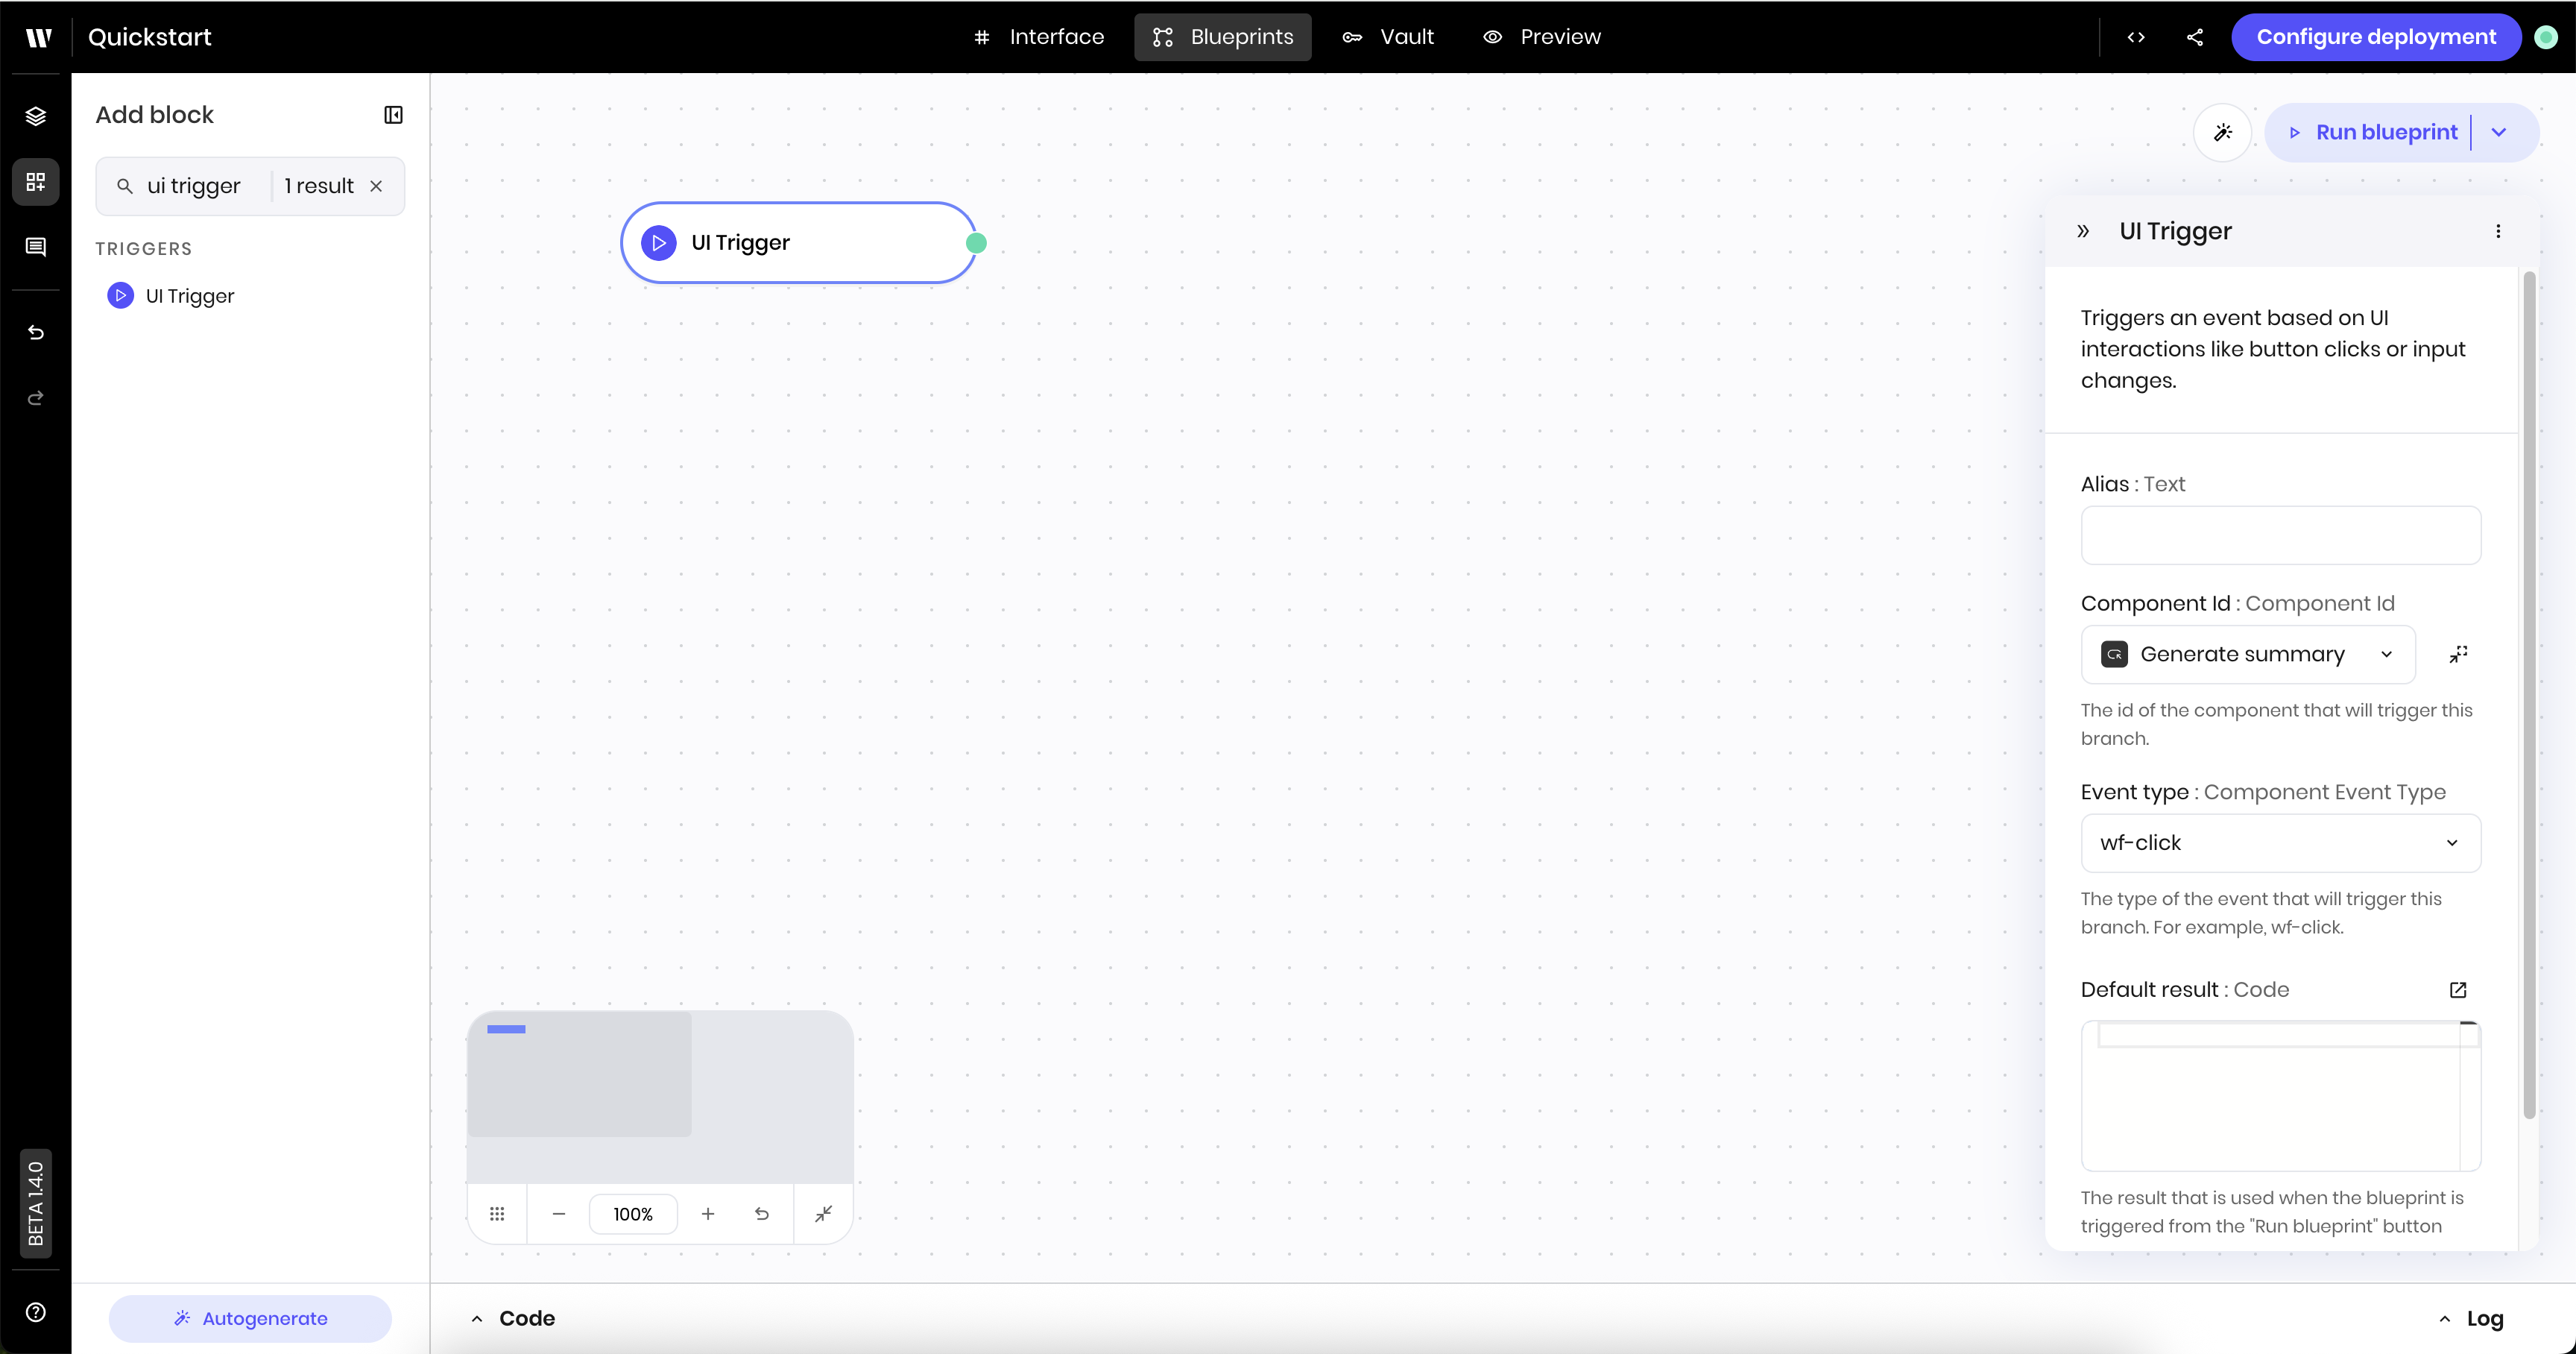
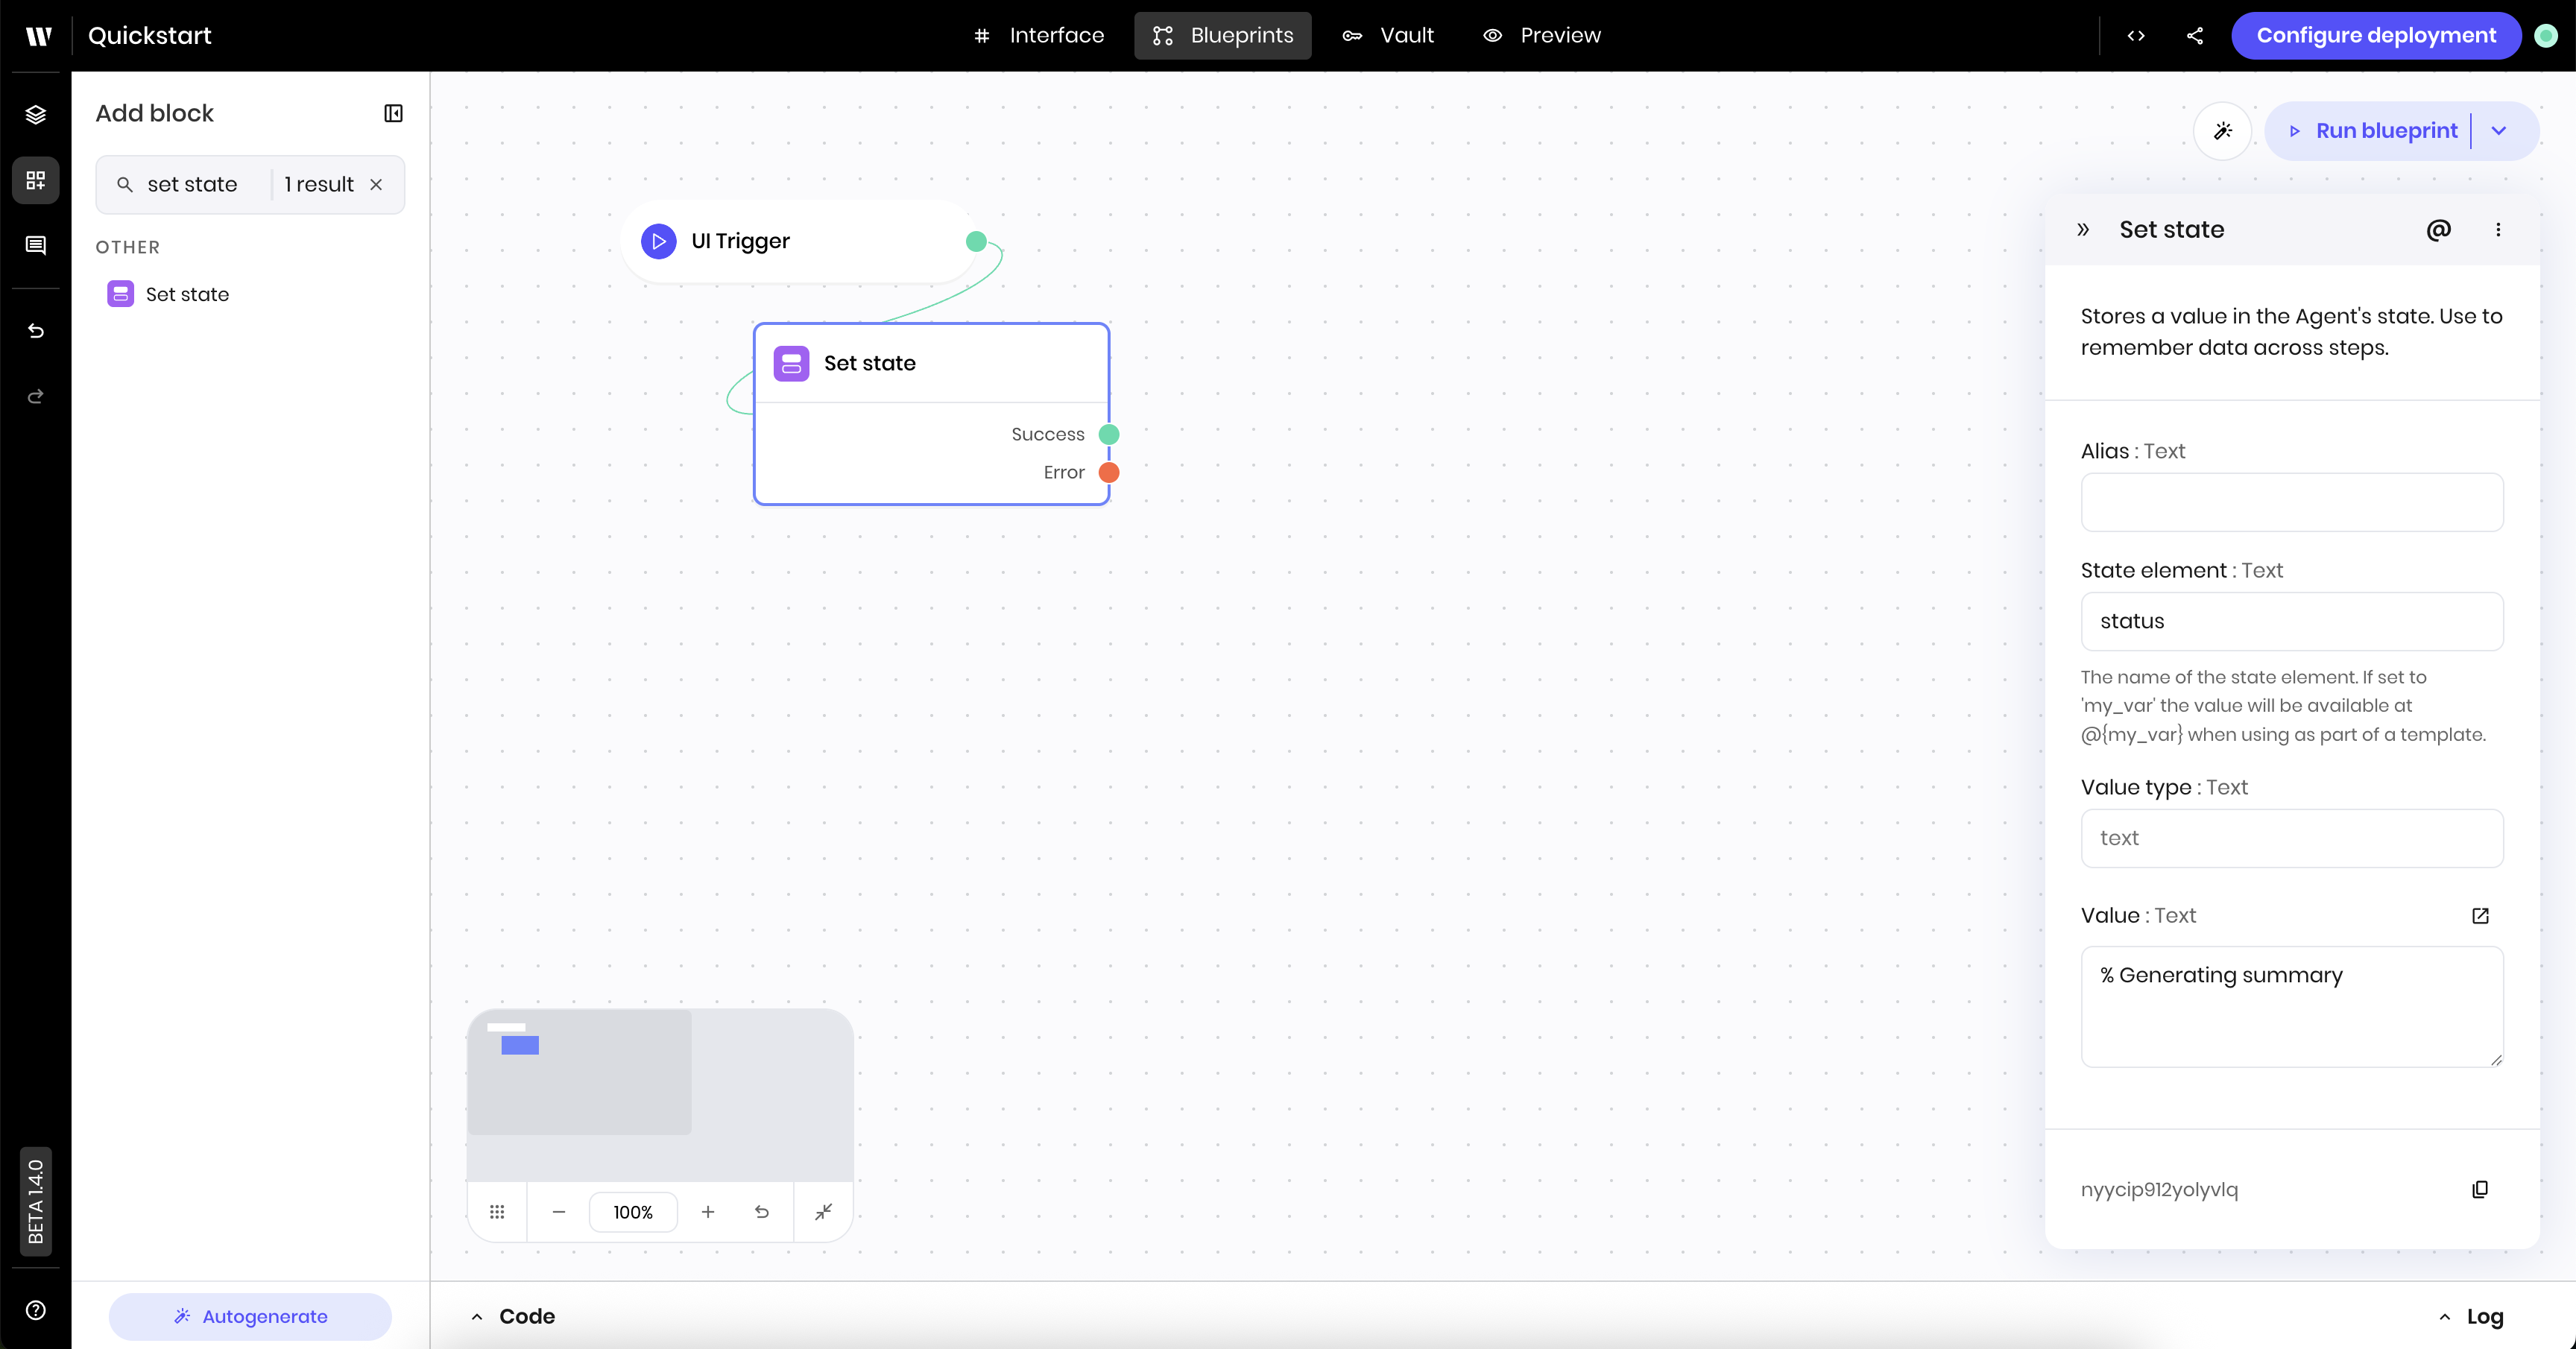
Add the set state block for the progress message
The Set state block sets thestatus state variable to Summarizing so that the Message component in the UI can display it.
Add the set state block to the canvas
Edit the set state block settings
- Link variable:
status - Value:
% Generating summary. The%symbol indicates that the message should display a dynamic loading symbol.
Message component displays the loading message that you set in the Set state block.

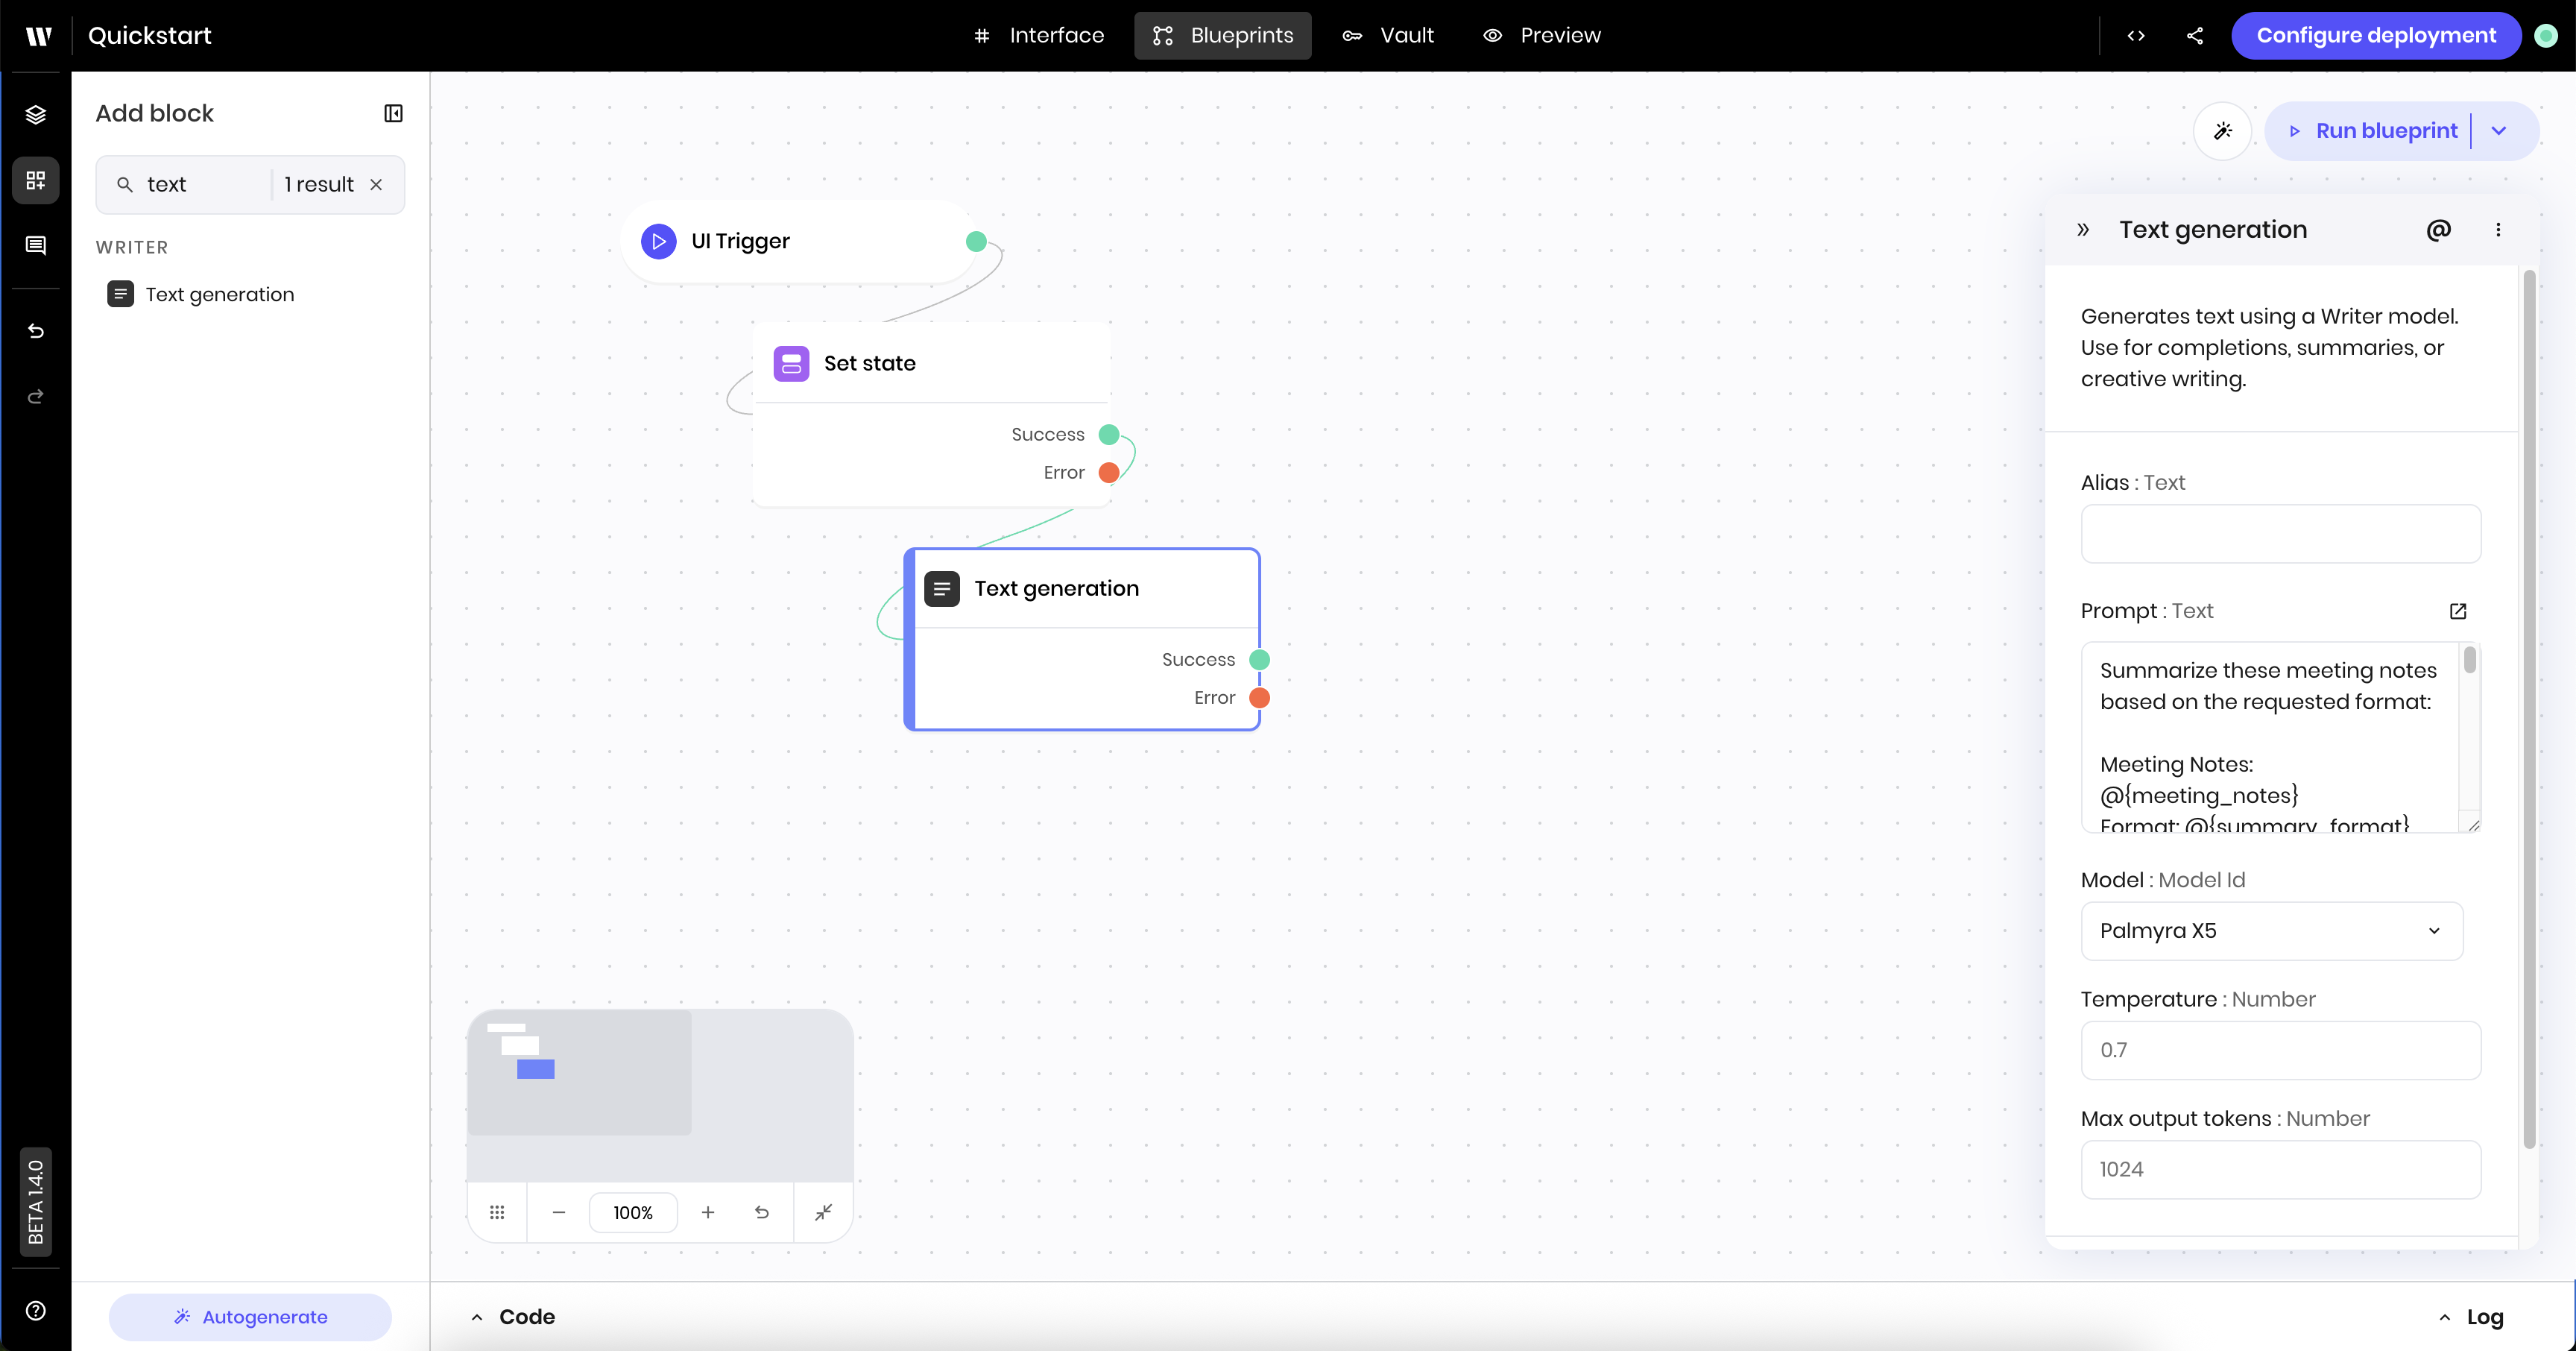
Add the text generation block
The Text generation block generates a summary of the meeting notes based on the selected format using Palmyra LLMs.Add the text generation block to the canvas
Edit the text generation block settings
- Prompt: Enter the following prompt. This prompt references the
meeting_notesandsummary_formatstate variables, which you set up in the UI. It instructs the agent to summarize the meeting notes and defines the different formats.
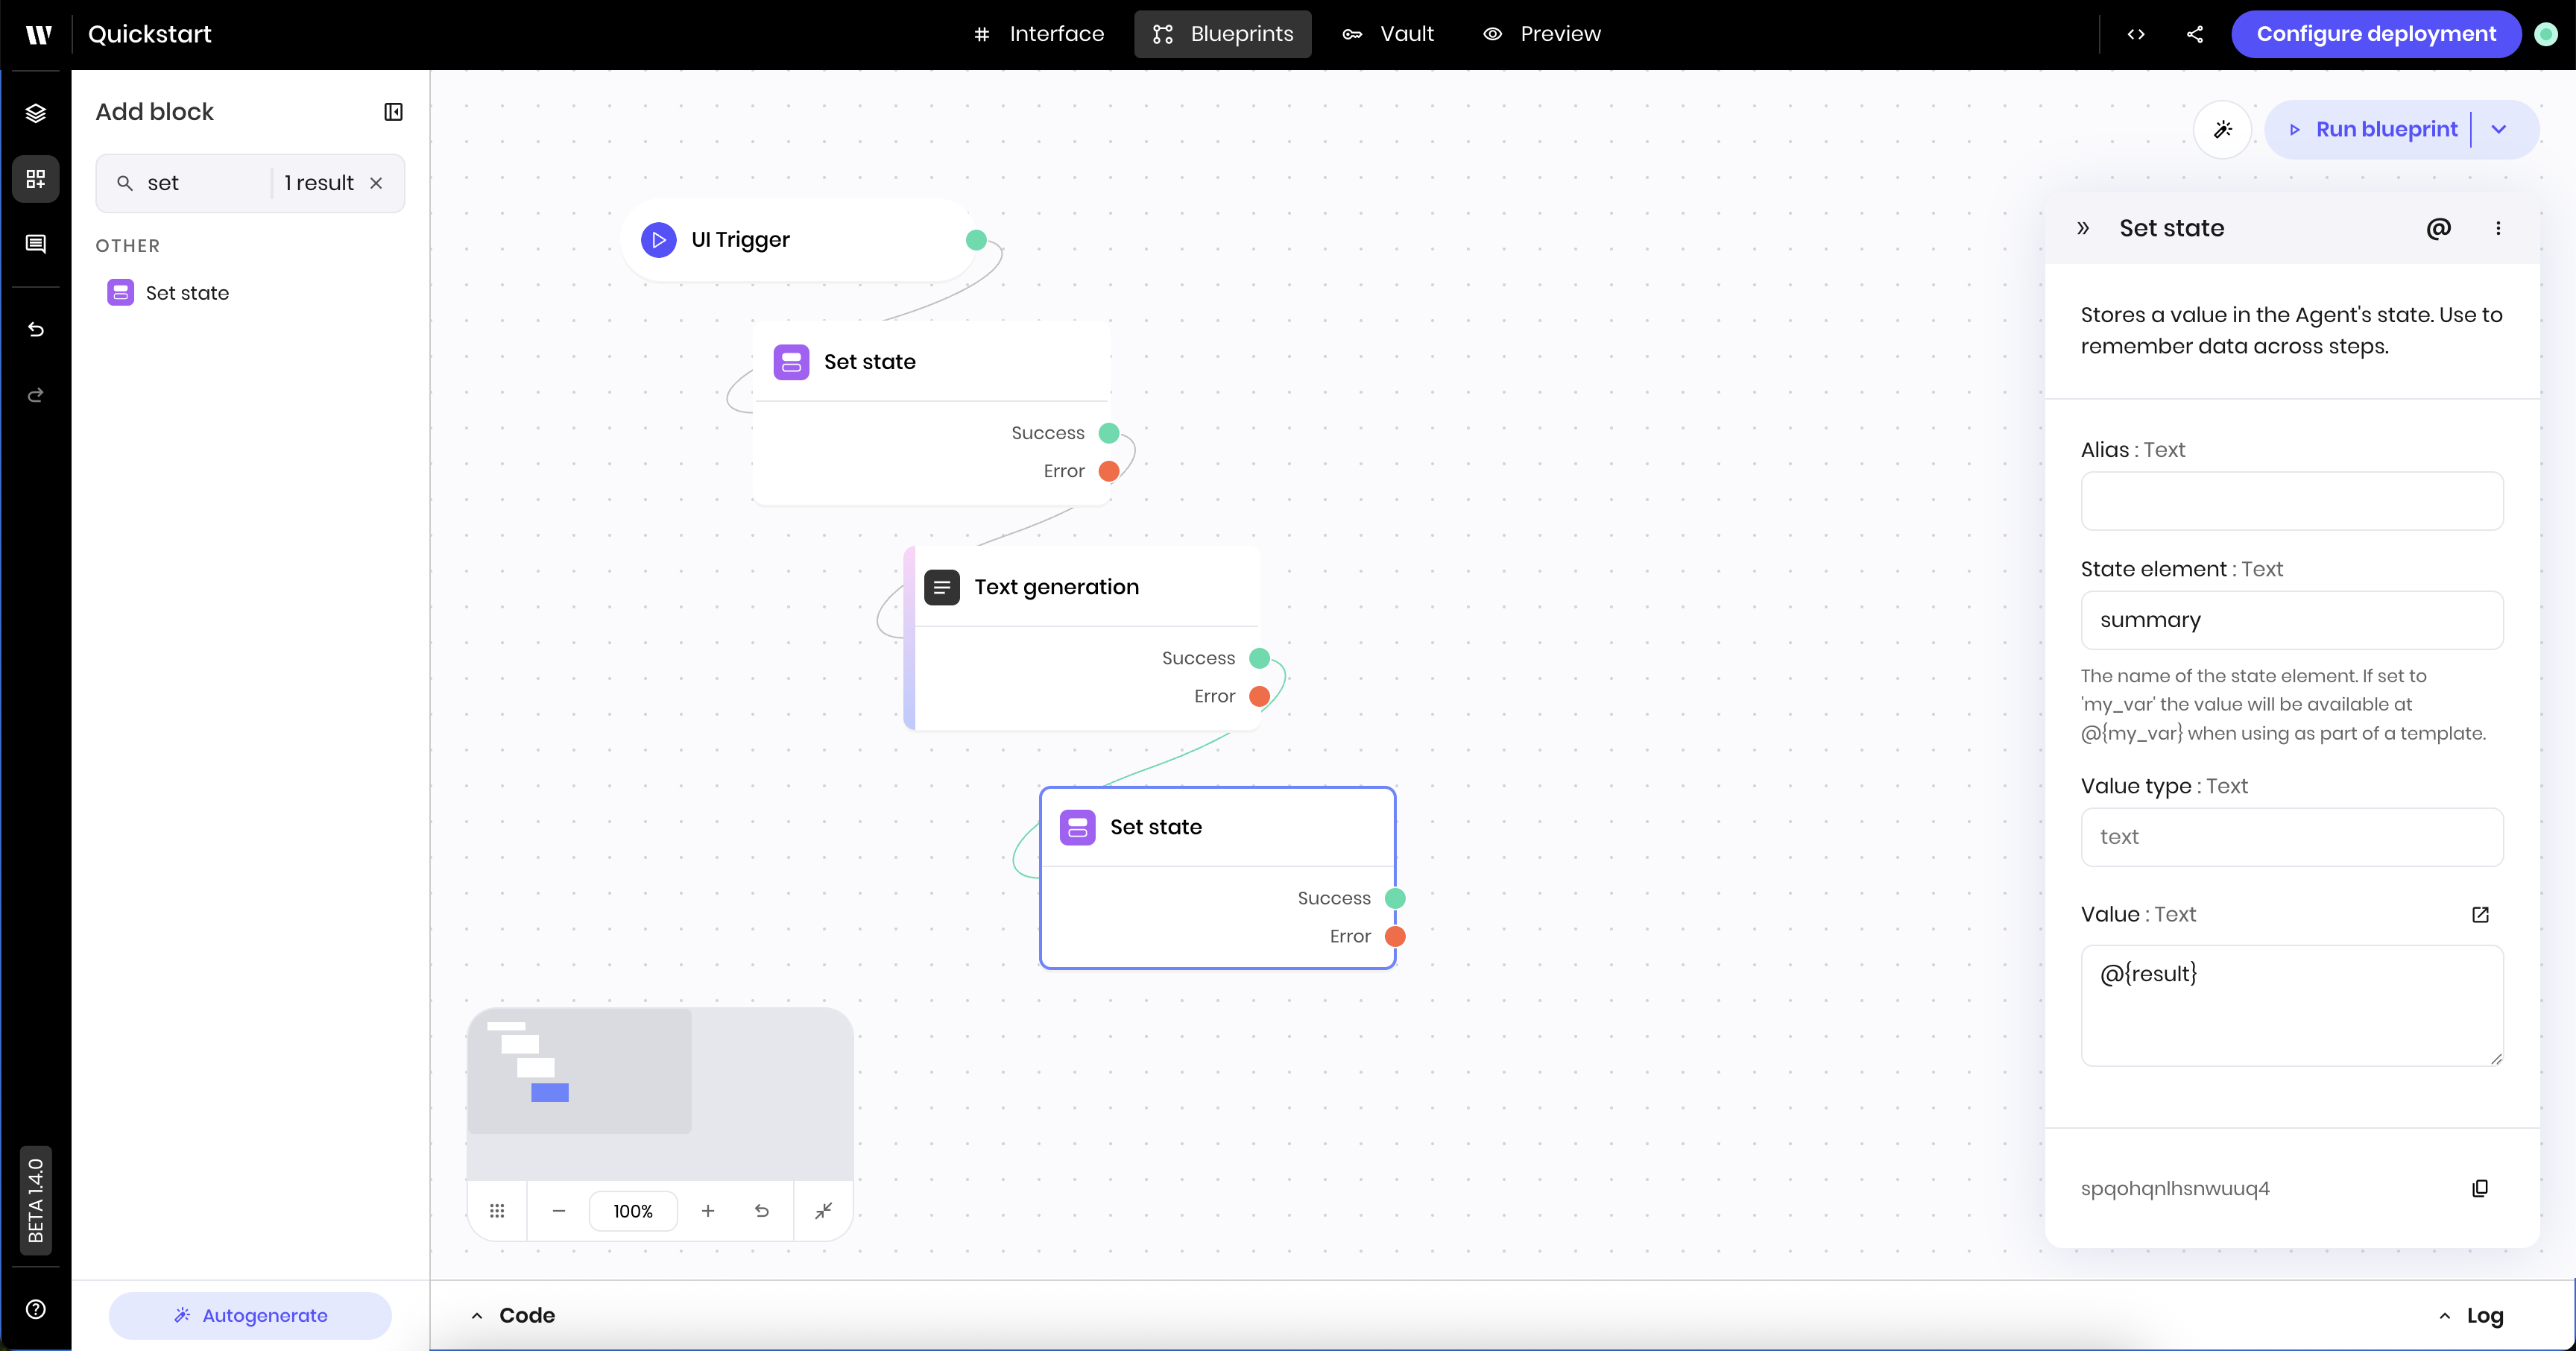
Add the set state block for the summary result
This Set state block sets thesummary state variable to the generated summary so that the Text component in the UI can display it.
Add the set state block to the canvas
Edit the set state block settings
- Link variable:
summary - Value:
@{result}. Theresultenvironment variable is the output of the previous Text generation block.
Add the set state block to clear the status message
This Set state block clears thestatus state variable to remove the status message from the UI.
Add the set state block to the canvas
Edit the set state block settings
-
Link variable:
status -
Value: Leave the Value blank. This clears the
statusstate variable.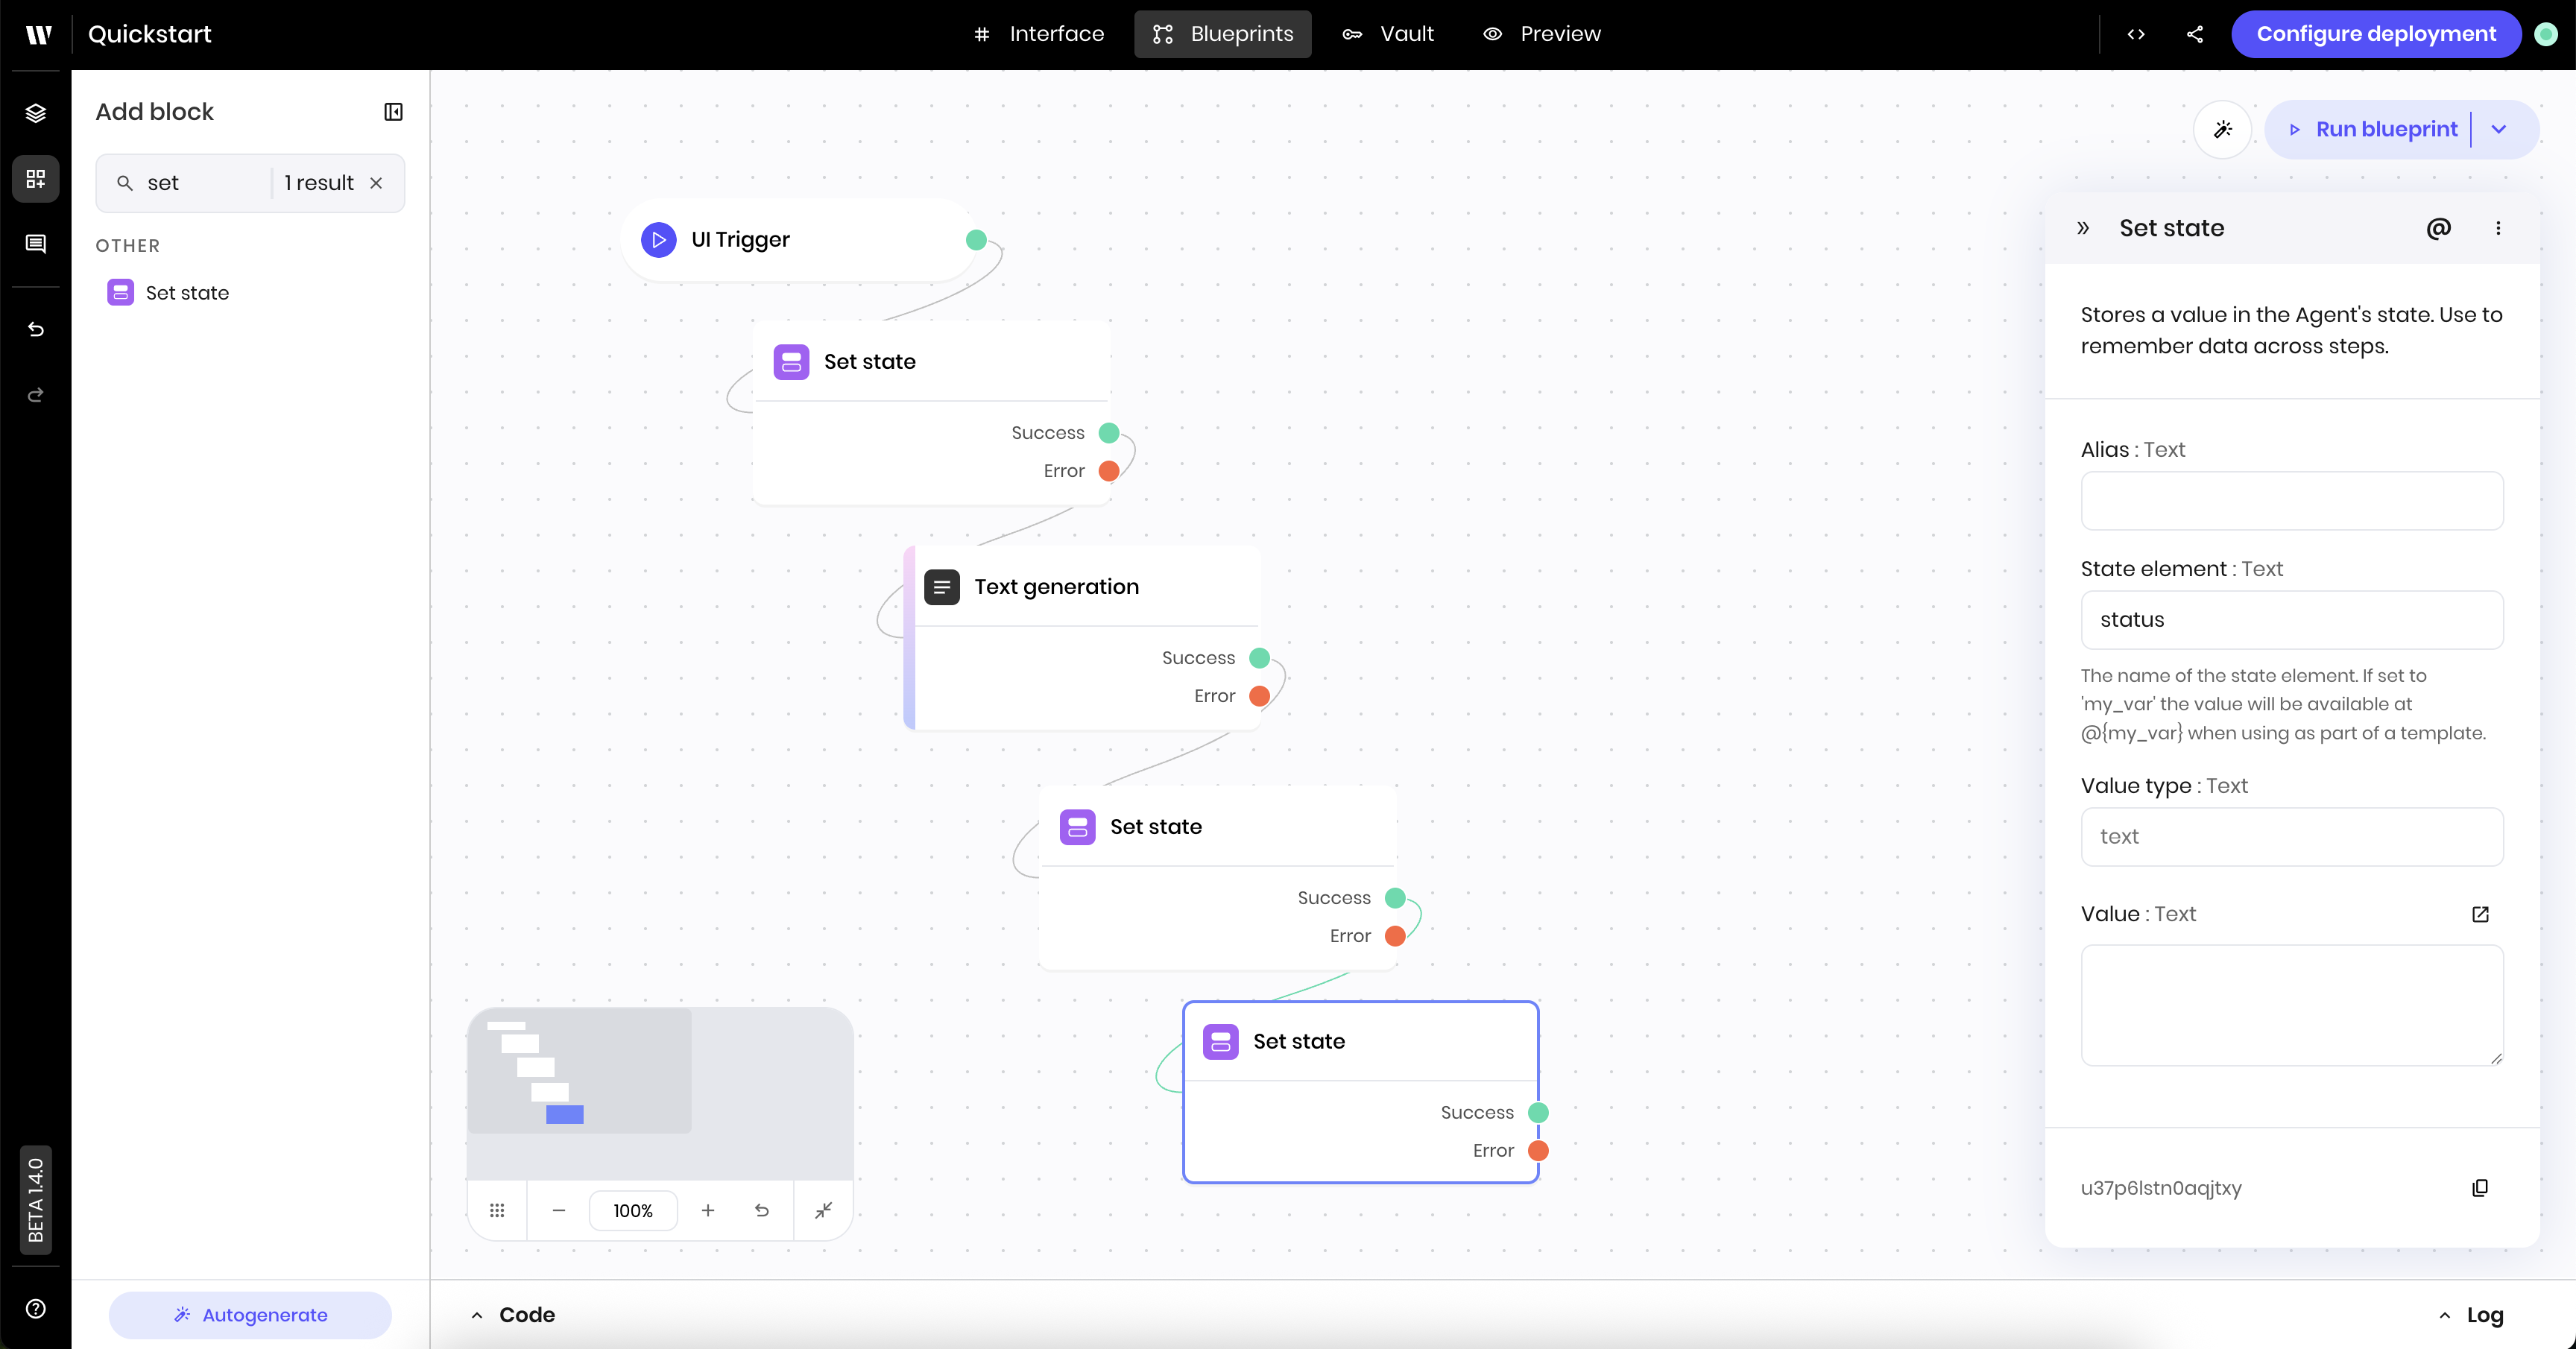
Data connection patterns
Notice how the blueprint connects blocks and passes data using variables:@{meeting_notes}and@{summary_format}: the blueprint blocks read from UI inputs via state@{result}: the blueprint blocks read the output from the Text generation block@{summary}: the blueprint blocks write the summary to the state, which the UI displays@{status}: the blueprint blocks set progress messages that the UI displays
@{variable_name} is how all Agent Builder components communicate.
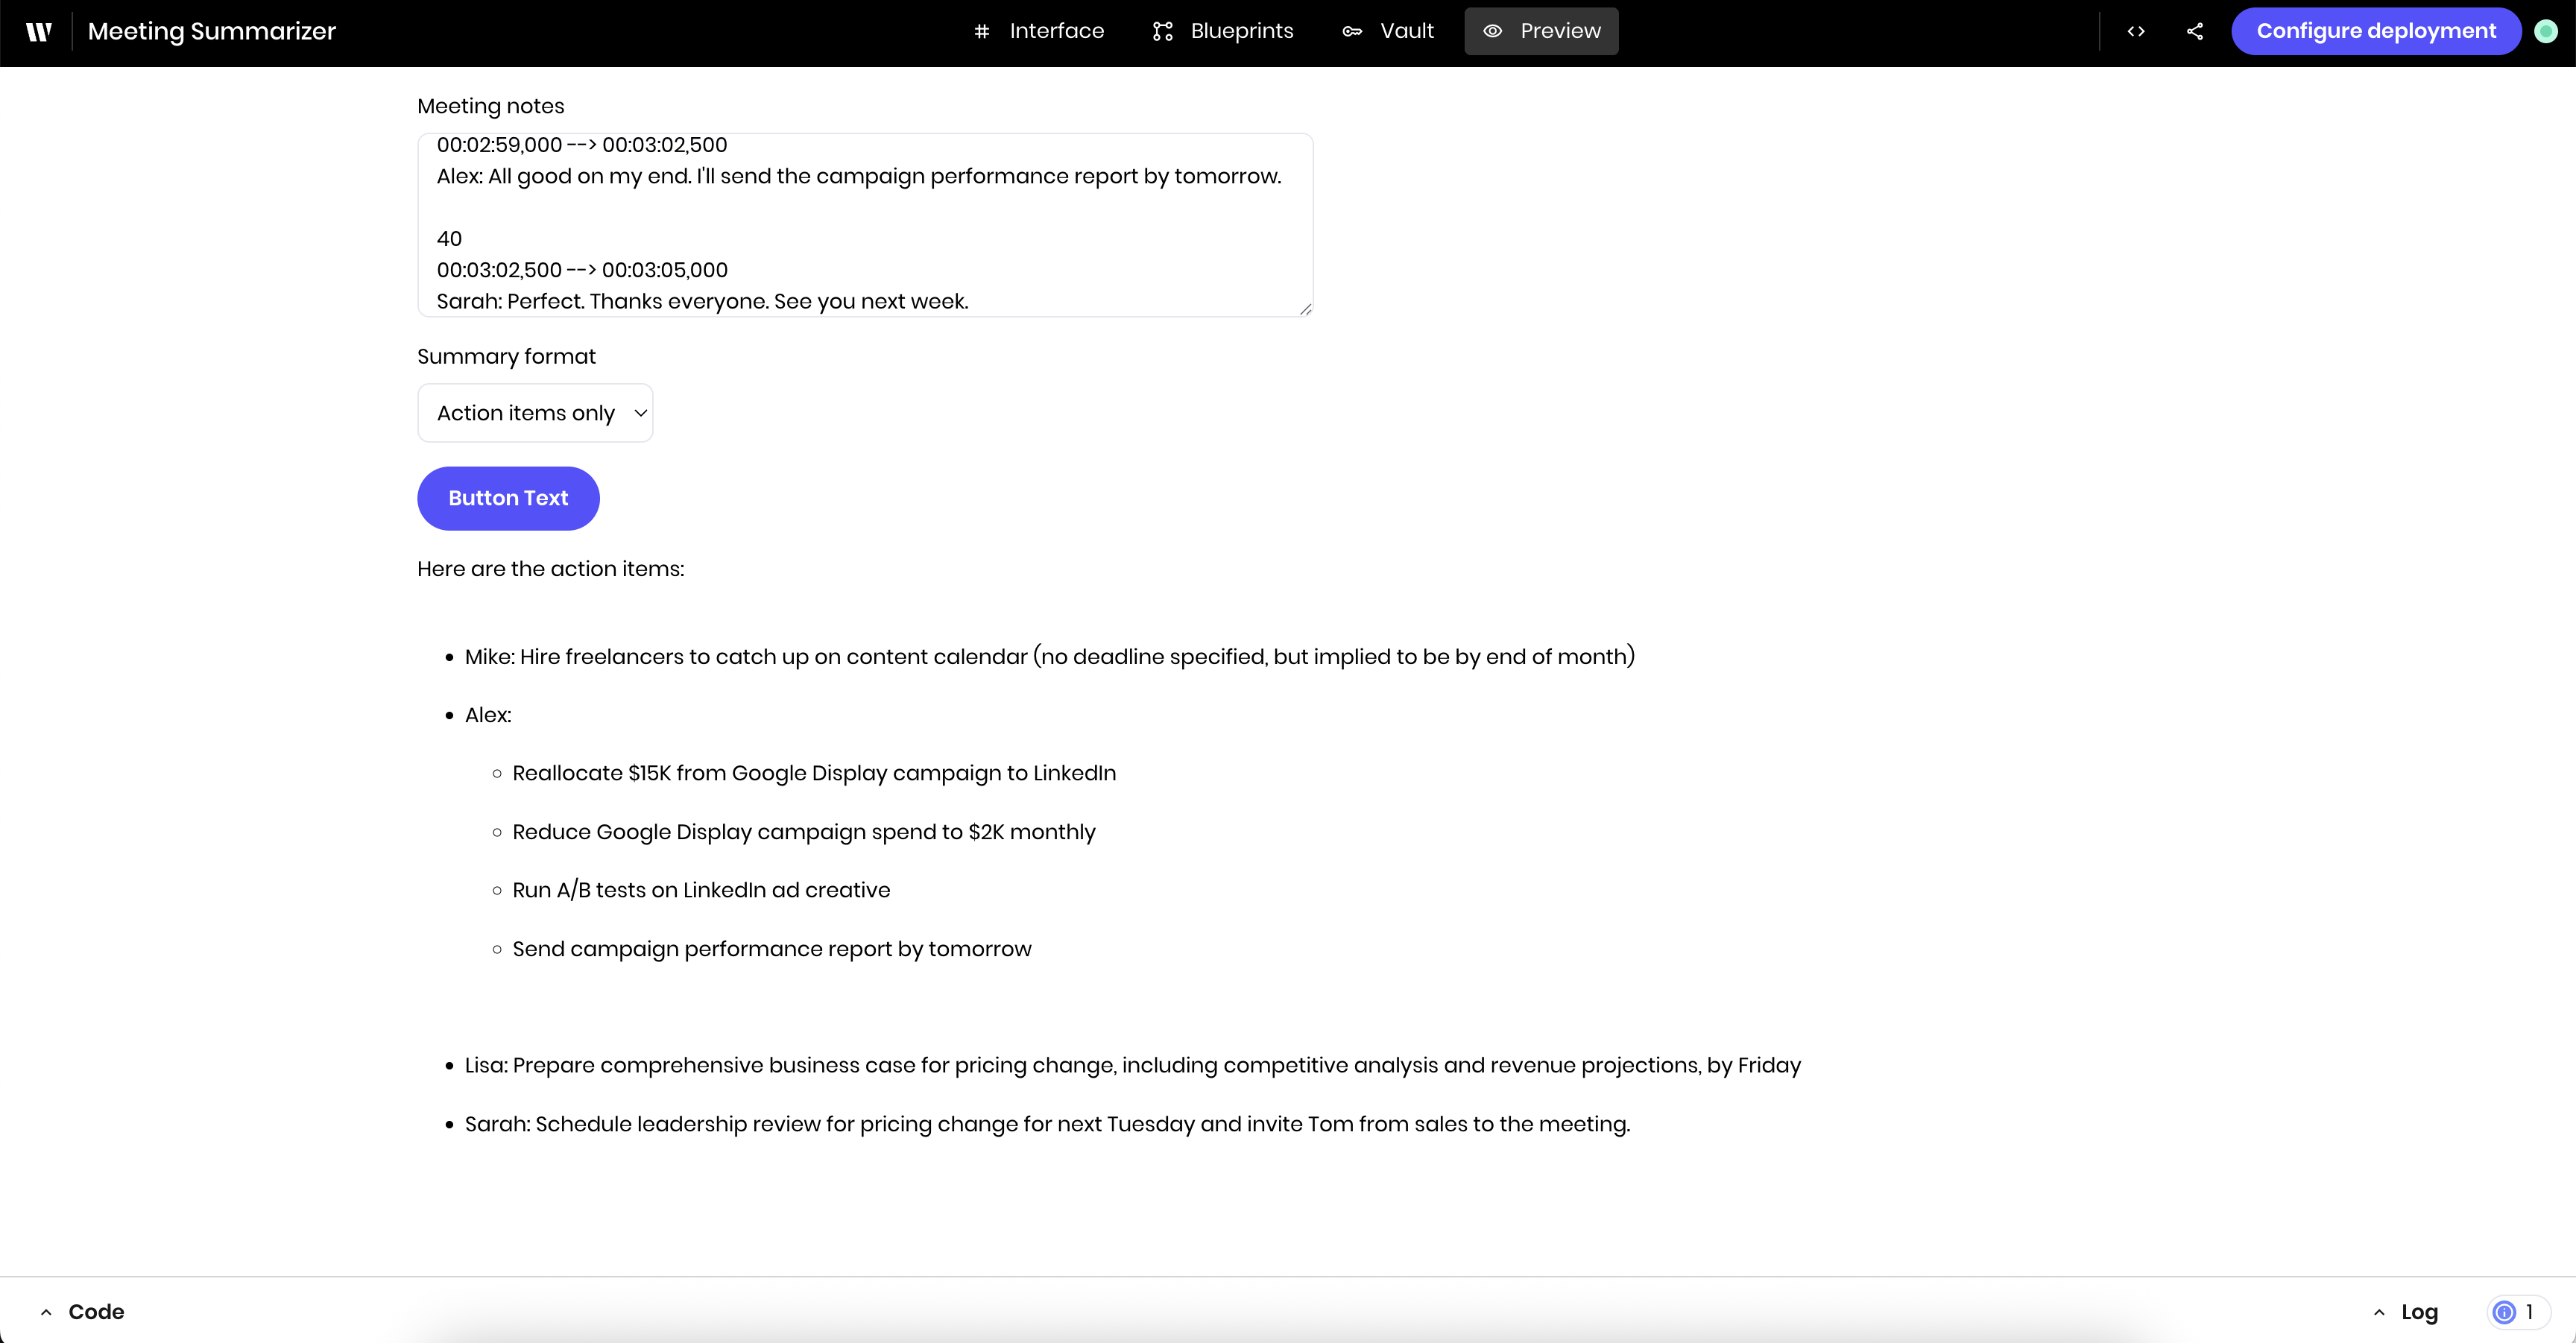
Preview the agent
You’ve now built the UI and blueprint for the new agent. Go to the Preview view to test the agent. Paste meeting notes into the Meeting notes text area and select a summary format from the Summary format select input. Then click the Generate summary button to see the agent create a summary in your selected format. Here’s a sample transcript that you can use to test if you don’t have your own meeting notes: Try different summary formats with the same meeting notes to see how the output changes based on your selection. You can also experiment with leaving the summary format blank to see how the agent handles it. If you encounter any issues, refer to the Troubleshooting guide for debugging information.Deploy the agent
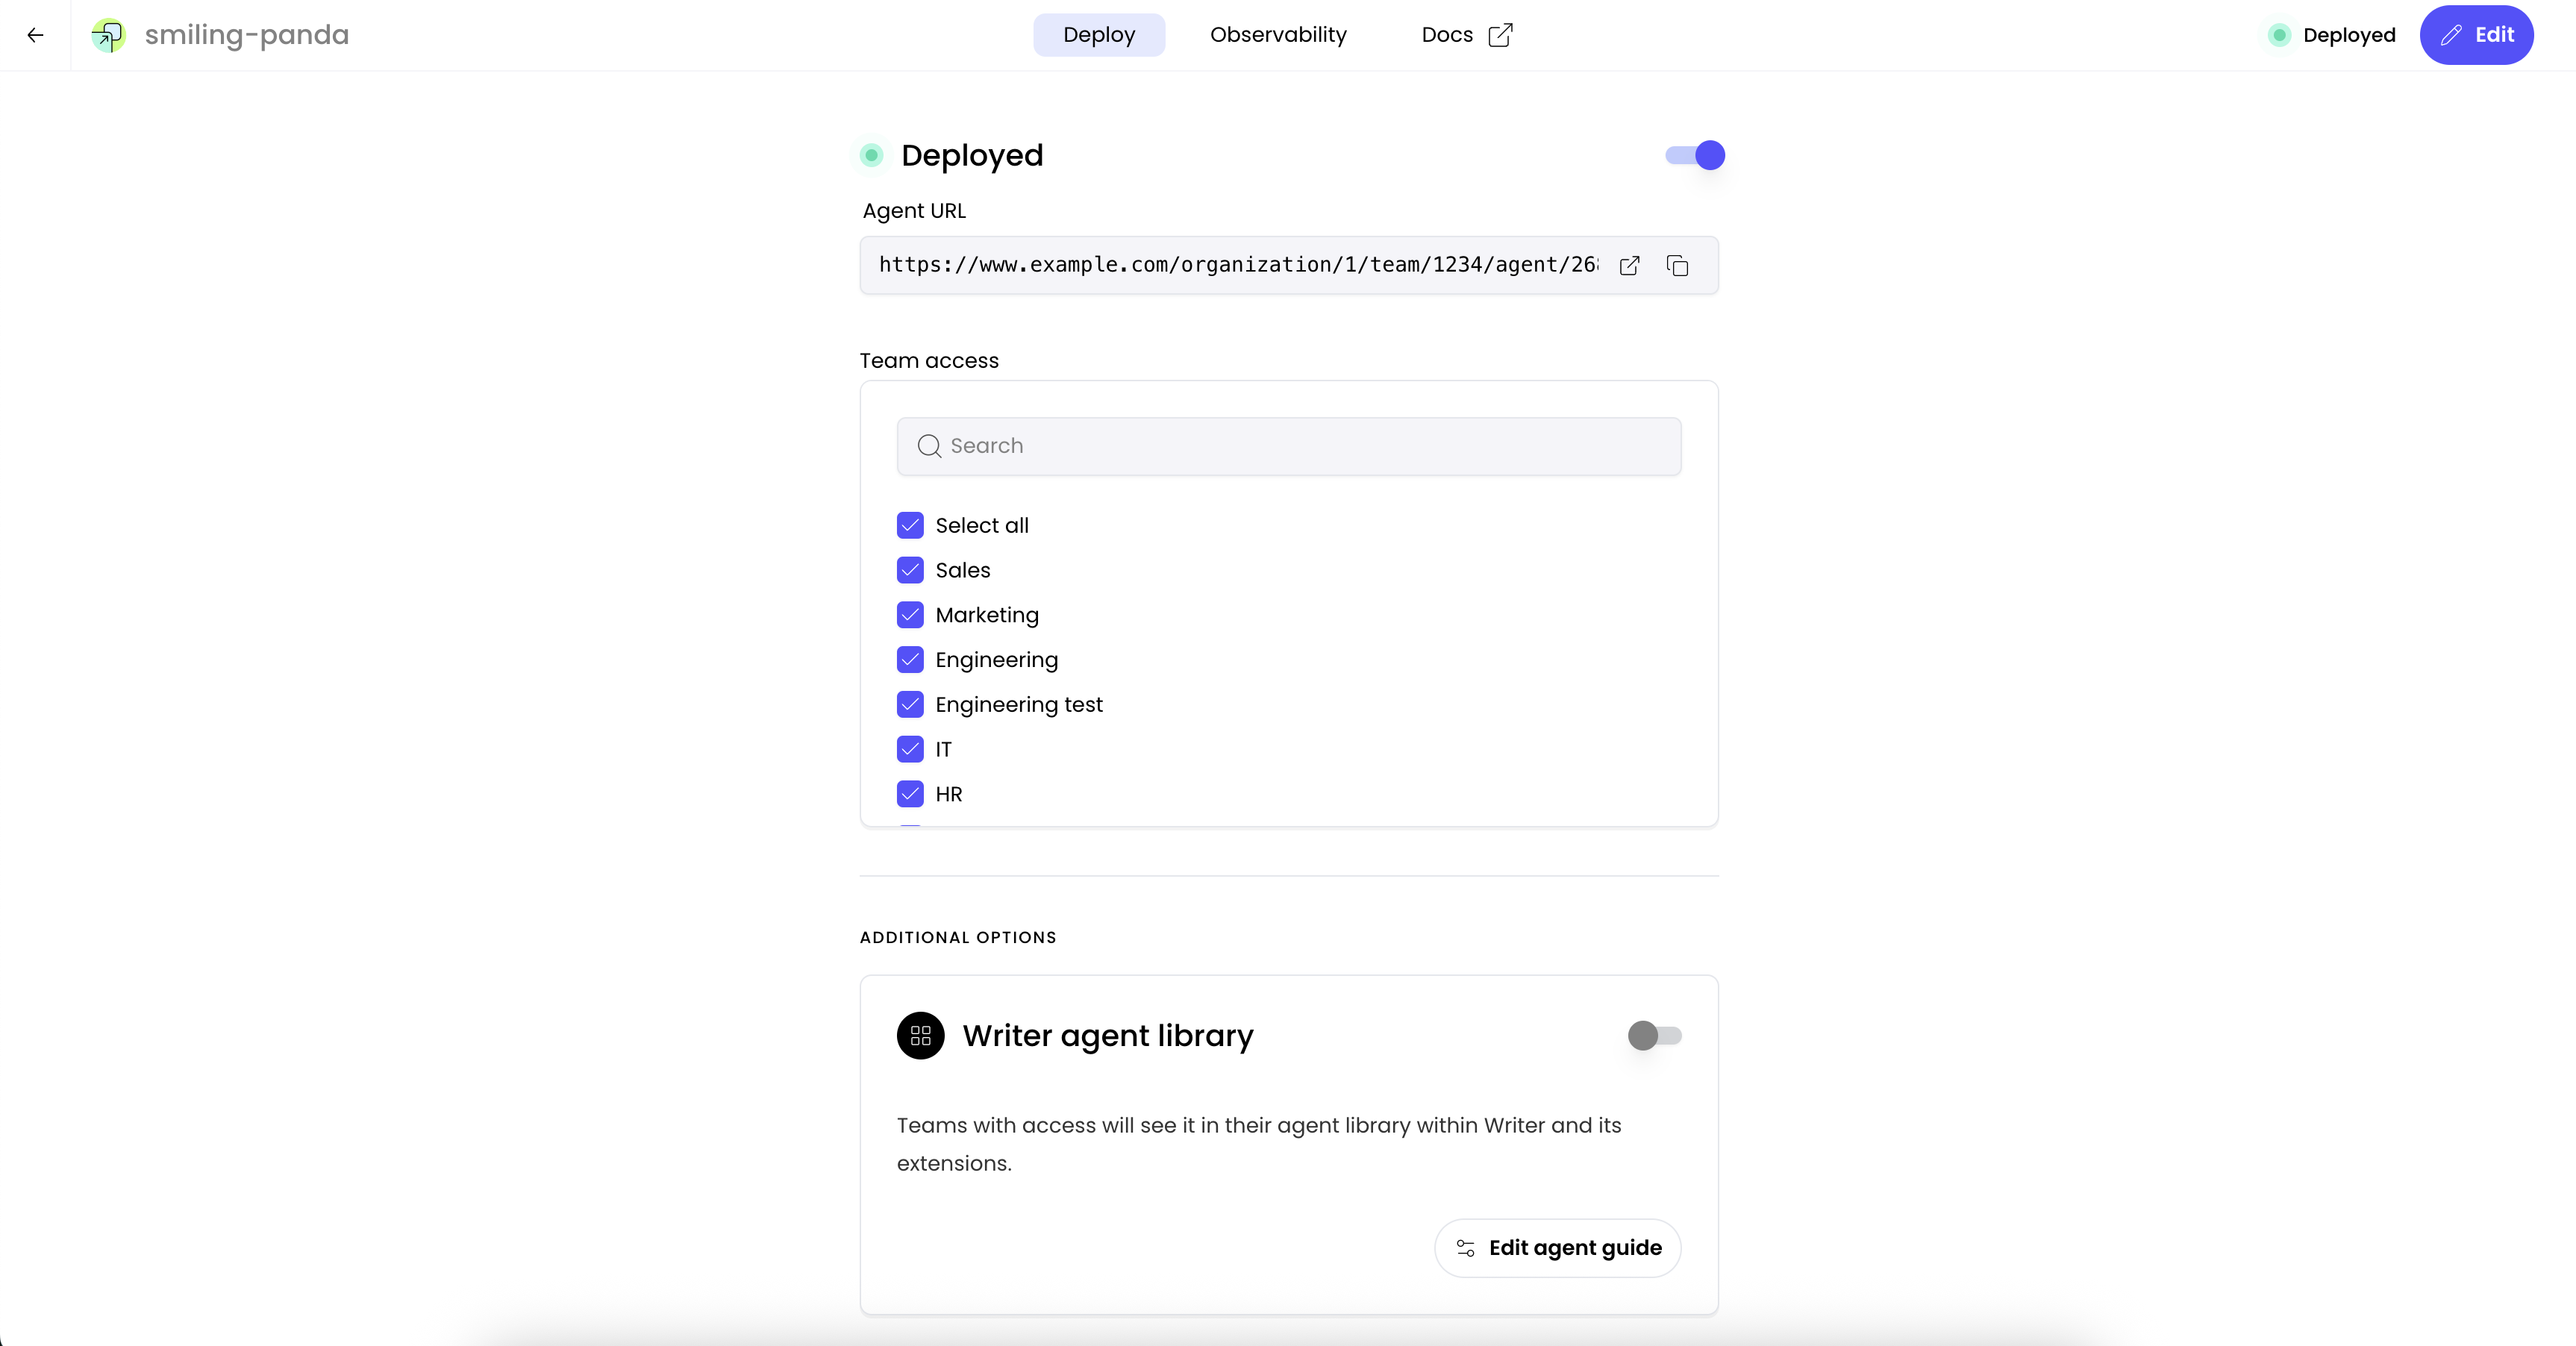
When you’re ready to deploy the agent, click Configure deployment in the top right corner of the Agent Builder interface. You can also access the deployment configuration by going to the AI Studio homepage and selecting the agent you created. If the agent isn’t deployed, you see a toggle bar that says Draft.
Agentic enhancements
This tutorial shows outcome-driven design in action: you define what kind of summary you want, and the agent adapts. To make this agent even more versatile, consider adding:- Send summaries to Slack: Automatically post to relevant channels
- HTTP request blocks and tool calling to integrate with third party APIs to perform actions like:
- Emailing participants: Send summaries via your email API such as SendGrid or Mailgun
- Calendar integrations: Schedule follow-up meetings and block time for tasks
- CRM updates: Log meeting outcomes in your customer database
- Task automation: Create Jira tickets or Asana tasks for each action item
Next steps
- Learn how to add file inputs and parse PDFs
- Learn how to style the agent’s UI
- Learn how to send messages to Slack
- Add tool calling for intelligent integrations with external tools