Triggers an event via API call.
Overview
The API Trigger block enables external systems to trigger your blueprint via HTTP API calls. Use it to integrate your agent with webhooks, external services, or other applications that need to programmatically execute your workflows.
Unlike the UI Trigger block that responds to user interactions in the interface, the API Trigger block accepts HTTP POST requests to trigger blueprint execution.
You must deploy your agent before you can trigger a blueprint via API.
How it works
- Agent and Blueprint IDs: Each API trigger block is associated with a specific agent and blueprint ID that becomes part of the API endpoint URL
- HTTP endpoints: Creates two endpoints:
- A synchronous POST endpoint that accepts JSON payloads and returns Server-Sent Events (SSE)
- An asynchronous POST endpoint that returns a job ID for polling results
- JSON input processing: The HTTP request body becomes available as
@{result} in your blueprint execution, with your data nested under the inputs key
- Return Value: To return a value from your blueprint to the API caller, you include a Return Value block at the end of your blueprint workflow
Blueprint structure requirements
When building blueprints that will be triggered via API, ensure your workflow ends with a Return Value block:
- Start with API Trigger: Begin your blueprint with the API Trigger block
- Process your logic: Add all the blocks needed for your workflow
- End with Return Value: Always finish with a Return Value block to specify what gets returned to the API caller
Example blueprint structure:
API endpoint
When you add an API Trigger block to your blueprint, it creates a public HTTP endpoint that you can use to trigger your blueprint. See API Trigger usage guide for more details about the API endpoints and how to use them.
Synchronous endpoint
Asynchronous endpoint
Authentication
All API calls require authentication using a Bearer token in the Authorization header. Learn how to get your API key.
Send a POST request with a JSON body containing the data you want to pass to your blueprint under the inputs key:
This data is available in your blueprint as @{result.inputs.user_id} and @{result.inputs.action}.
The inputs key is required for the JSON payload. If you don’t include it, the API will return an error.
artifact field.
Testing
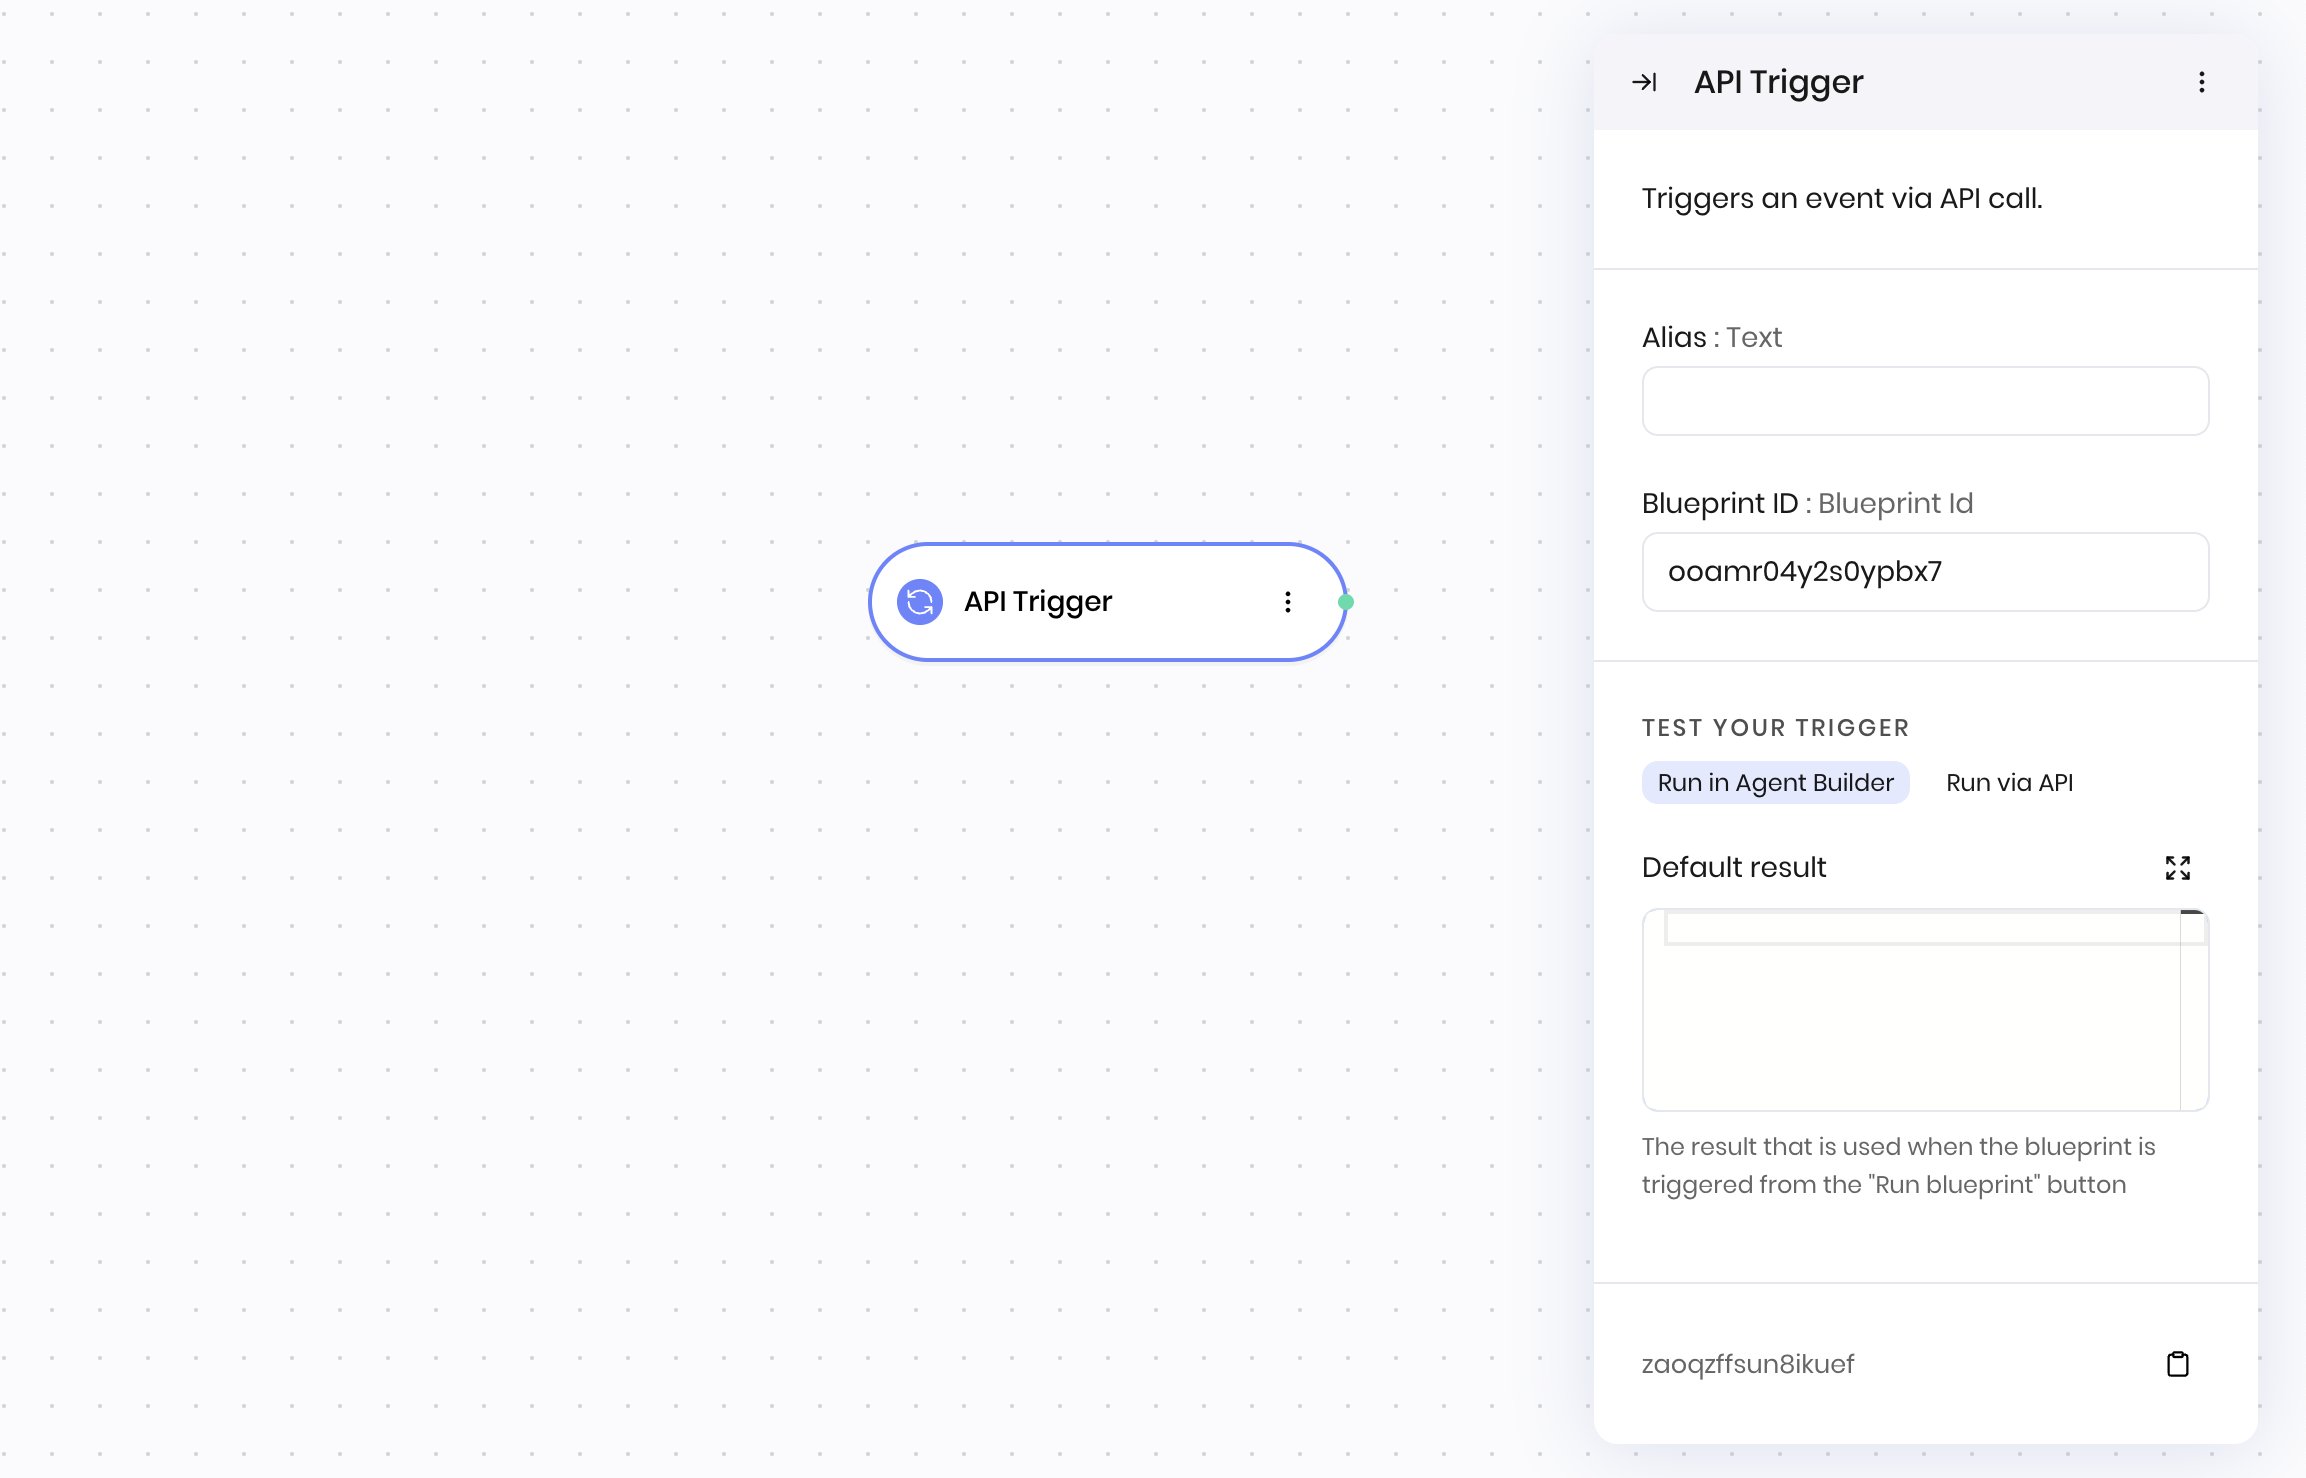
You can test your API trigger using the Run blueprint button in the Agent Builder editor. The Default result field provides sample data for testing without making actual HTTP requests.
Learn more
For comprehensive implementation details, examples, and troubleshooting, see the API Trigger usage guide.
Fields
| Name | Type | Control | Default | Description | Options | Validation | | Blueprint ID | Blueprint Id | - | - | - | - | - |
| Default result | Code | - | - | The result that is used when the blueprint is triggered from the “Run blueprint” button | - | - |
End states
Below are the possible end states of the block call.
| Name | Field | Type | Description | | Trigger | - | success | - |
The API Trigger block returns the input payload that was sent to the API endpoint.
When triggered via API, the HTTP request body becomes available as @{result} in your blueprint execution, with your data nested under the inputs key. For example, if you send {"inputs": {"user_id": "123"}}, you can access it in your blueprint using @{result.inputs.user_id}.