The Writer Framework authentication module allows you to restrict access to your application. Framework will be able to authenticate a user through an identity provider such as Google, Microsoft, Facebook, Github, Auth0, etc.

Authentication is done before accessing the application. It is not possible to trigger authentication for certain pages exclusively.

Use Basic Auth

Basic Auth is a simple authentication method that uses a username and password. Authentication configuration is done in the server_setup.py module.

Password authentication and Basic Auth are not sufficiently secure for critical applications. If HTTPS encryption fails, a user could potentially intercept passwords in plaintext. Additionally, these methods are vulnerable to brute force attacks that attempt to crack passwords. To enhance security, it is advisable to implement authentication through trusted identity providers such as Google, Microsoft, Facebook, GitHub, or Auth0.

server_setup.py
import os
import writer.serve
import writer.auth

auth = writer.auth.BasicAuth(
    login=os.get('LOGIN'),
    password=os.get('PASSWORD'),
)

writer.serve.register_auth(auth)

Brute force protection

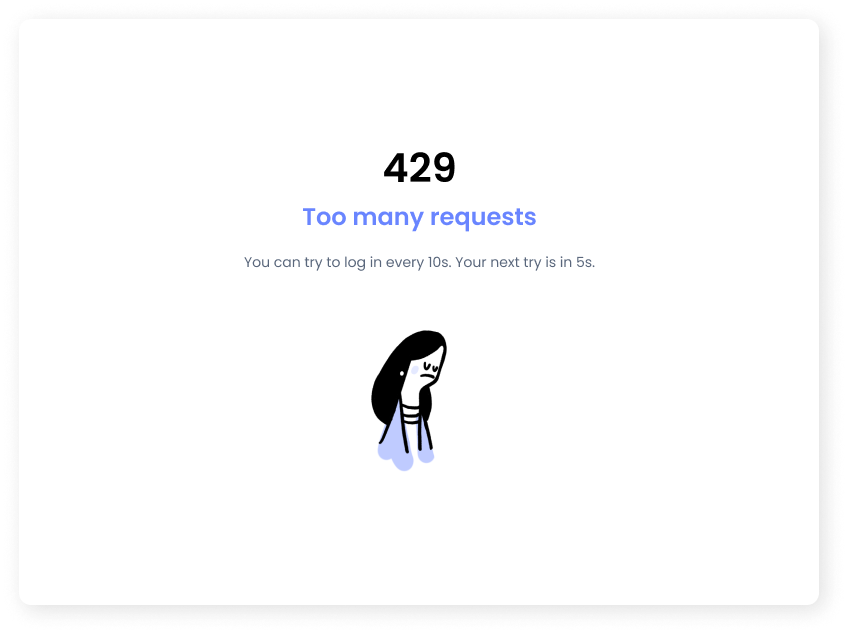
A simple brute force protection is implemented by default. If a user fails to log in, the IP of this user is blocked. Writer framework will ban the IP from either the X-Forwarded-For header or the X-Real-IP header or the client IP address.

When a user fails to log in, they wait 1 second before they can try again. This time can be modified by modifying the value of delay_after_failure.

429

Use OIDC provider

Authentication configuration is done in the server_setup.py module. The configuration depends on your identity provider. Here is an example configuration for Google.

Authentication OIDC Principle

server_setup.py
import os
import writer.serve
import writer.auth

oidc = writer.auth.Oidc(
    client_id="1xxxxxxxxx-qxxxxxxxxxxxxxxx.apps.googleusercontent.com",
    client_secret="GOxxxx-xxxxxxxxxxxxxxxxxxxxx",
    host_url=os.getenv('HOST_URL', "http://localhost:5000"),
    url_authorize="https://accounts.google.com/o/oauth2/auth",
    url_oauthtoken="https://oauth2.googleapis.com/token",
    url_userinfo='https://www.googleapis.com/oauth2/v1/userinfo?alt=json'
)

writer.serve.register_auth(oidc)

Use pre-configured OIDC

The Writer Framework provides pre-configured OIDC providers. You can use them directly in your application.

ProviderFunctionDescription
Googlewriter.auth.GoogleAllow your users to login with their Google Account
Githubwriter.auth.GithubAllow your users to login with their Github Account
Auth0writer.auth.Auth0Allow your users to login with different providers or with login password through Auth0

Google

You have to register your application into Google Cloud Console.

server_setup.py
import os
import writer.serve
import writer.auth

oidc = writer.auth.Google(
	client_id="1xxxxxxxxx-qxxxxxxxxxxxxxxx.apps.googleusercontent.com",
	client_secret="GOxxxx-xxxxxxxxxxxxxxxxxxxxx",
	host_url=os.getenv('HOST_URL', "http://localhost:5000")
)

writer.serve.register_auth(oidc)

Github

You have to register your application into Github

server_setup.py
import os
import writer.serve
import writer.auth

oidc = writer.auth.Github(
	client_id="xxxxxxx",
	client_secret="xxxxxxxxxxxxx",
	host_url=os.getenv('HOST_URL', "http://localhost:5000")
)

writer.serve.register_auth(oidc)

Auth0

You have to register your application into Auth0.

server_setup.py
import os
import writer.serve
import writer.auth

oidc = writer.auth.Auth0(
	client_id="xxxxxxx",
	client_secret="xxxxxxxxxxxxx",
	domain="xxx-xxxxx.eu.auth0.com",
	host_url=os.getenv('HOST_URL', "http://localhost:5000")
)

writer.serve.register_auth(oidc)

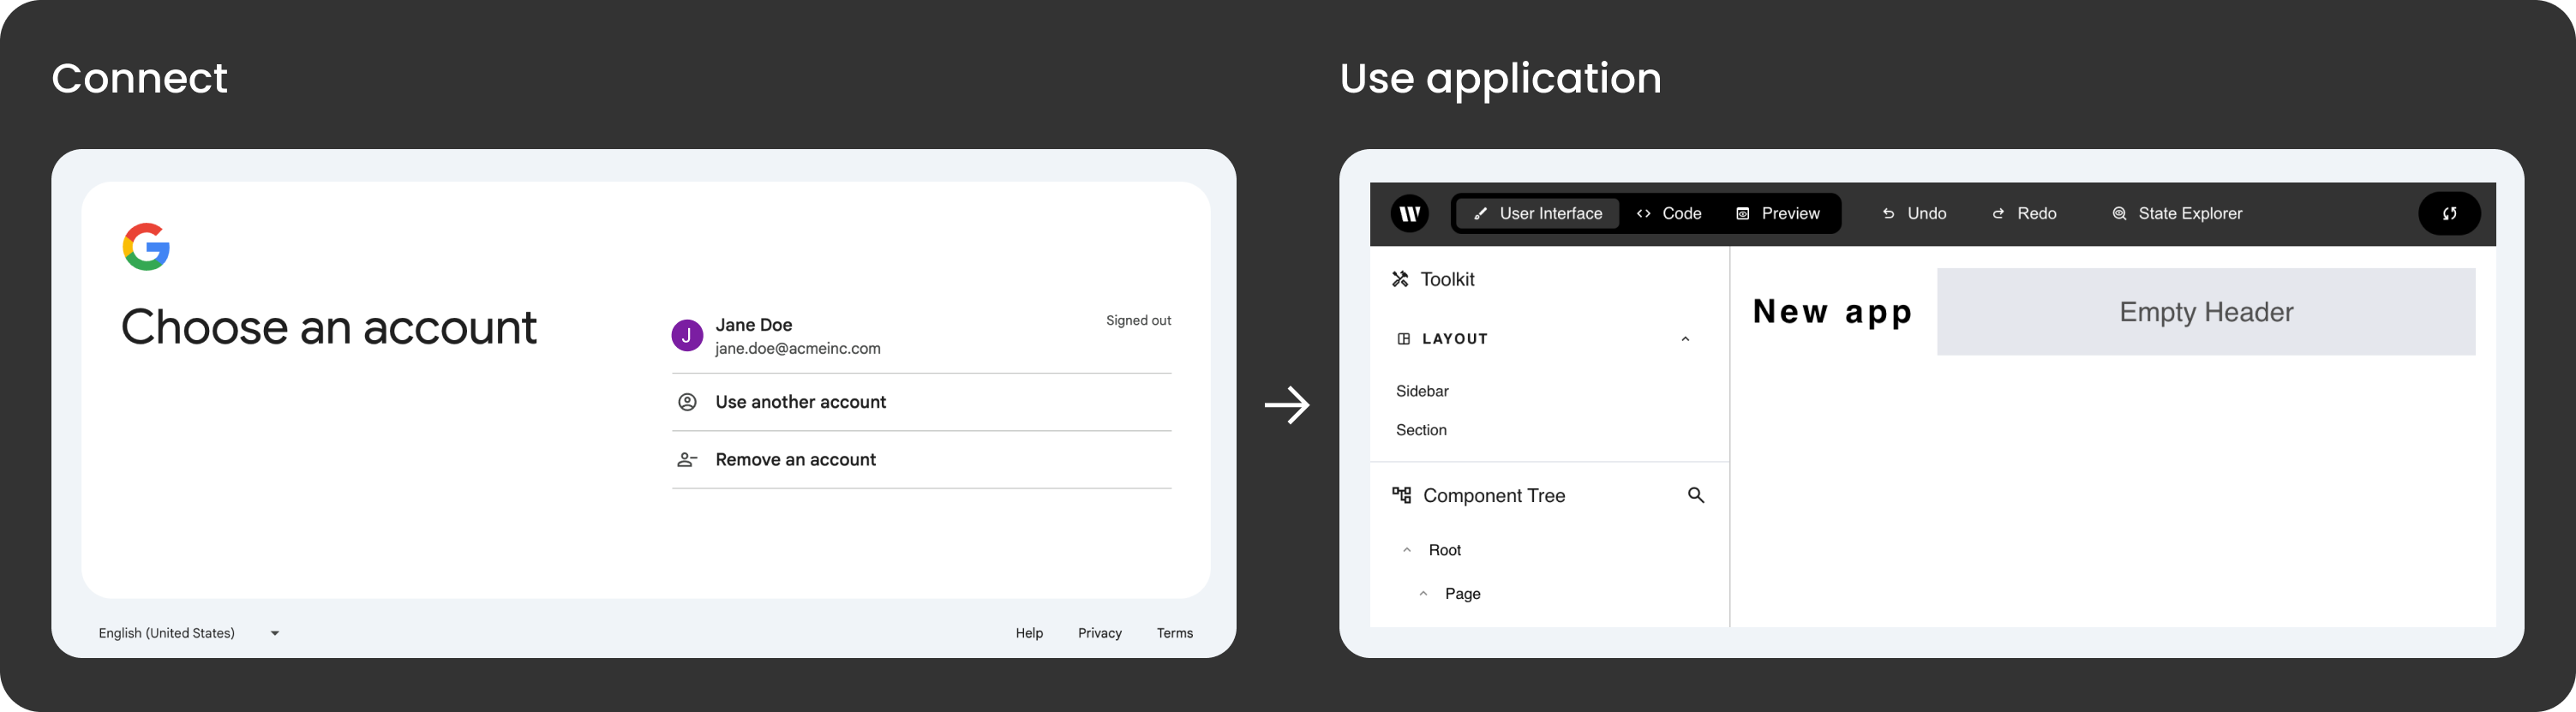
Authentication workflow

User information in event handler

When the user_info route is configured, user information will be accessible in the event handler through the session argument.
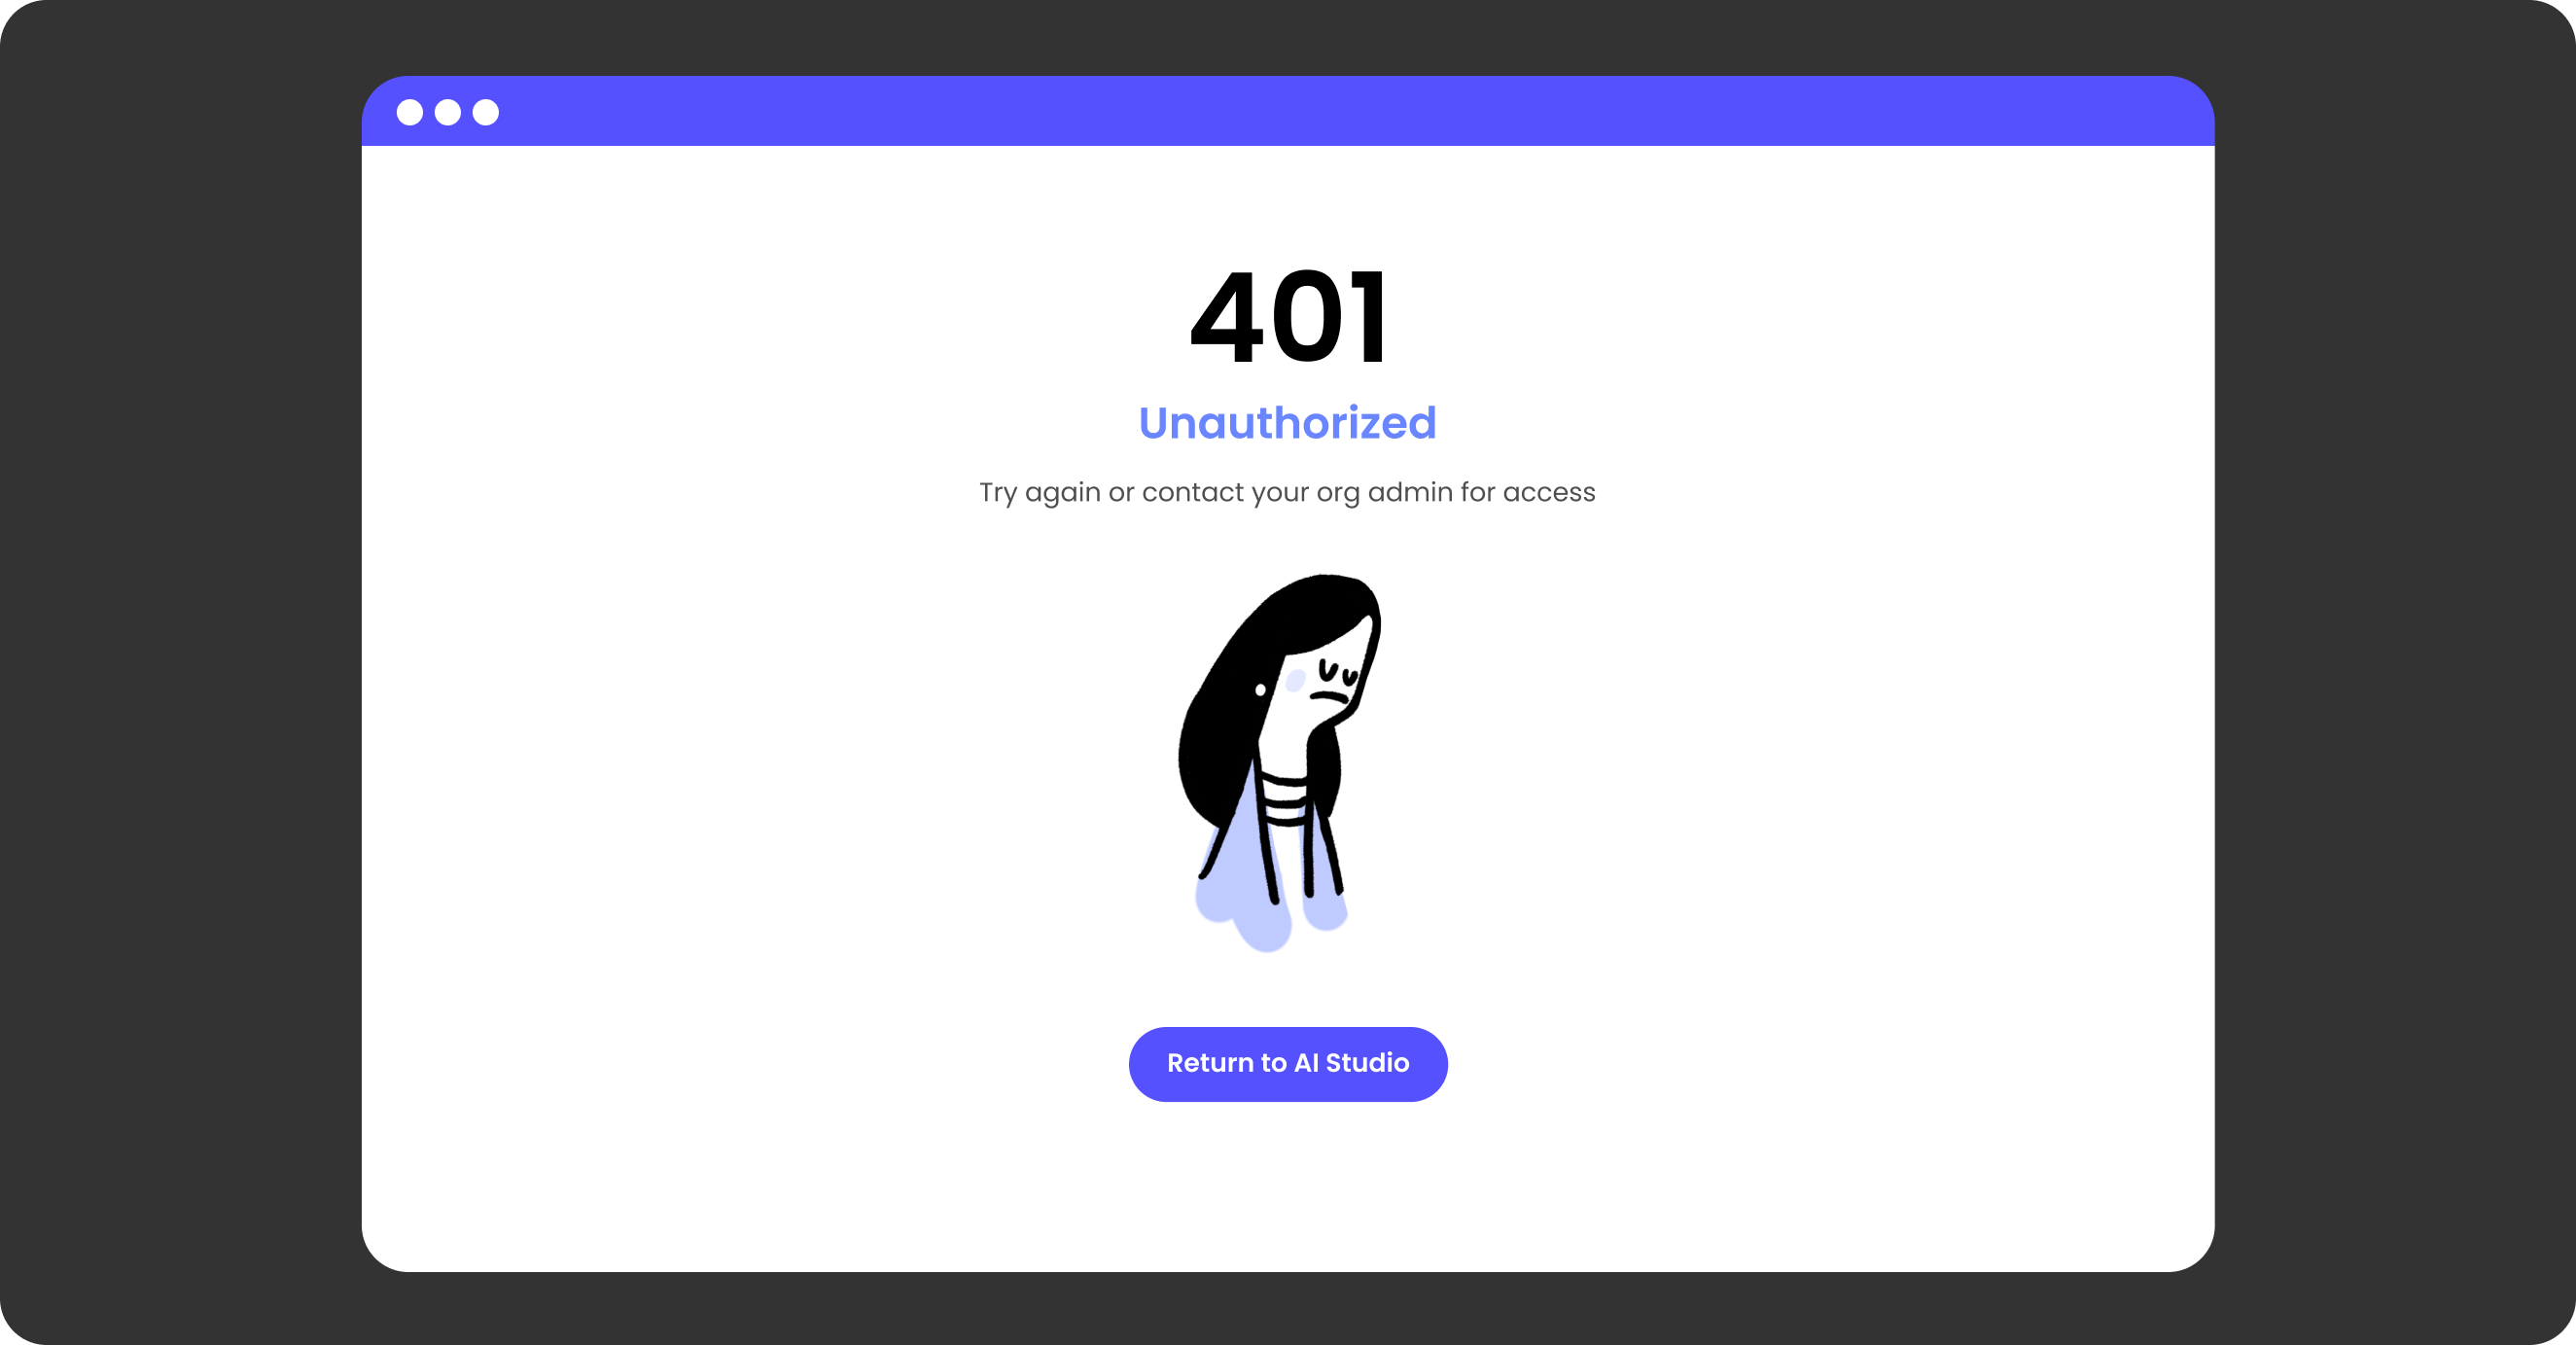
def on_page_load(state, session):
    email = session['userinfo'].get('email', None)
    state['email'] = email

Unauthorize access

It is possible to reject a user who, for example, does not have the correct email address.

You can also use userinfo inside app. You can restrict access to certain pages inside the application by using the session object. See User information in event handler

from fastapi import Request

import writer.serve
import writer.auth

oidc = ...

def callback(request: Request, session_id: str, userinfo: dict):
    if userinfo['email'] not in ['nom.prenom123@example.com']:
        raise writer.auth.Unauthorized(more_info="You can contact the administrator at <a href='https://support.example.com'>support.example.com</a>")

writer.serve.register_auth(oidc, callback=callback)

The default authentication error page look like this:

ParameterDescription
status_codeHTTP status code
messageError message
more_infoAdditional information

Modify user info

User info can be modified in the callback.

from fastapi import Request

import writer.serve
import writer.auth

oidc = ...

def callback(request: Request, session_id: str, userinfo: dict):
	userinfo['group'] = []
	if userinfo['email'] in ['fabien@example.com']:
		userinfo['group'].append('admin')
		userinfo['group'].append('user')
	else:
		userinfo['group'].append('user')

writer.serve.register_auth(oidc, callback=callback)

Custom unauthorized page

You can customize the access denial page using your own template.

import os

from fastapi import Request, Response
from fastapi.templating import Jinja2Templates

import writer.serve
import writer.auth

oidc = ...

def unauthorized(request: Request, exc: writer.auth.Unauthorized) -> Response:
    templates = Jinja2Templates(directory=os.path.join(os.path.dirname(__file__), "templates"))
    return templates.TemplateResponse(request=request, name="unauthorized.html", status_code=exc.status_code, context={
        "status_code": exc.status_code,
        "message": exc.message,
        "more_info": exc.more_info
    })

writer.serve.register_auth(oidc, unauthorized_action=unauthorized)

Enable in edit mode

Authentication is disabled in edit mode. To activate it, you must trigger the loading of the server_setup module in edition mode.

writer edit --enable-server-setup