BYOK encryption is available on Enterprise plans. You must be an organization
admin to configure encryption settings.
Prerequisites
Before you begin, make sure you have:- A Writer Enterprise plan with organization admin access
- An active KMS account with one of the supported providers:
- Permissions to create keys and manage access policies in your KMS
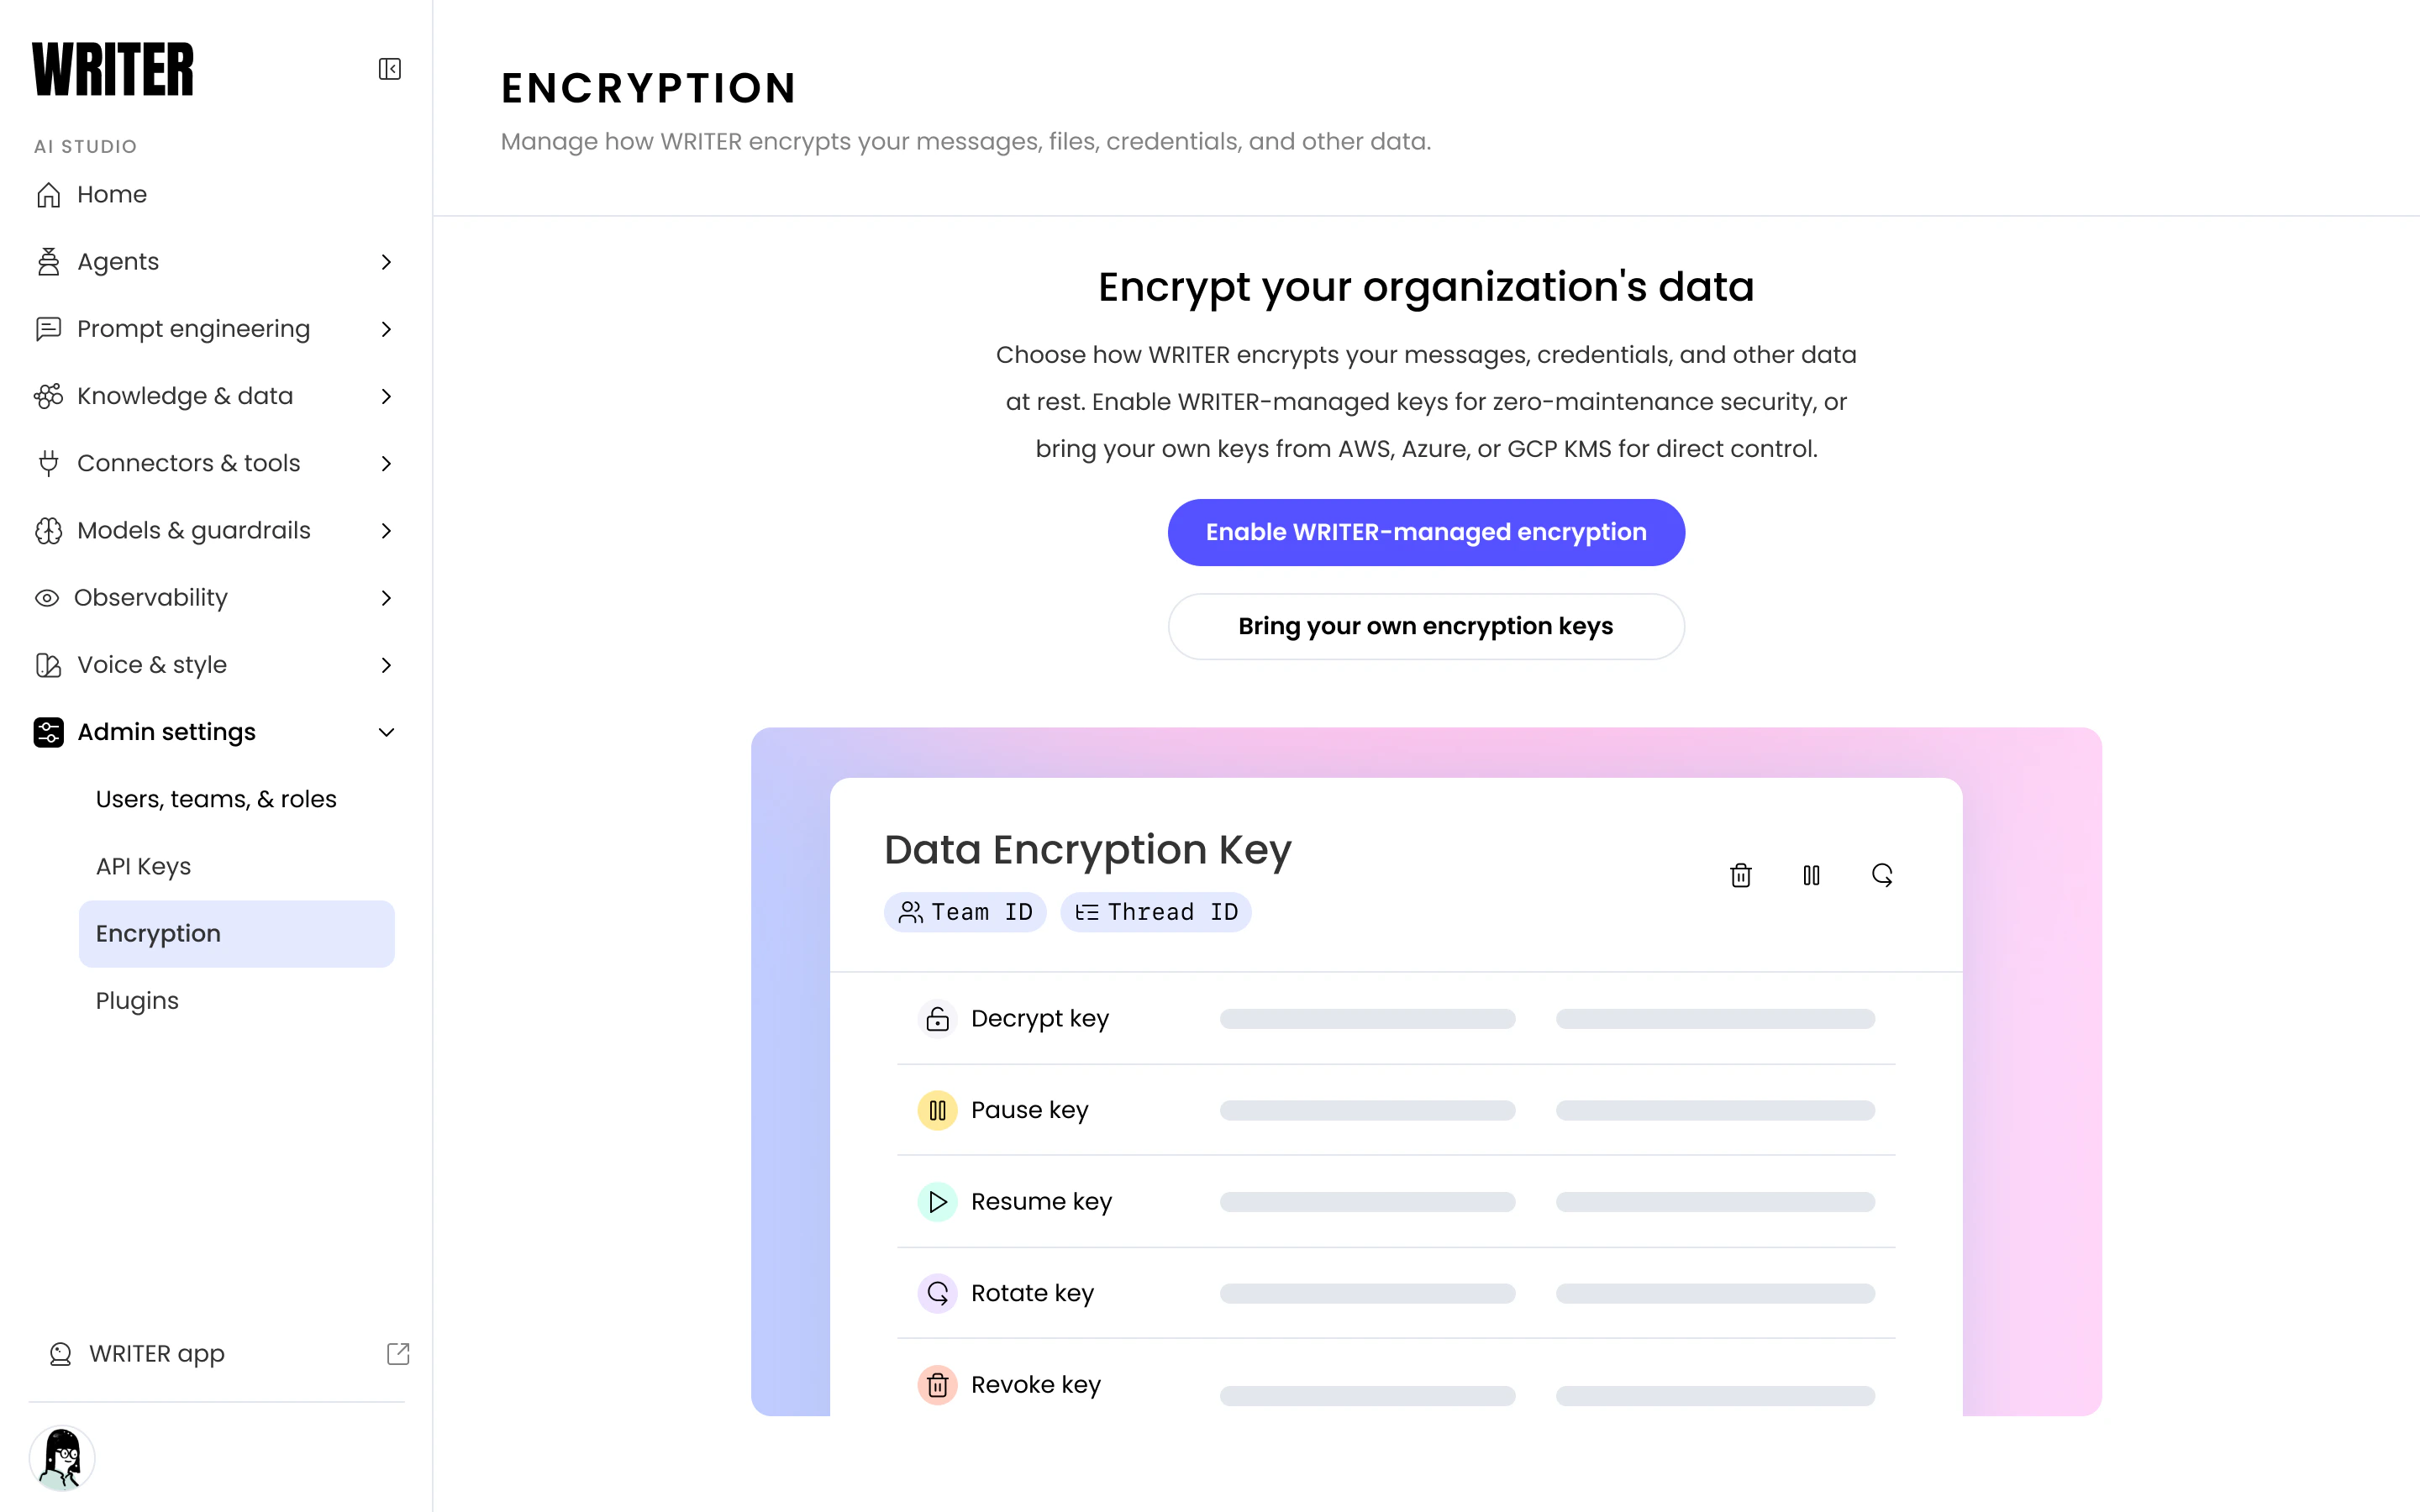
Enroll in encryption
To enable encryption, navigate to the Encryption page under Admin settings in AI Studio. You can choose one of two options:- Enable Writer-managed encryption: Writer manages the master key. Select this for zero-maintenance encryption.
- Bring your own encryption keys: Connect your own KMS from AWS, Azure, or GCP for direct control over the master key.
Enabling encryption applies only to new data created after enrollment.
Pre-existing data is not retroactively encrypted.
Connect your KMS for BYOK
To set up BYOK, either during initial enrollment or switching from Writer-managed encryption:- In AI Studio, navigate to the Encryption page under Admin settings.
- On the enrollment screen, select Bring your own encryption keys.
- If encryption is already enabled, select the Master key tab and then select Configure under Bring your own keys.
- Choose your cloud provider: AWS KMS, Azure Key Vault, or GCP Cloud KMS.
- Follow the provider-specific instructions in the setup modal to create or select a key in your KMS and grant Writer access.
- Paste your key identifier (ARN, key URL, or resource name) into the form. Writer validates the connection to your key.
- After validation succeeds, the setup confirms that your BYOK configuration is complete.
Control access from your KMS
With BYOK, you can control Writer’s access to all encrypted data directly from your cloud provider’s KMS console.Disable your CMK
Disabling your CMK immediately prevents Writer from unwrapping any DEKs across your entire organization. Use this during an active incident investigation when you need to cut off all access at once.- In AWS KMS: Select the key and choose Disable key.
- In Azure Key Vault: Set the key’s Enabled attribute to false.
- In GCP Cloud KMS: Select the key version and choose Disable.
Delete your CMK
Deleting your CMK permanently prevents Writer from unwrapping any DEKs. All encrypted data across your organization becomes permanently inaccessible. Most cloud providers enforce a waiting period before permanent deletion (for example, AWS KMS requires a 7-30 day waiting period). Use this window to verify that you intend to destroy access permanently.Next steps
- Review Encryption Key Management for encryption architecture, scopes, and key actions
- Configure plugins to stream security telemetry alongside your KMS audit logs
- Event logs to monitor request-level activity across your organization