Create a Knowledge Graph
To get started, set up a Knowledge Graph in Writer.From the home screen of AI Studio, click Knowledge Graphs in the left sidebar and click Add a Graph.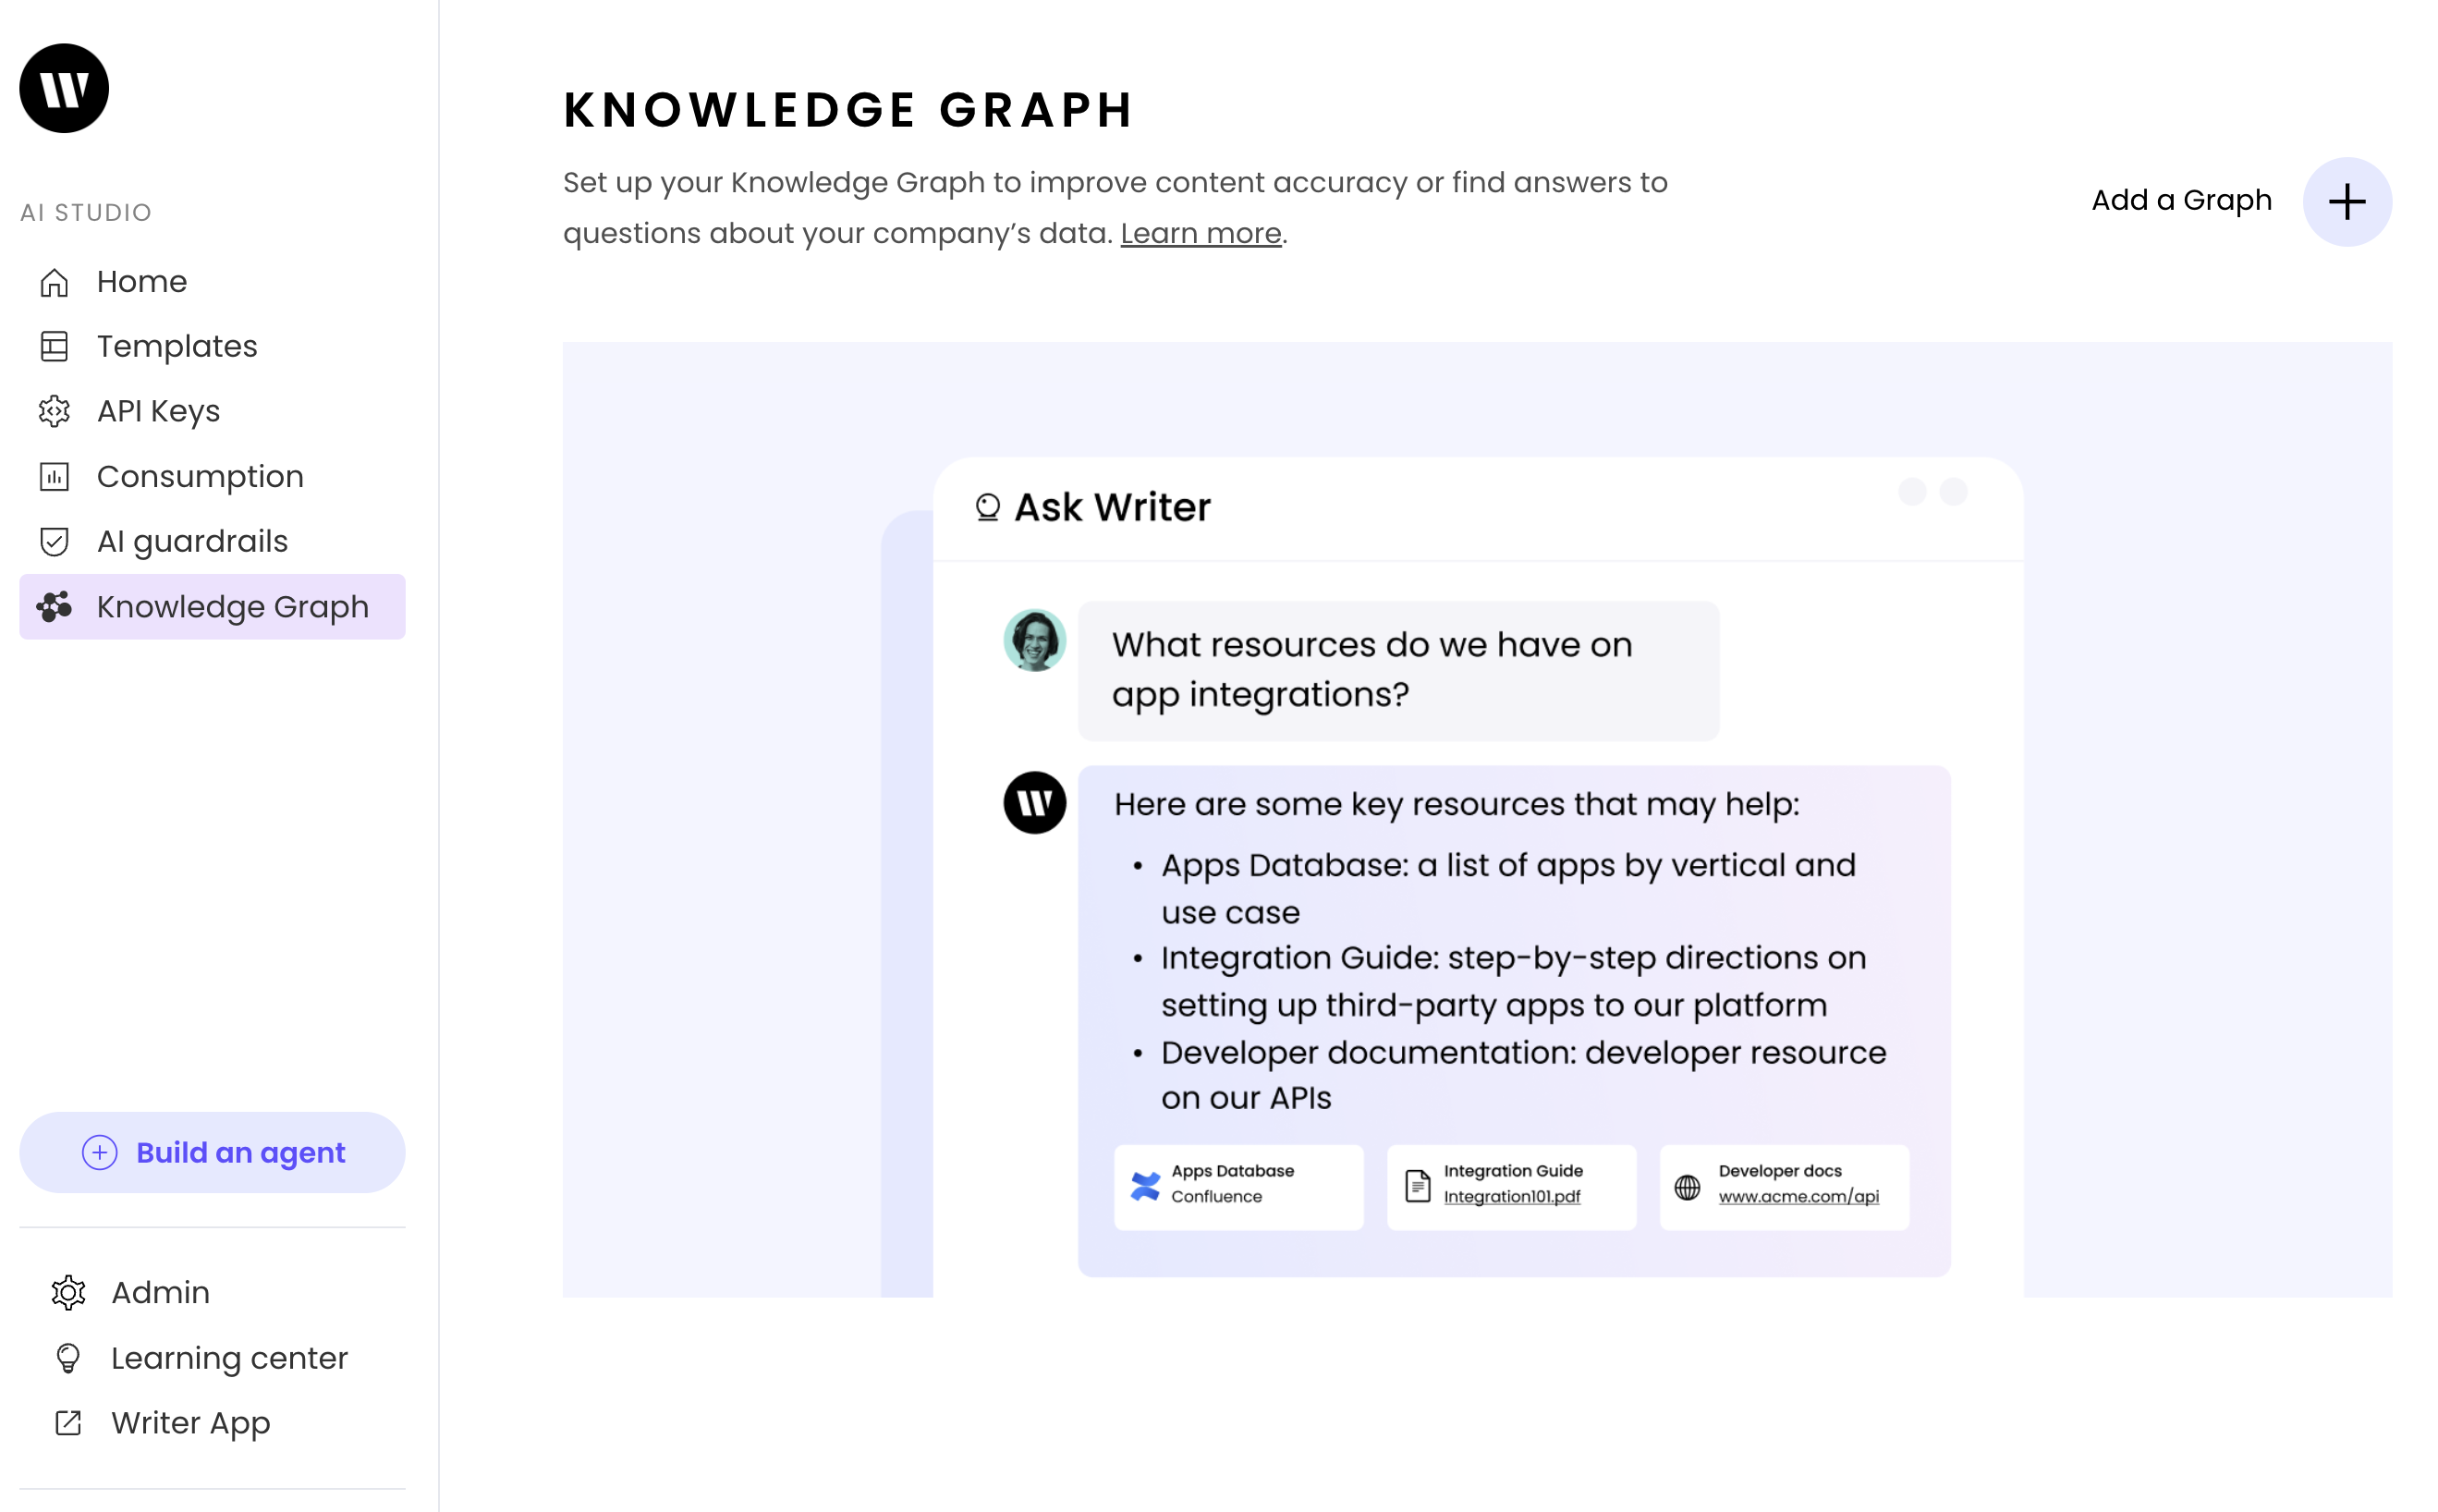
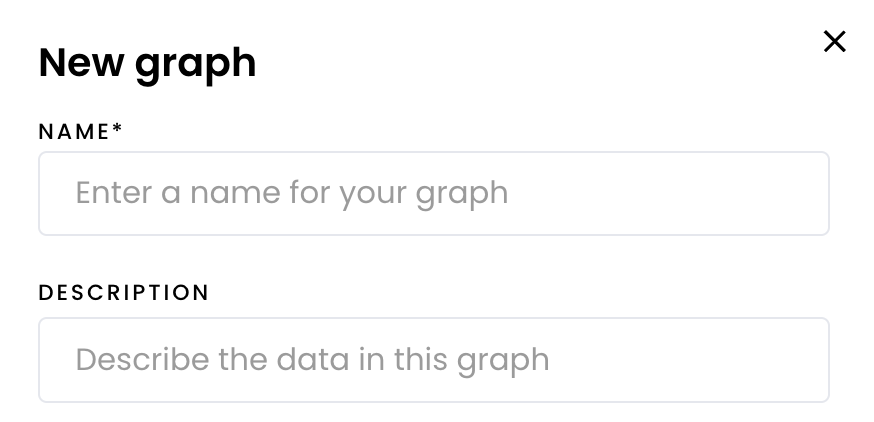
Add data to your graph
Choose how you want to add your data to the graph and add your data:
- Add via manual file upload: Upload files manually from your device
- Add via data connector: Integrate data from an existing tool such as Confluence, Notion, and Google Drive
- Add via API: Send docs to Writer via the API
- Add websites: Create a list of websites to search
Create an agent with chat capabilities
Once you create your Knowledge Graph, you can then create an agent with chat capabilities and add the Knowledge Graph to the agent.From the AI Studio home page, click Build an agent in the top right corner. Then, select Chat as the type of agent you want to create.
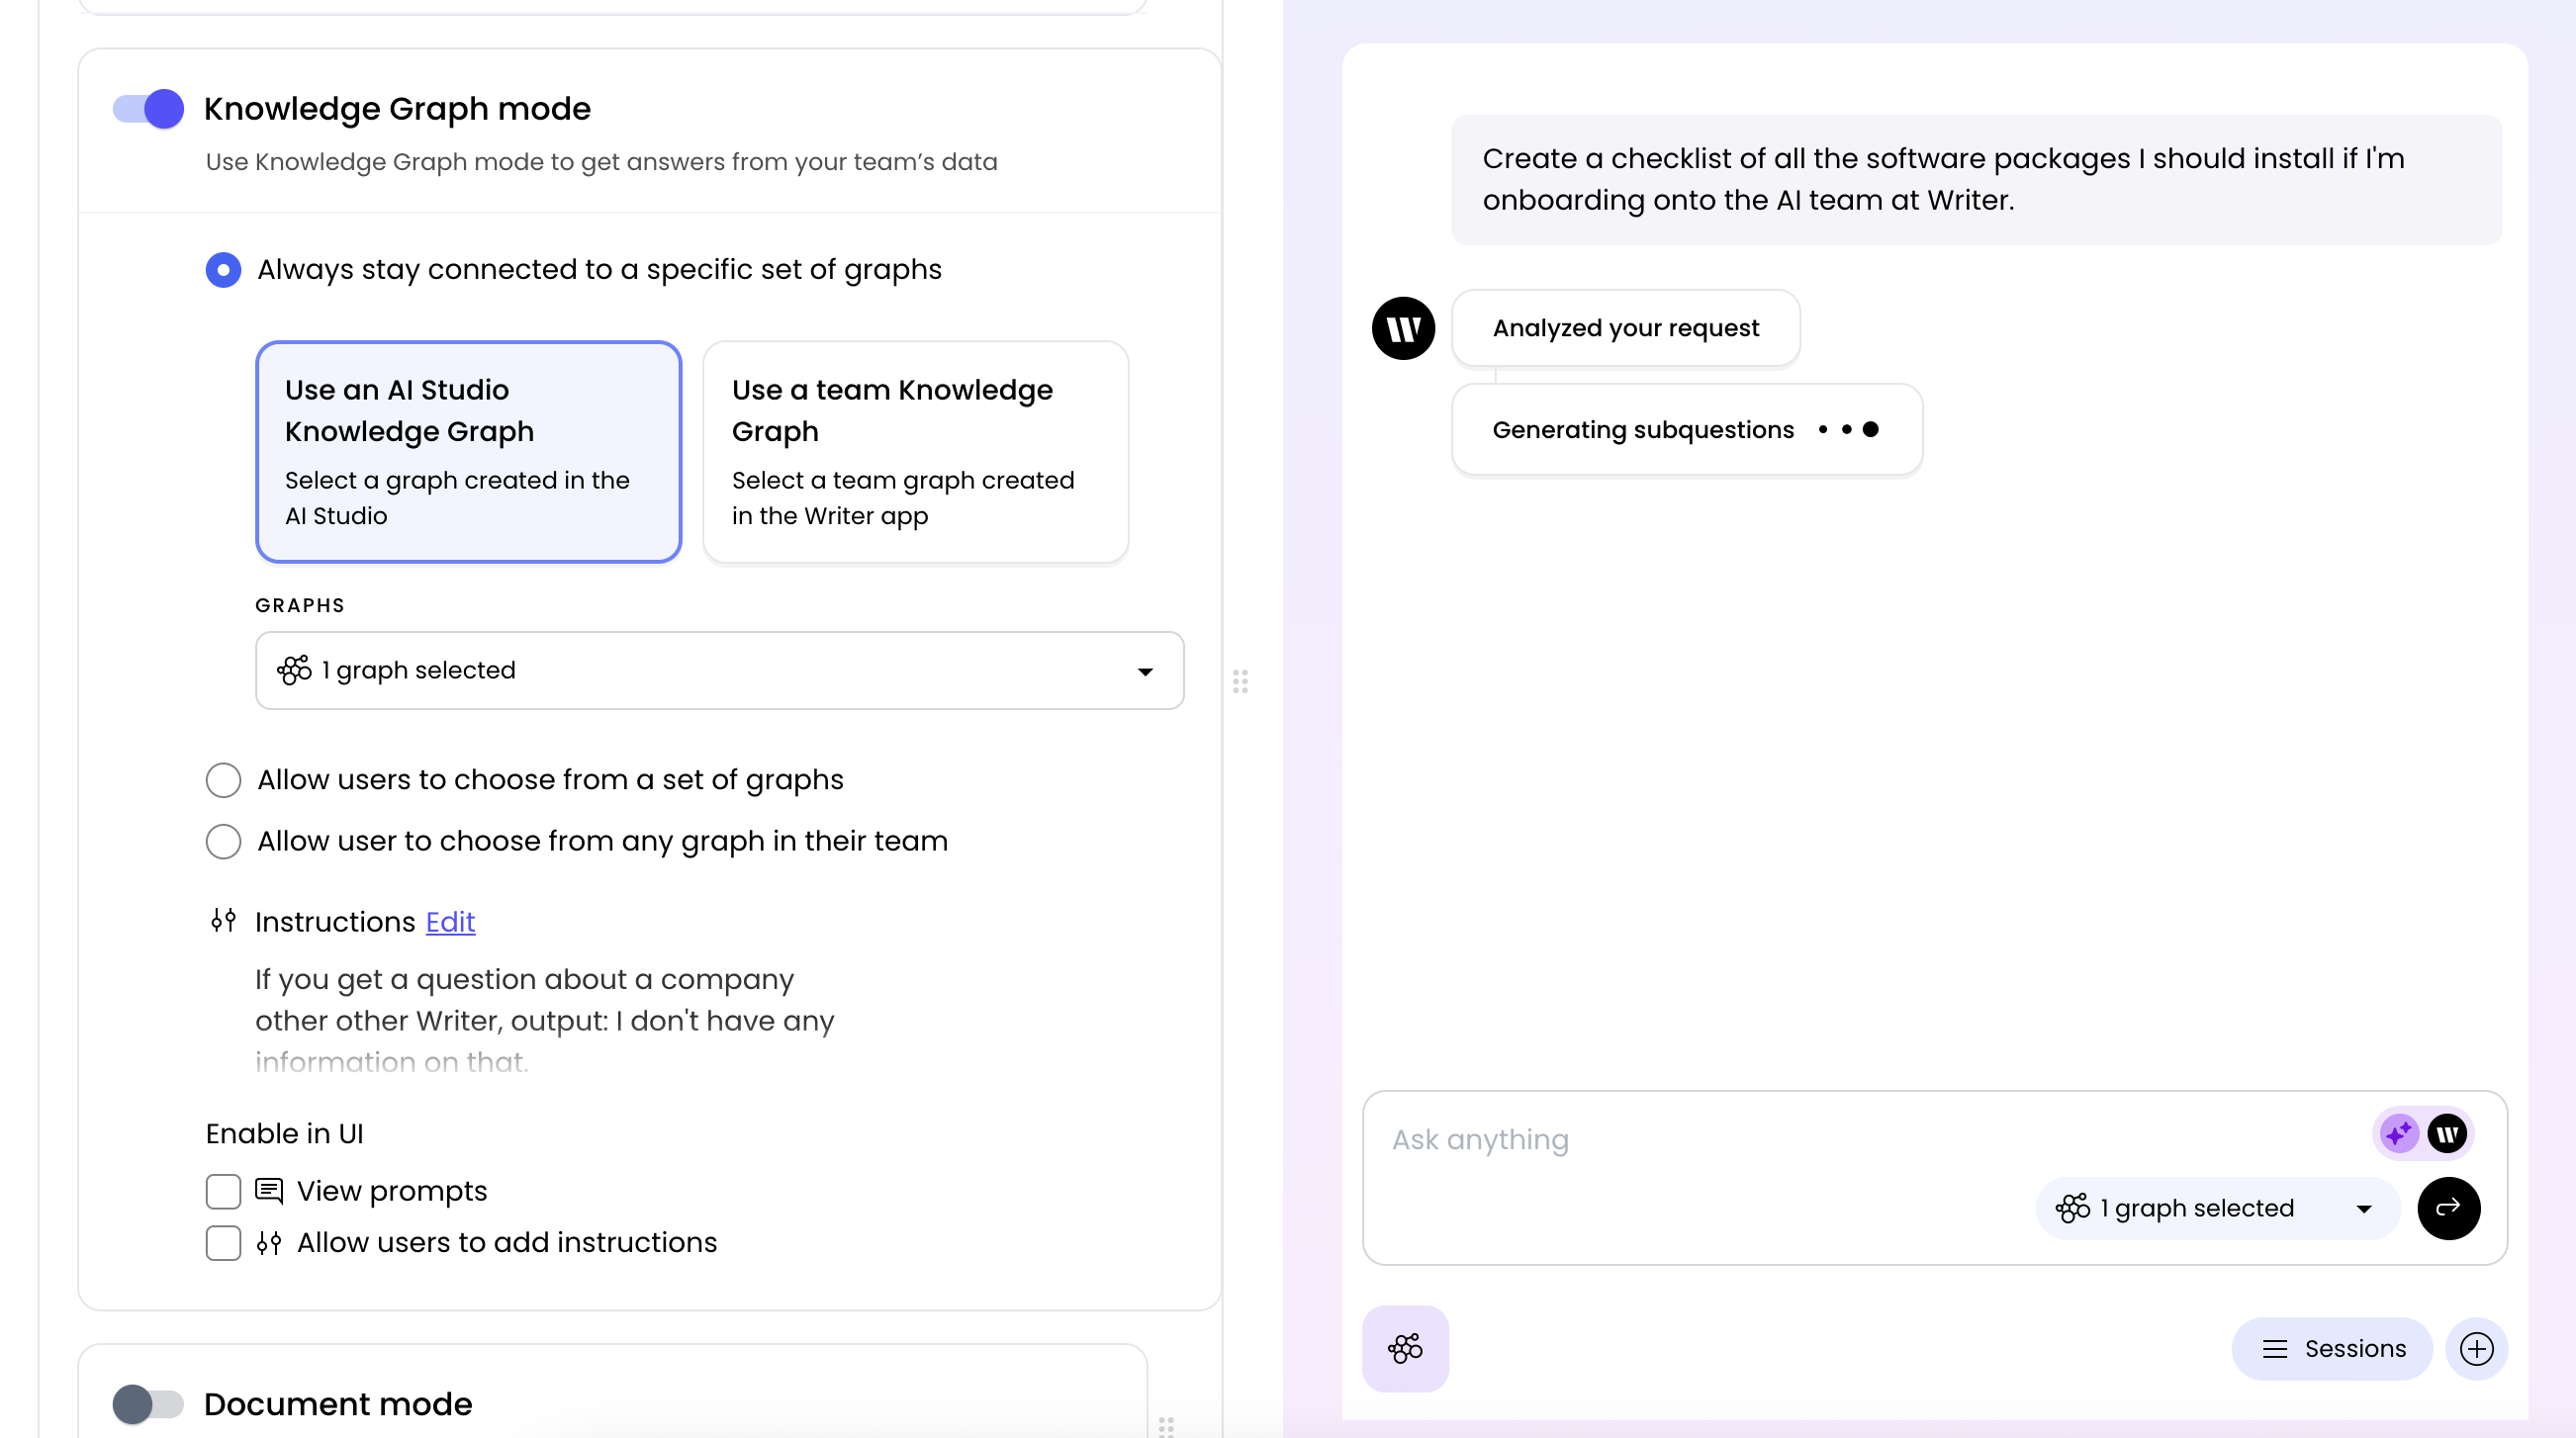
Enable the Knowledge Graph mode
For this example, enable only the Knowledge Graph mode so the chat agent answers questions specifically about your company’s data from the Knowledge Graph.In the agent configuration, turn off the General chat mode toggle and turn on the Knowledge Graph mode.Next, select Always stay connected to a specific set of graphs and select the Knowledge Graph you created in the previous step. This ensures that the agent only answers questions about the data in the Knowledge Graph you provide, and doesn’t allow the user to switch to a different Knowledge Graph.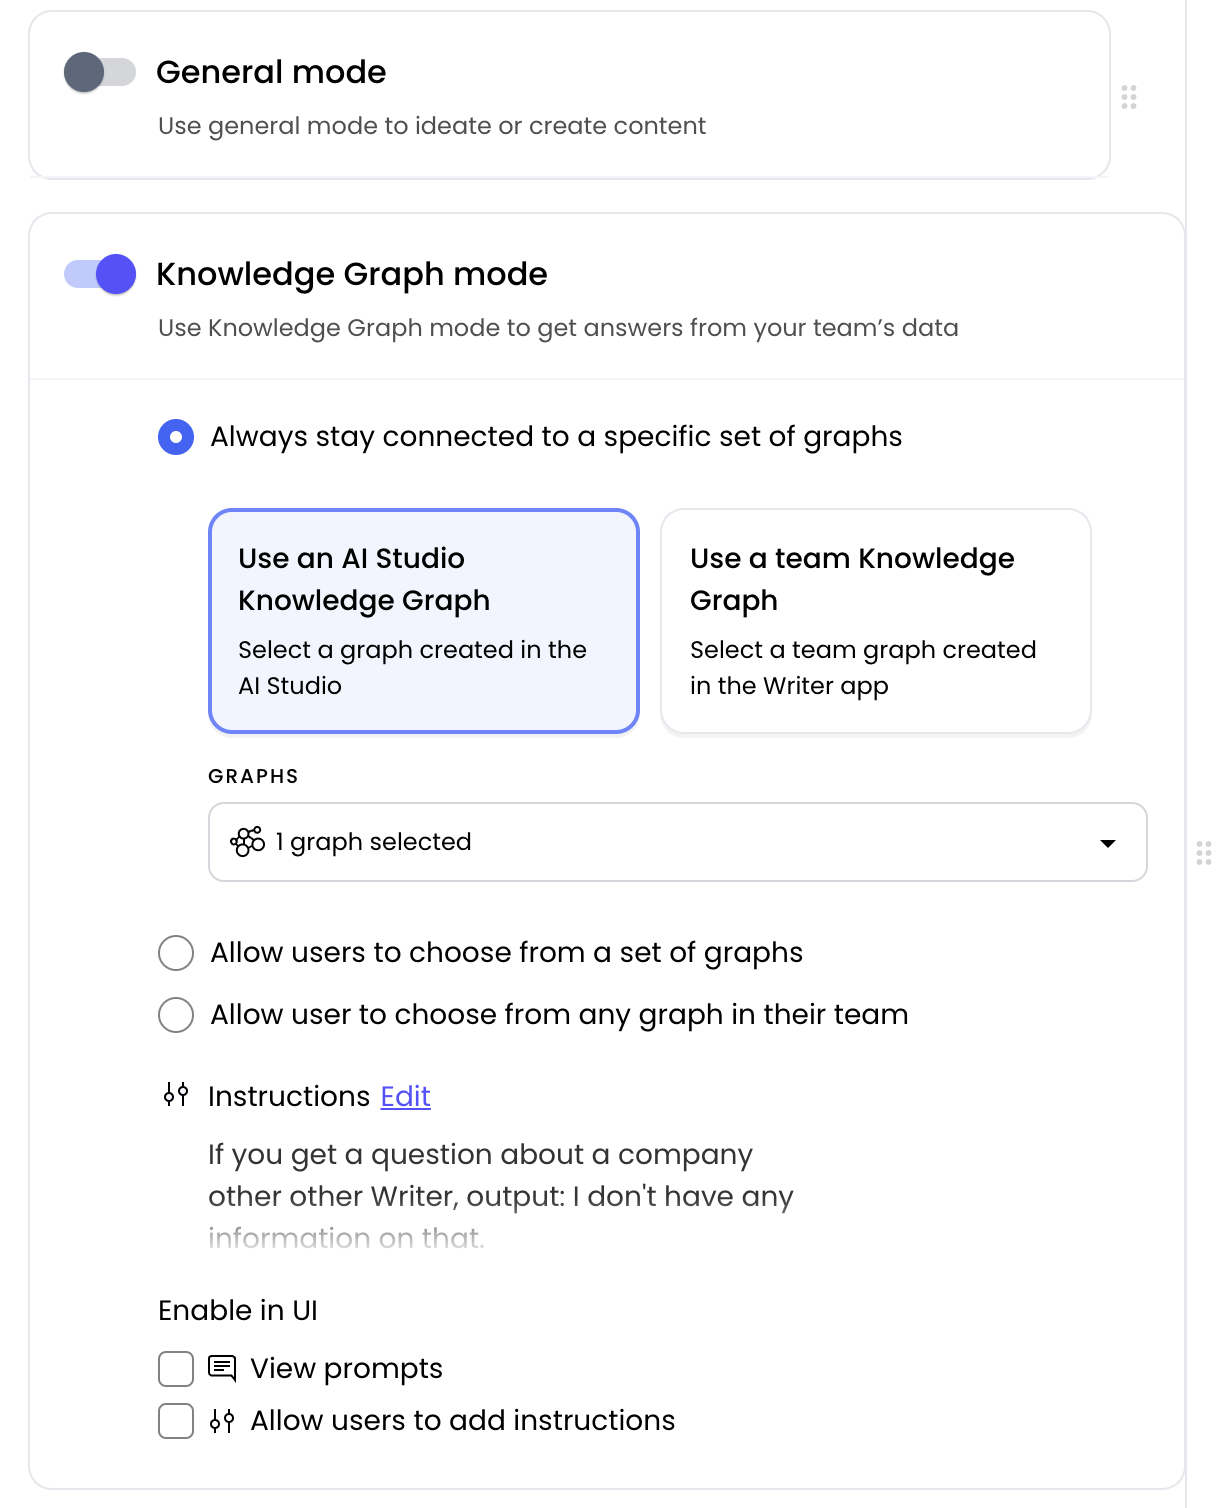
Add instructions for the model
You can add additional instructions for Knowledge Graph mode by clicking Add instructions.The instructions can include context for the model to understand what this agent does, and what types of answers it should provide. You may also want to include instructions on what to output if someone asks a question that isn’t specific to a customer story or quote.For example, you could include:
If you get a question about a company other than Writer, output: I don't have any information on that.
Test your agent
On the right side of the screen, you can see what your agent looks like and test it.Try asking a variety of questions to make sure you’re getting the types of answers you expect. You can continue to update the instructions until you’re happy with the answers you receive.
Deploy your agent
Once you’re happy with how everything looks, deploy your agent so that everyone can use it.