- Playground: Receive a URL to share with others to test the agent.
- Embed agent: Embed the agent on your own website or portal.
- Deploy to Slack: Enable the agent for use within Slack.
- Deploy to Writer: Enable the agent for use within Writer.
Playground
Playground is the easiest way to share and test your agent. Just go to Deploy and turn on the Playground toggle. You can either copy the Playground URL to share with others, or open the agent in Playground in a new tab.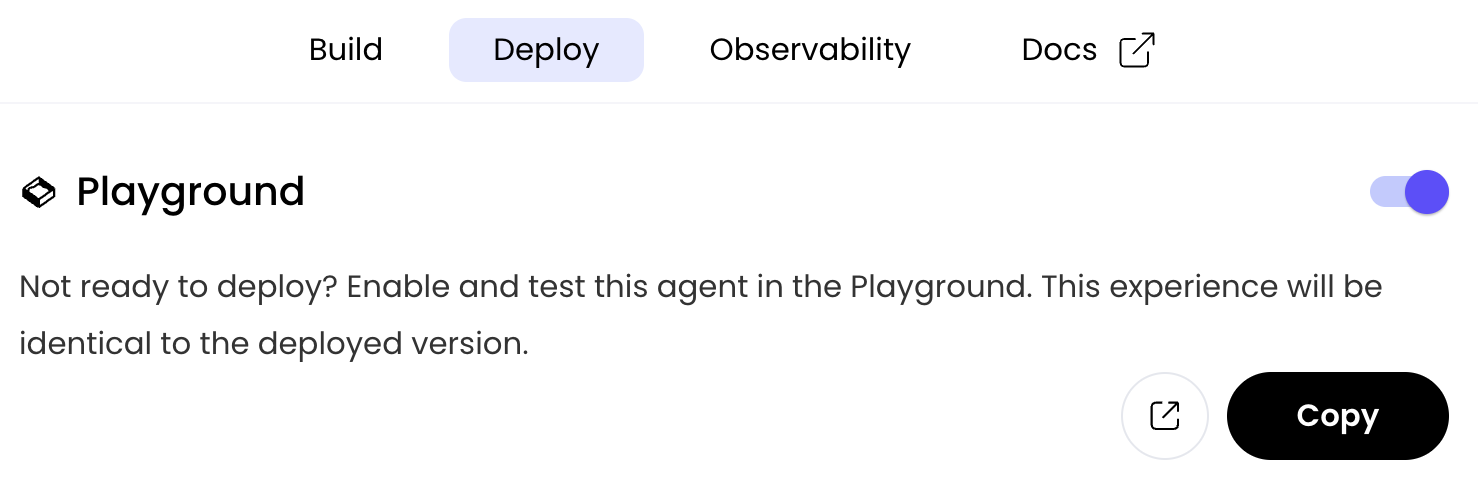
Embed agent
Embedding an agent allows you to embed the agent on your own website or portal.1
Toggle embed option
First, go to the Deploy tab and toggle the Embed Agent option.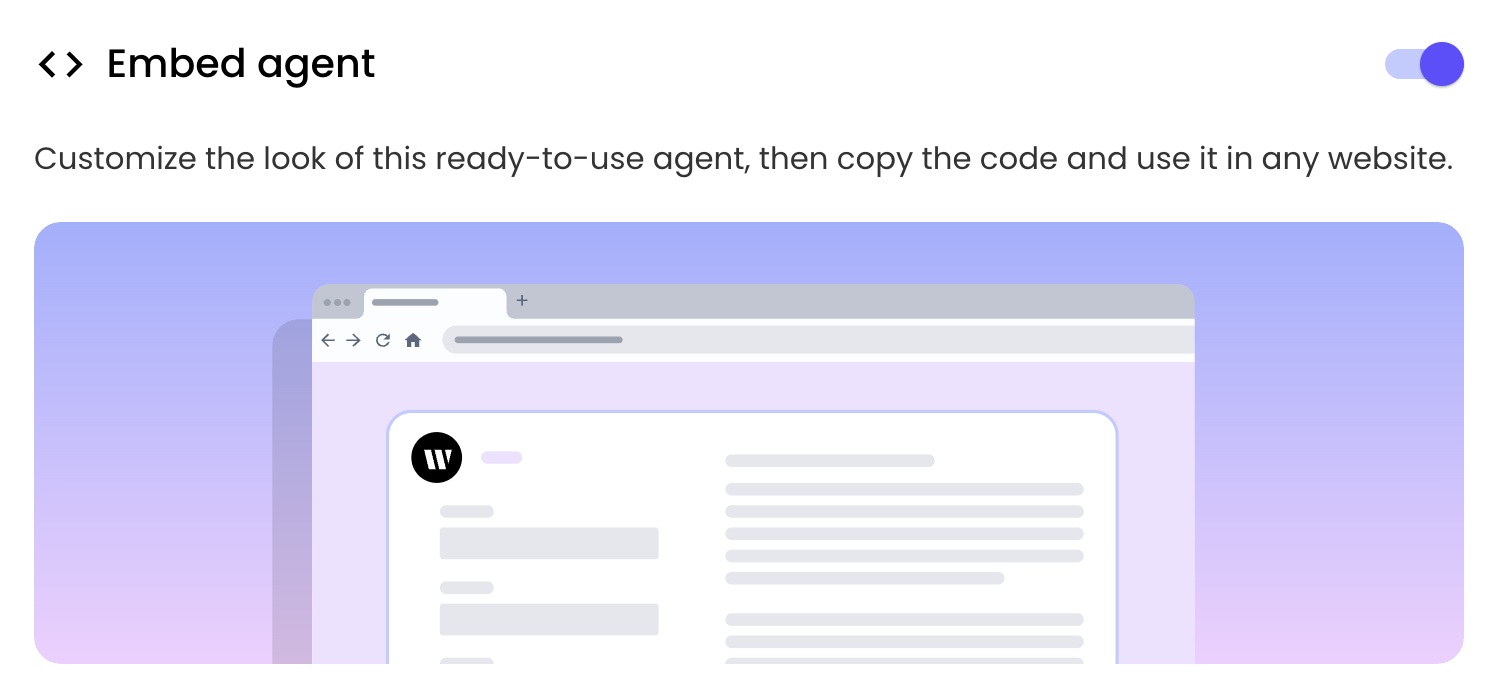
2
Add domains to allowlist
Prevent unauthorized use of this agent by adding domains to the allowlist
3
Select embed style
After enabling embed, select your preferred style: centered or widget.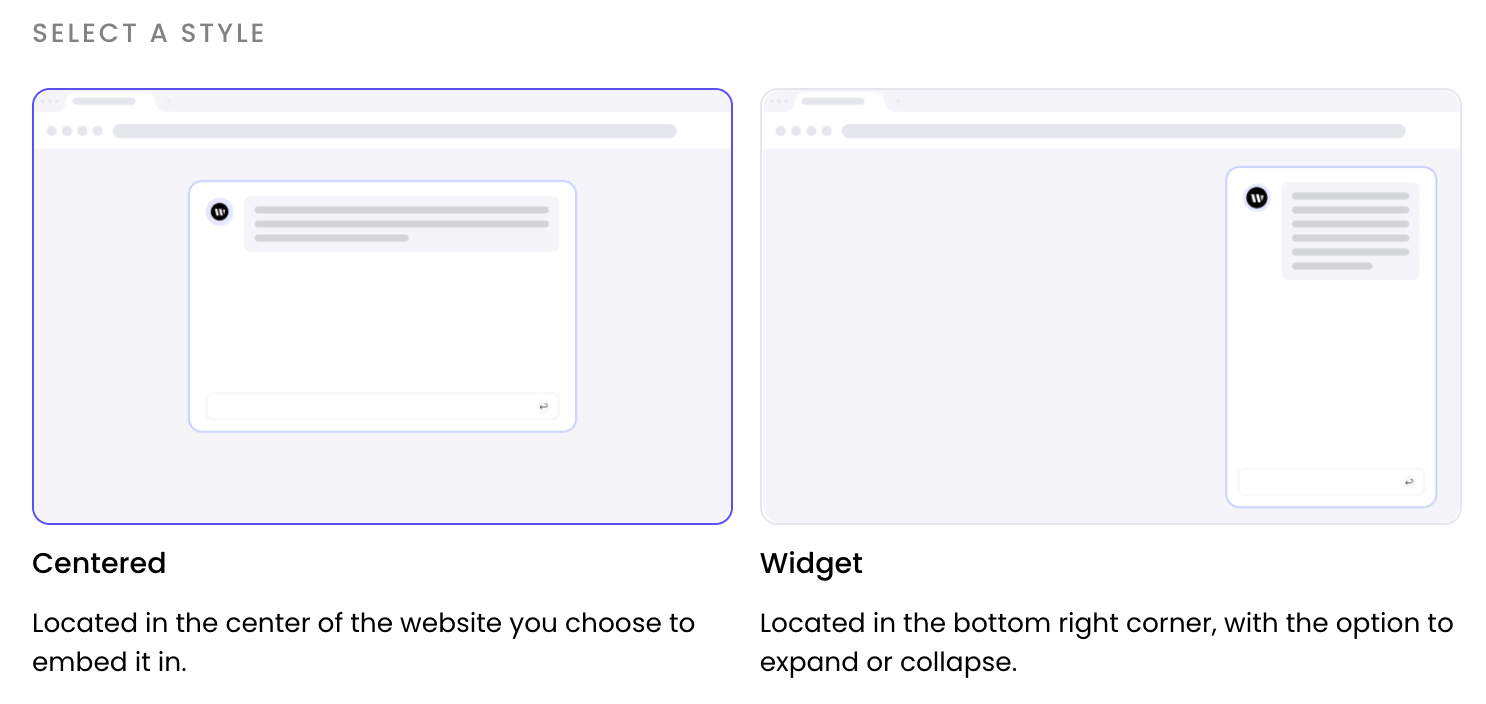
4
Copy the snippet
You’ll see a block of code that contains the snippet you need to include wherever you want, such as on your own website or portal. Copy the iFrame snippet and share it with your engineering team to embed this agent. You can disable the embed snippet at any time in AI Studio, and any changes you push will immediately update the embeds.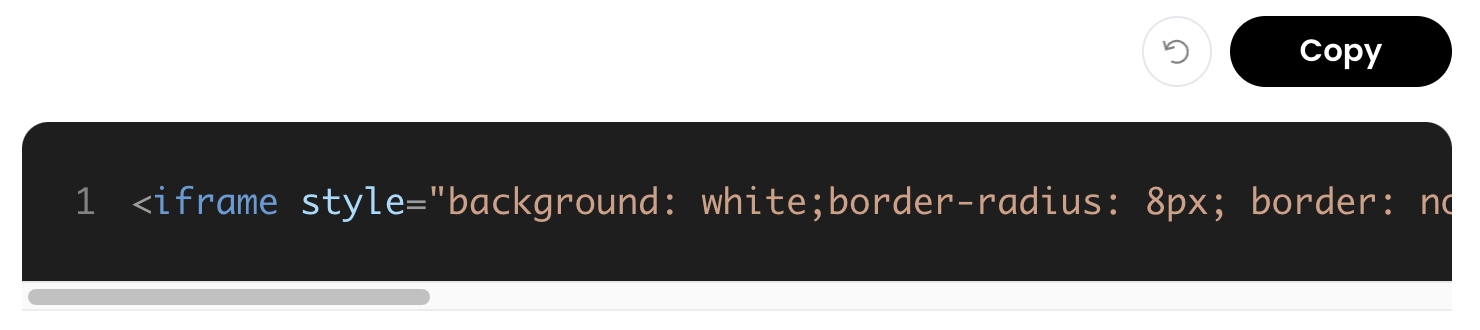
Deploy to Slack
If your organization uses chat agents with General chat mode or Knowledge Graph mode with AI Studio graphs, you’ll see a Deploy to Slack option. This allows you to enable the agent for use within Slack. Once deployed, the agent will be available in Slack, and you’ll be able to access it directly from within your workspace.You’ll have access to this deployment option if your organization uses agents with chat capabilities using General chat mode or Knowledge Graph mode.
1
Toggle Slack option
First, go to the Deploy tab and click the Connect to Slack link.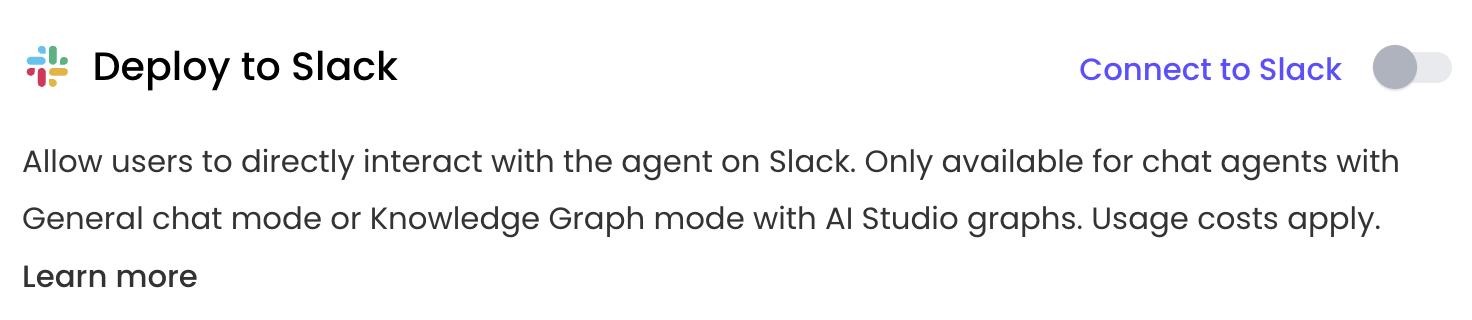
2
Go through the OAuth flow
Next, you’ll need to go through the OAuth flow to allow Writer to access your Slack workspace.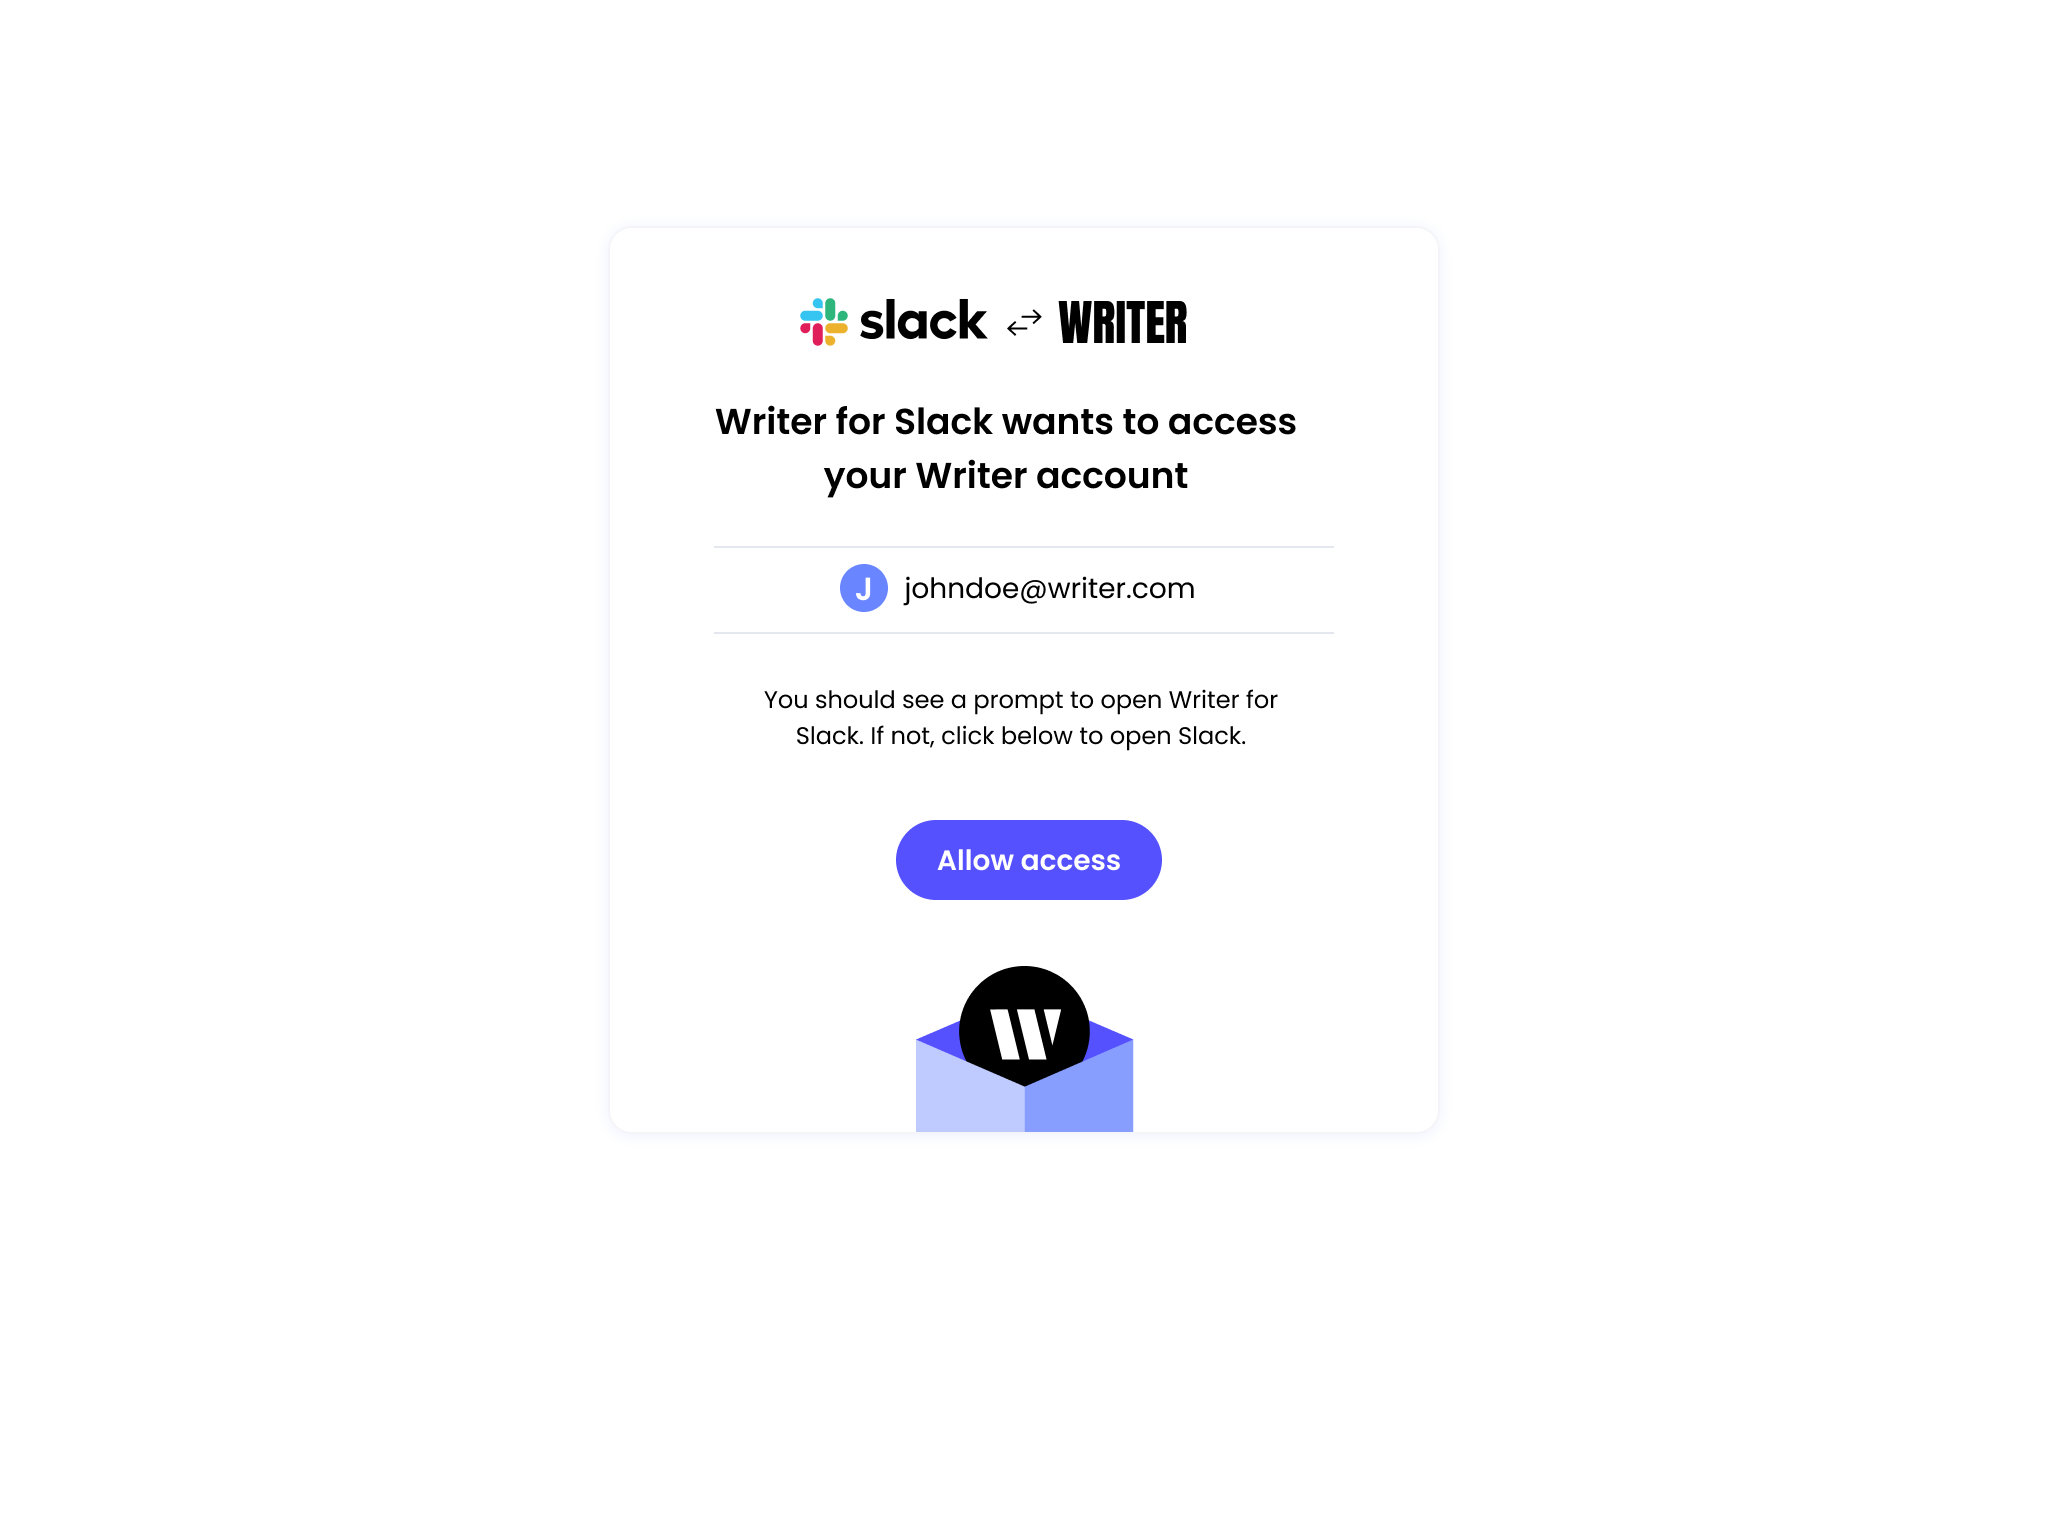
3
Toggle Slack option
You can now toggle the Deploy to Slack option to enable the agent for use within Slack.
4
Connect to Writer
Once the agent is Slack-enabled, you can start interacting with it by clicking the Writer button in Slack and selecting “Connect to Writer.”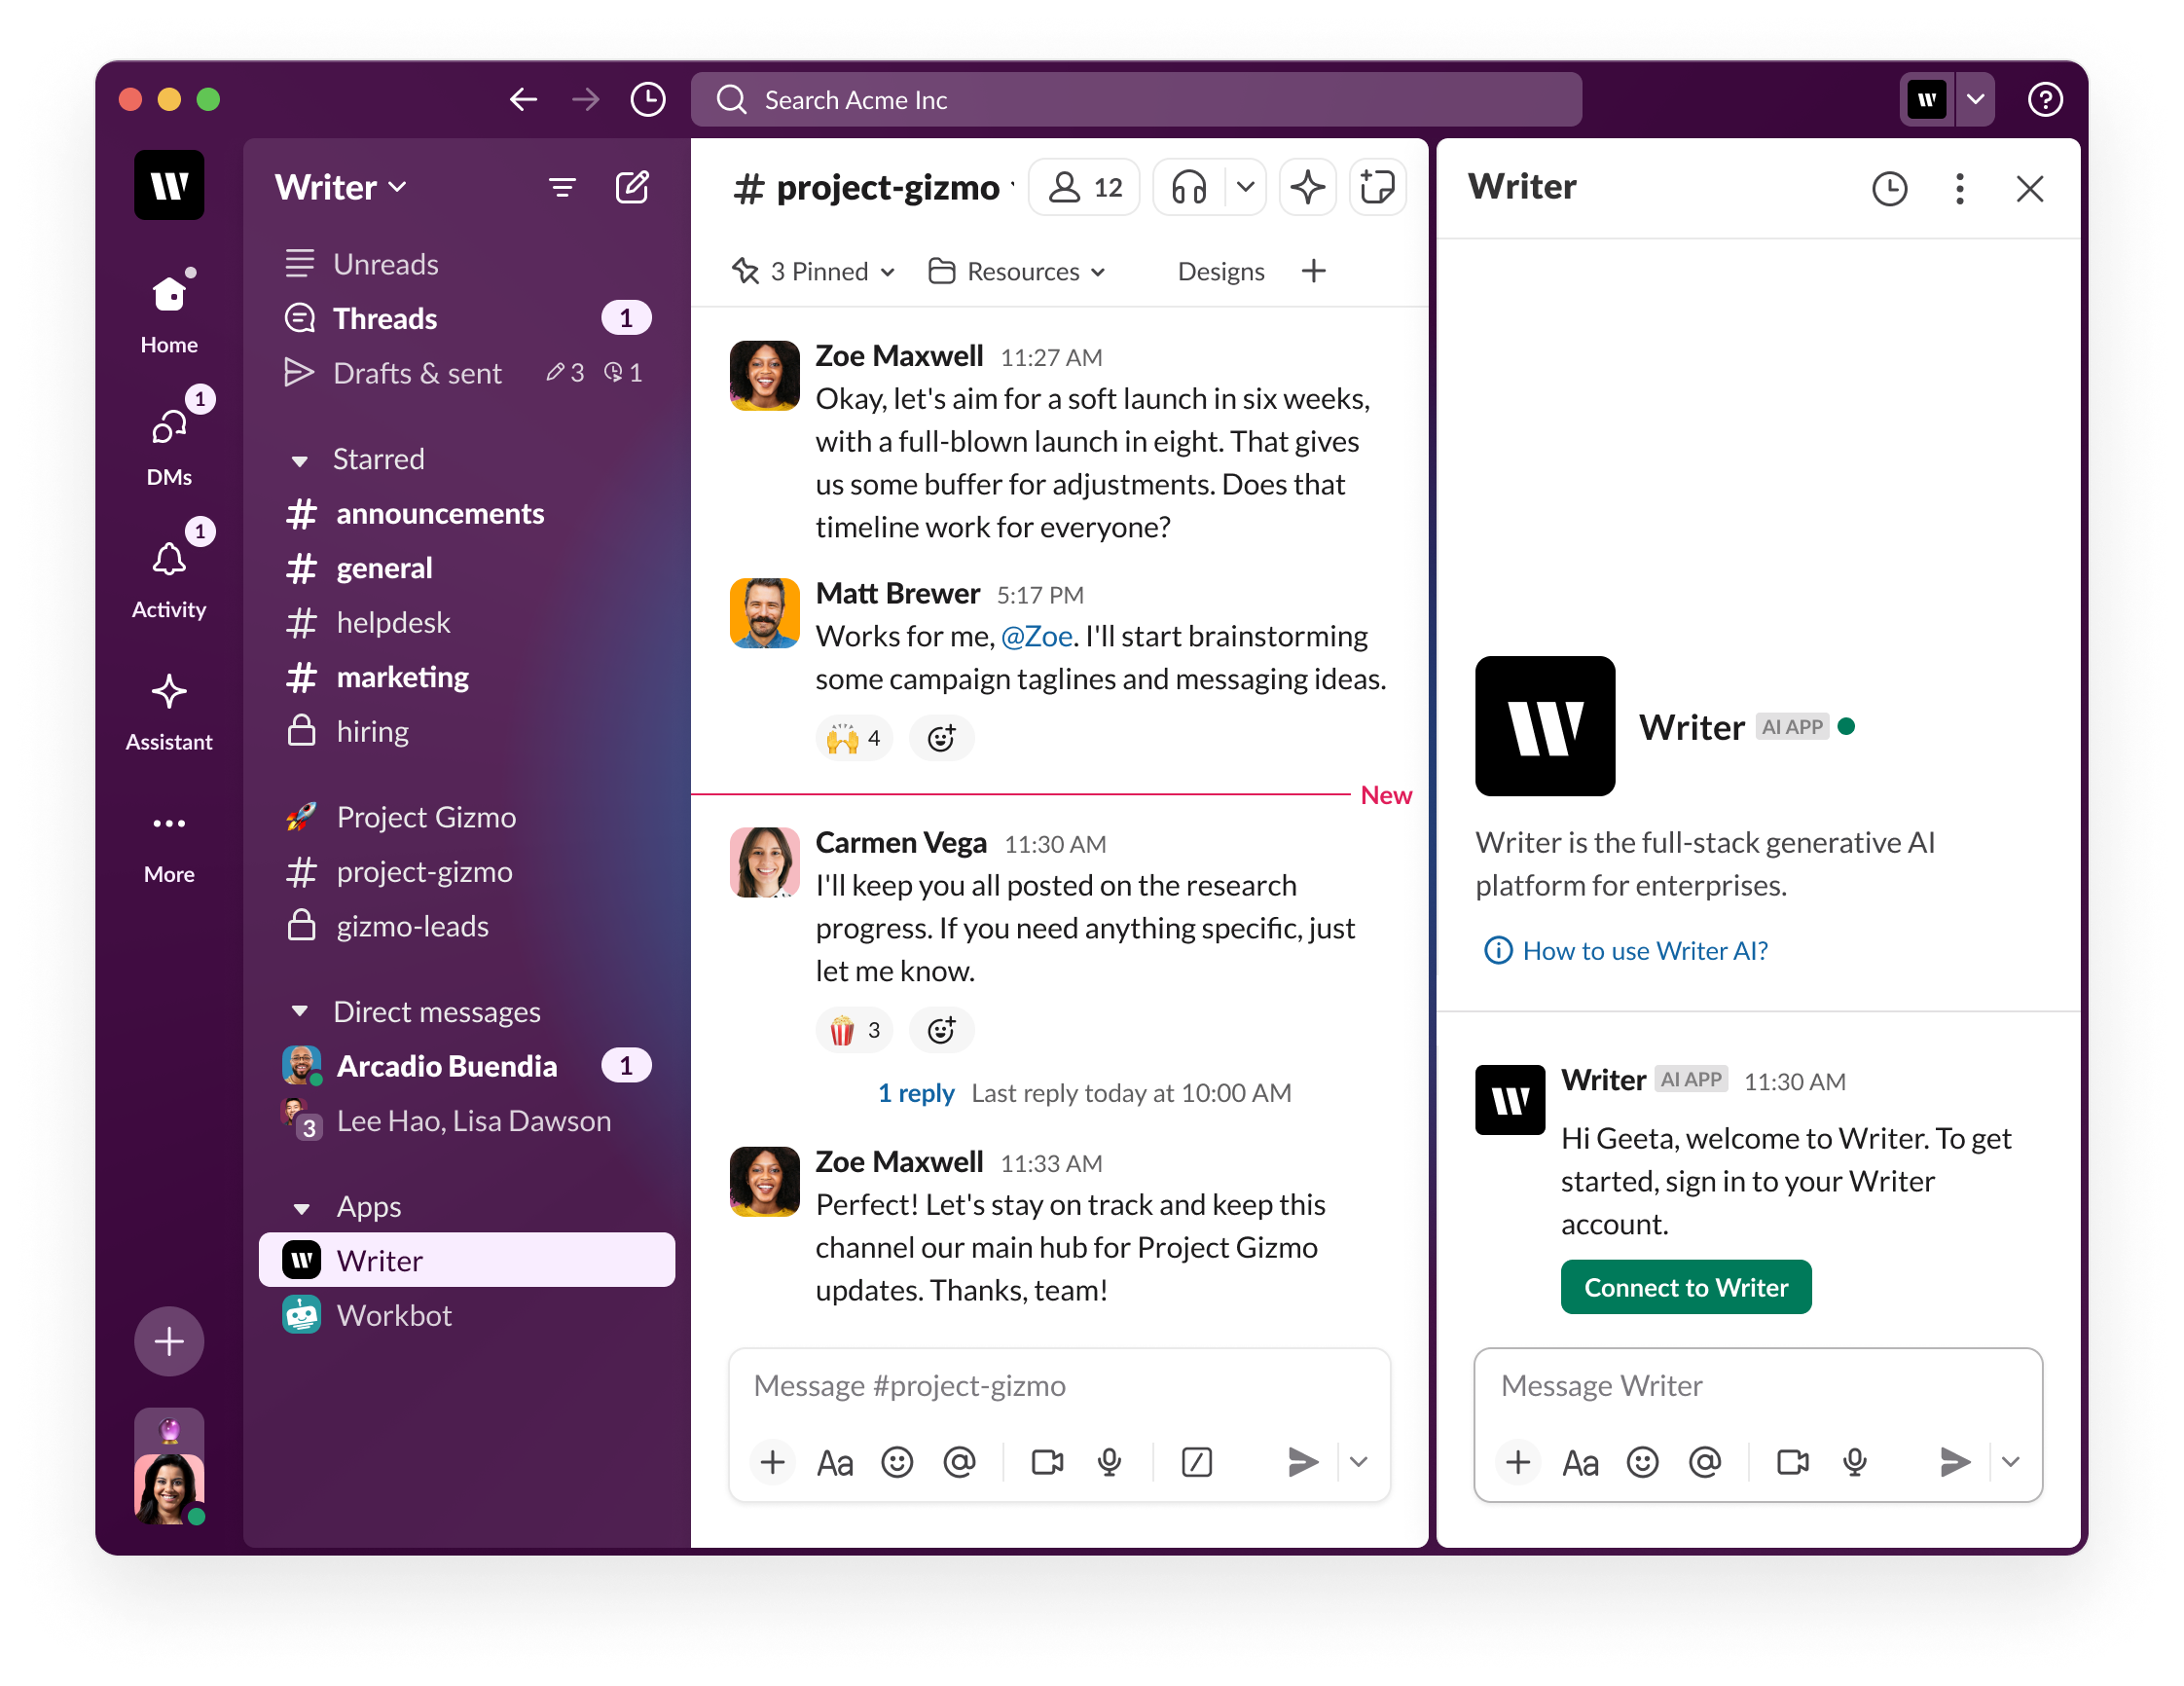
5
Return to Slack
When you return to Slack, the agent will be available for use. You’ll see that the Q&A functionality is now integrated within Slack.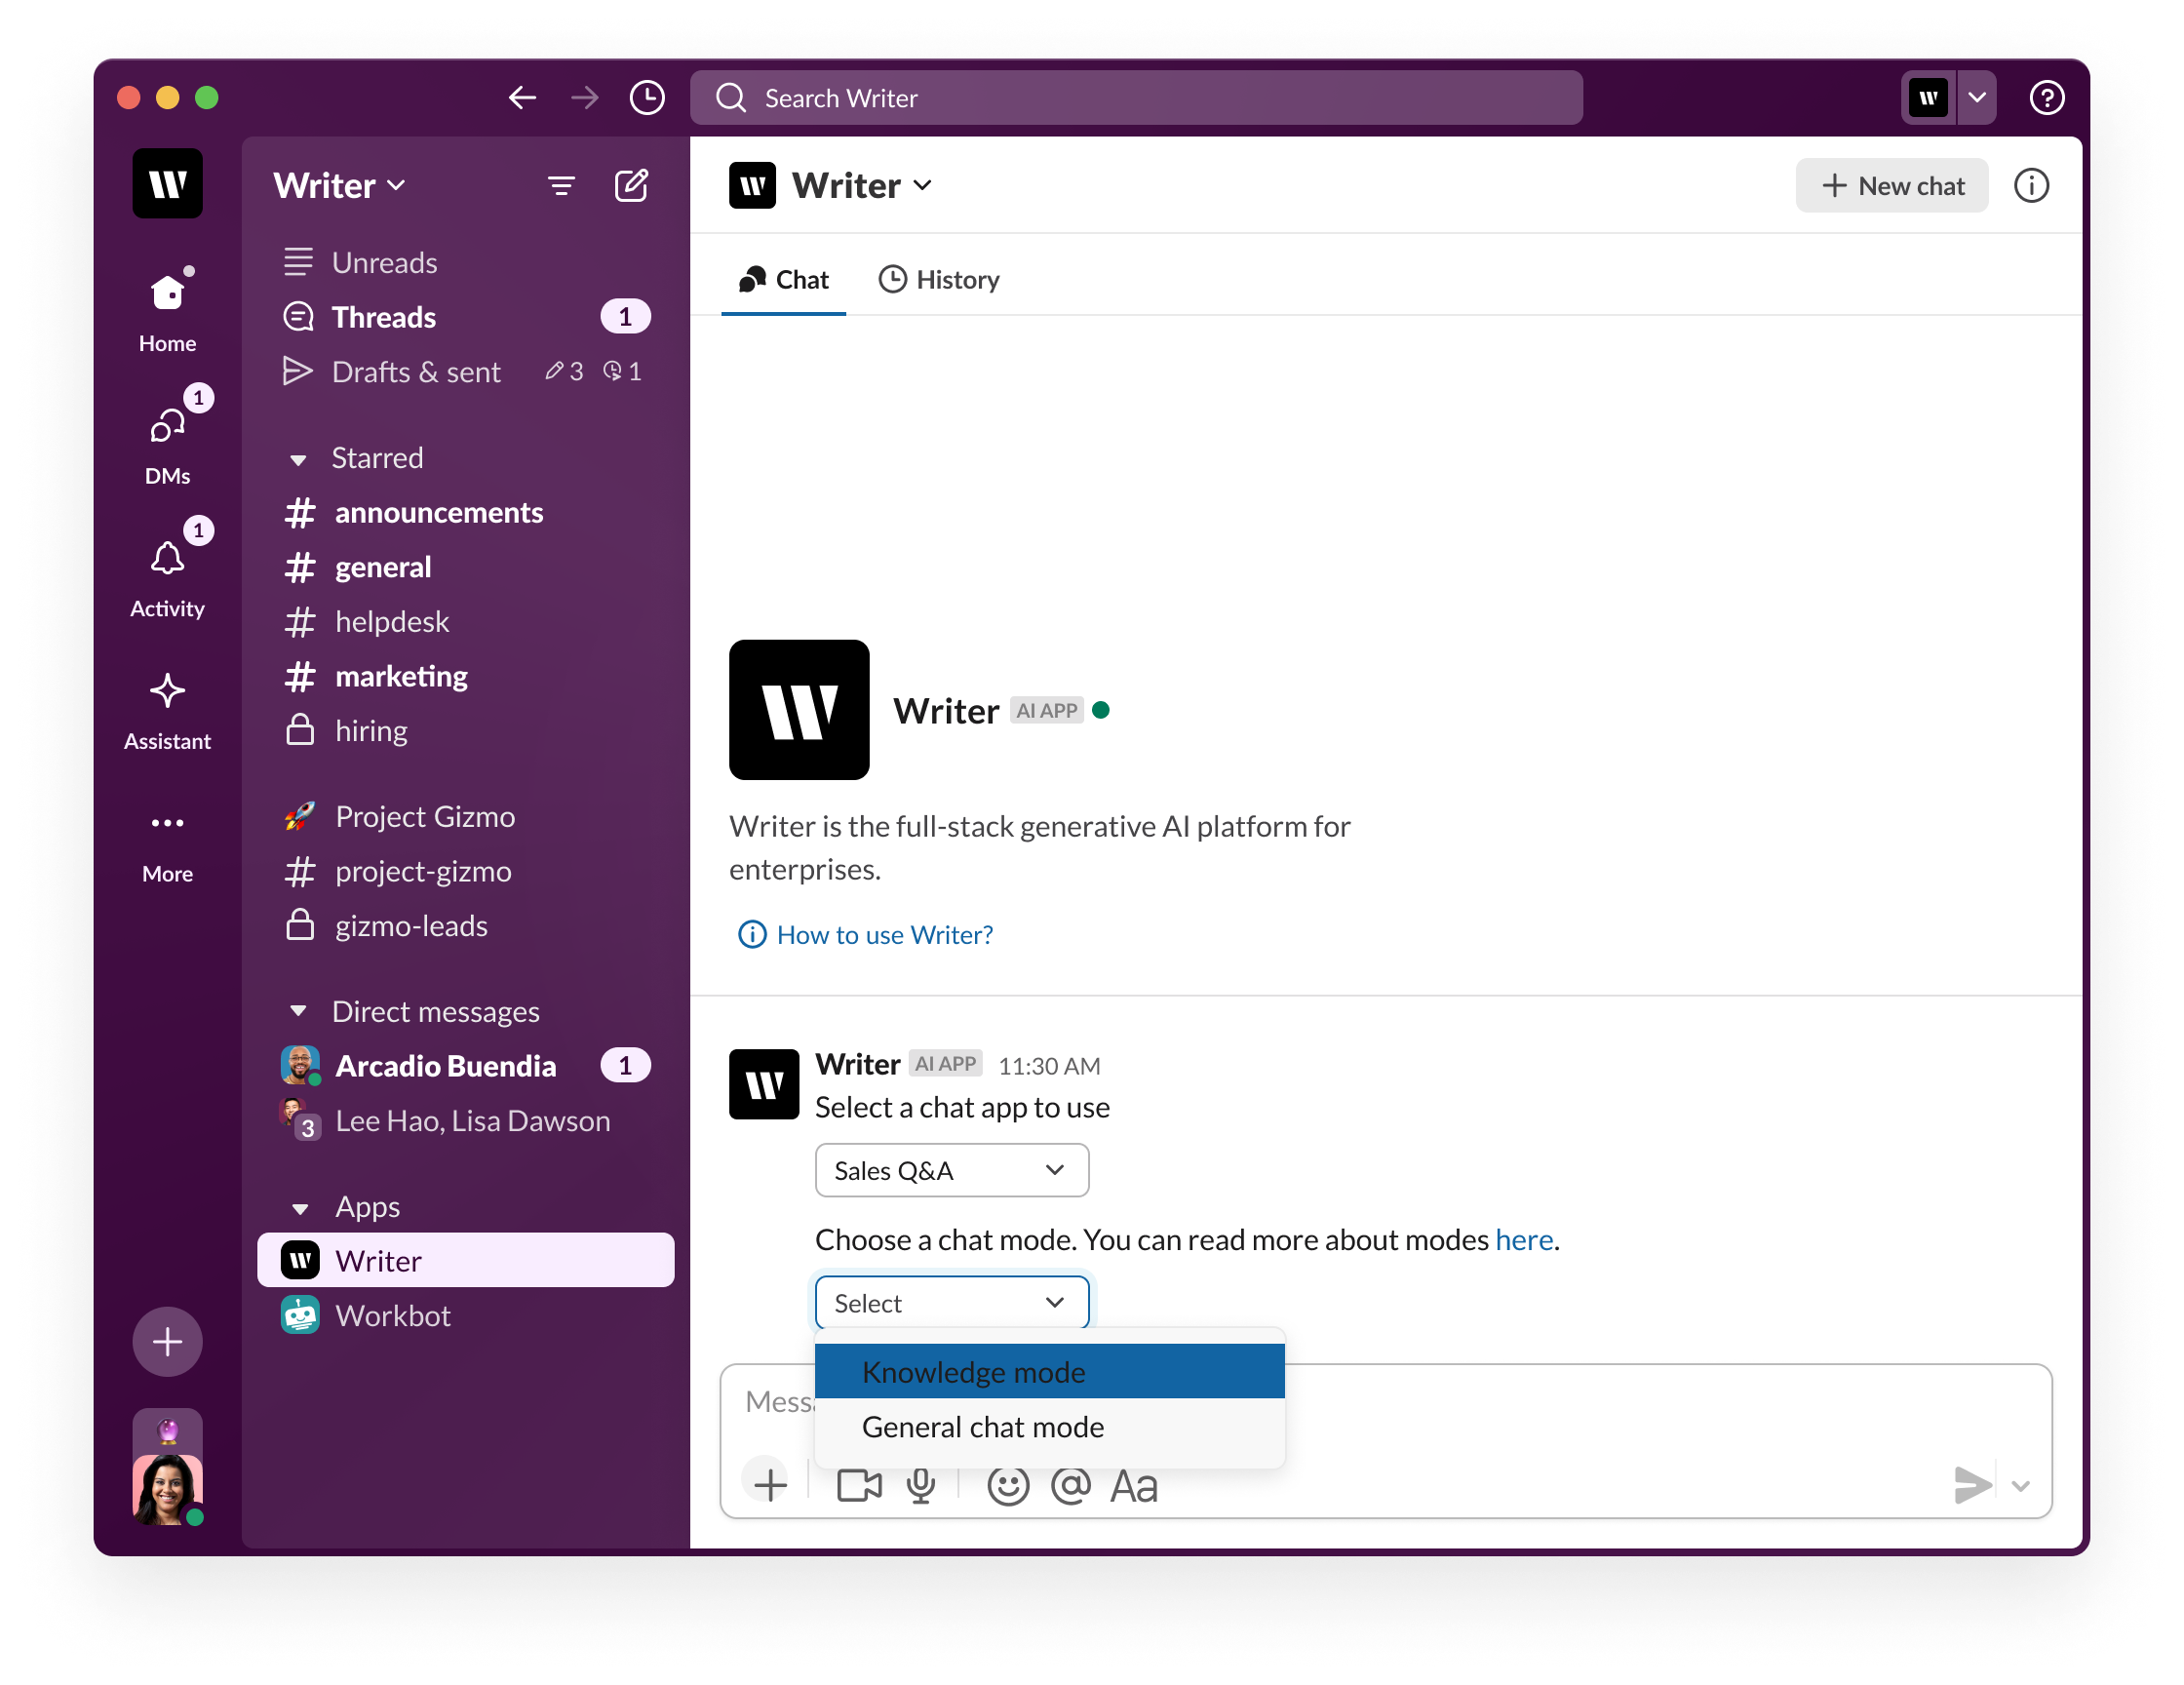
6
Select interaction mode
When using the agent in Slack, you’ll have two interaction modes: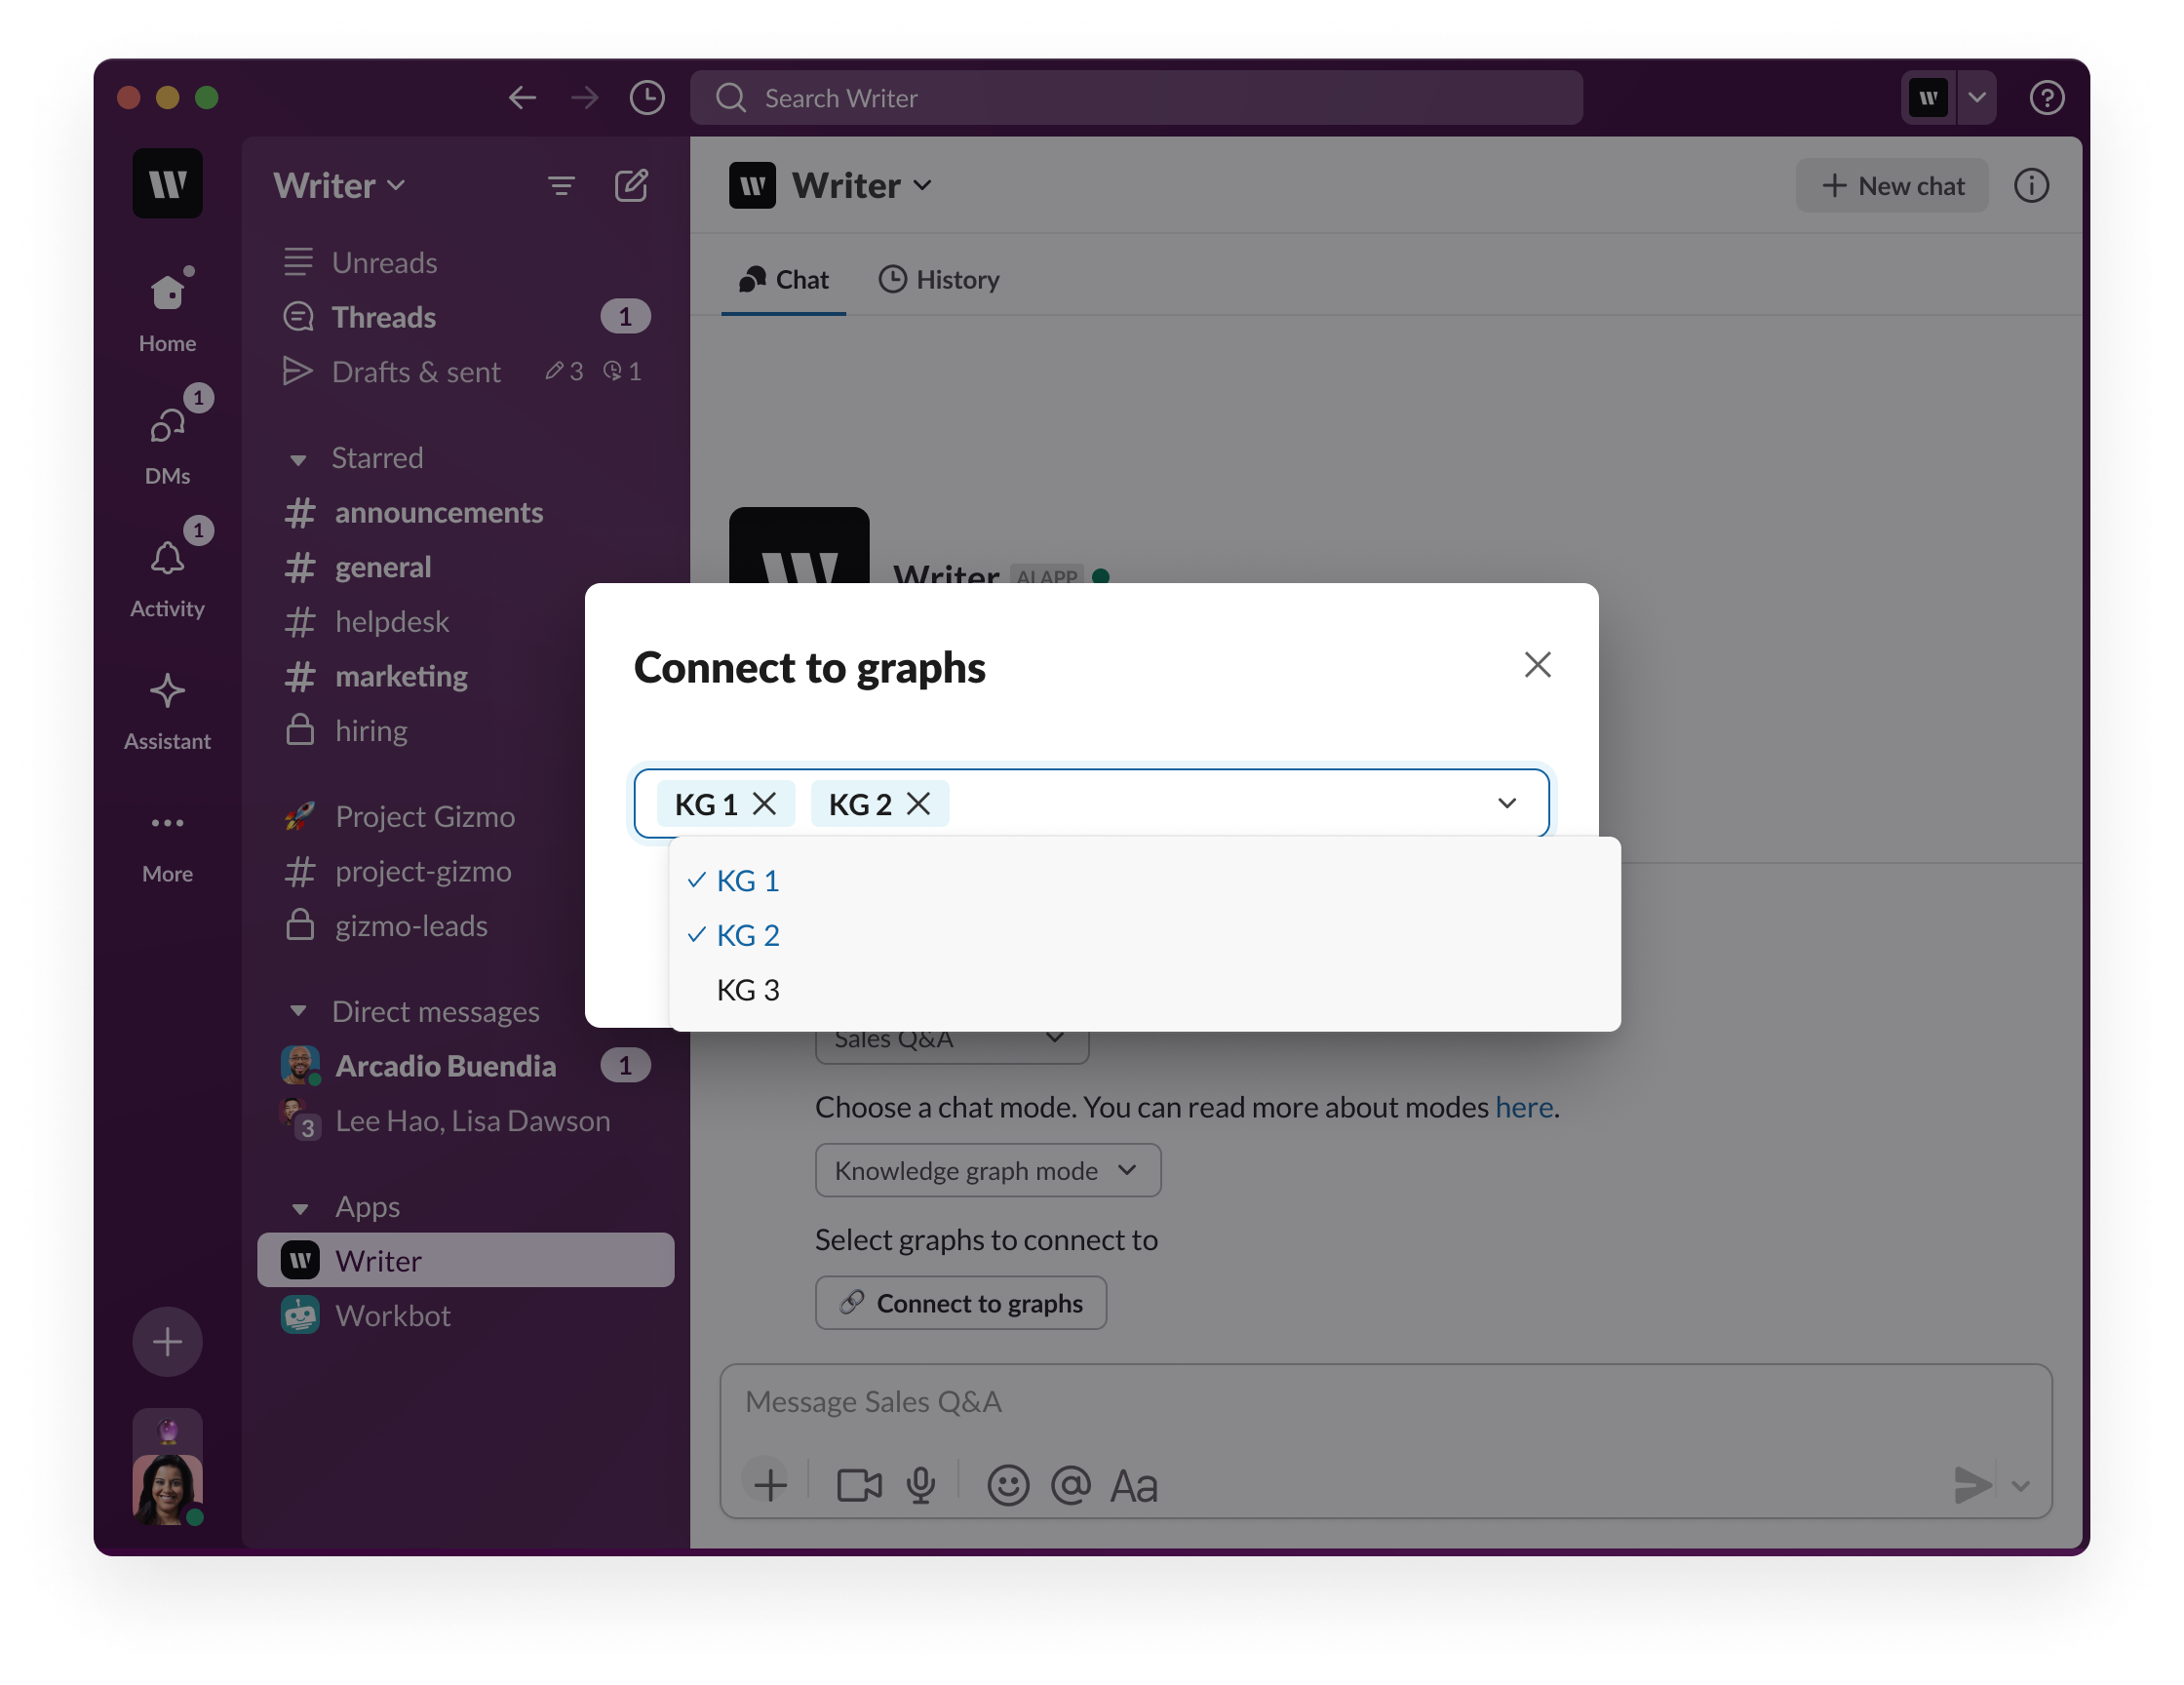
- General mode: If the agent uses General mode and doesn’t include a Knowledge Graph mode, simply select it and start chatting.
- Knowledge Graph mode: If the agent includes a Knowledge Graph, select the interaction mode—either Knowledge Graph mode or General mode.
- In General mode, it’ll function like a non-graph-enabled agent.
- In Knowledge Graph mode, you’ll be prompted to connect the relevant graphs. Once connected, you can start chatting with the agent.
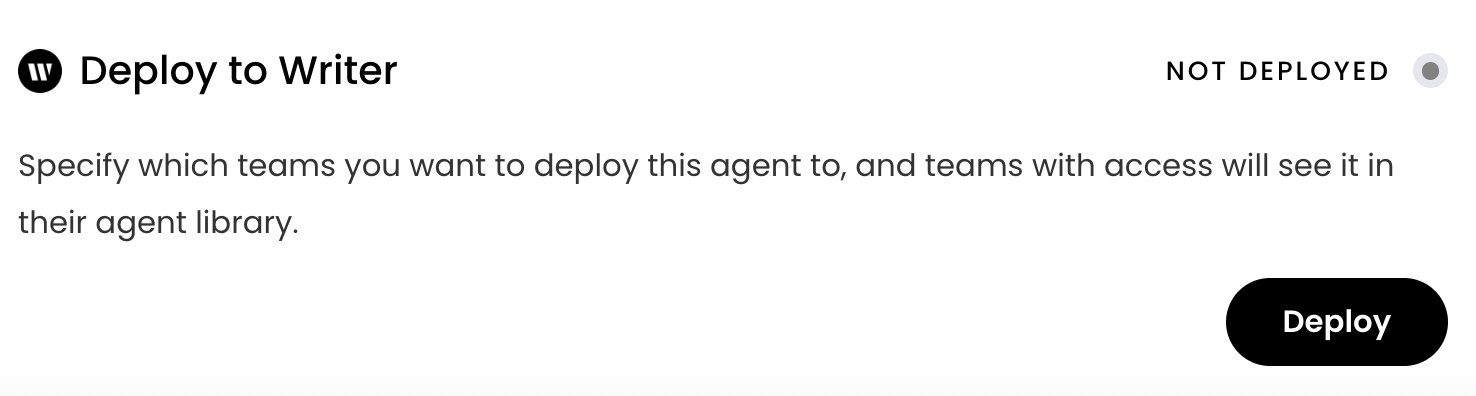
Deploy to Writer
If your organization uses the Writer App in addition to AI Studio, you’ll see a Deploy to Writer option. This allows you to select specific teams in Writer where you want to deploy the agent.You’ll have access to this option if you have access to the Writer App.
1
Update Agent Info
Before deploying to Writer, update the Agent Info under the Agent Guide tab to provide helpful information about the agent to users.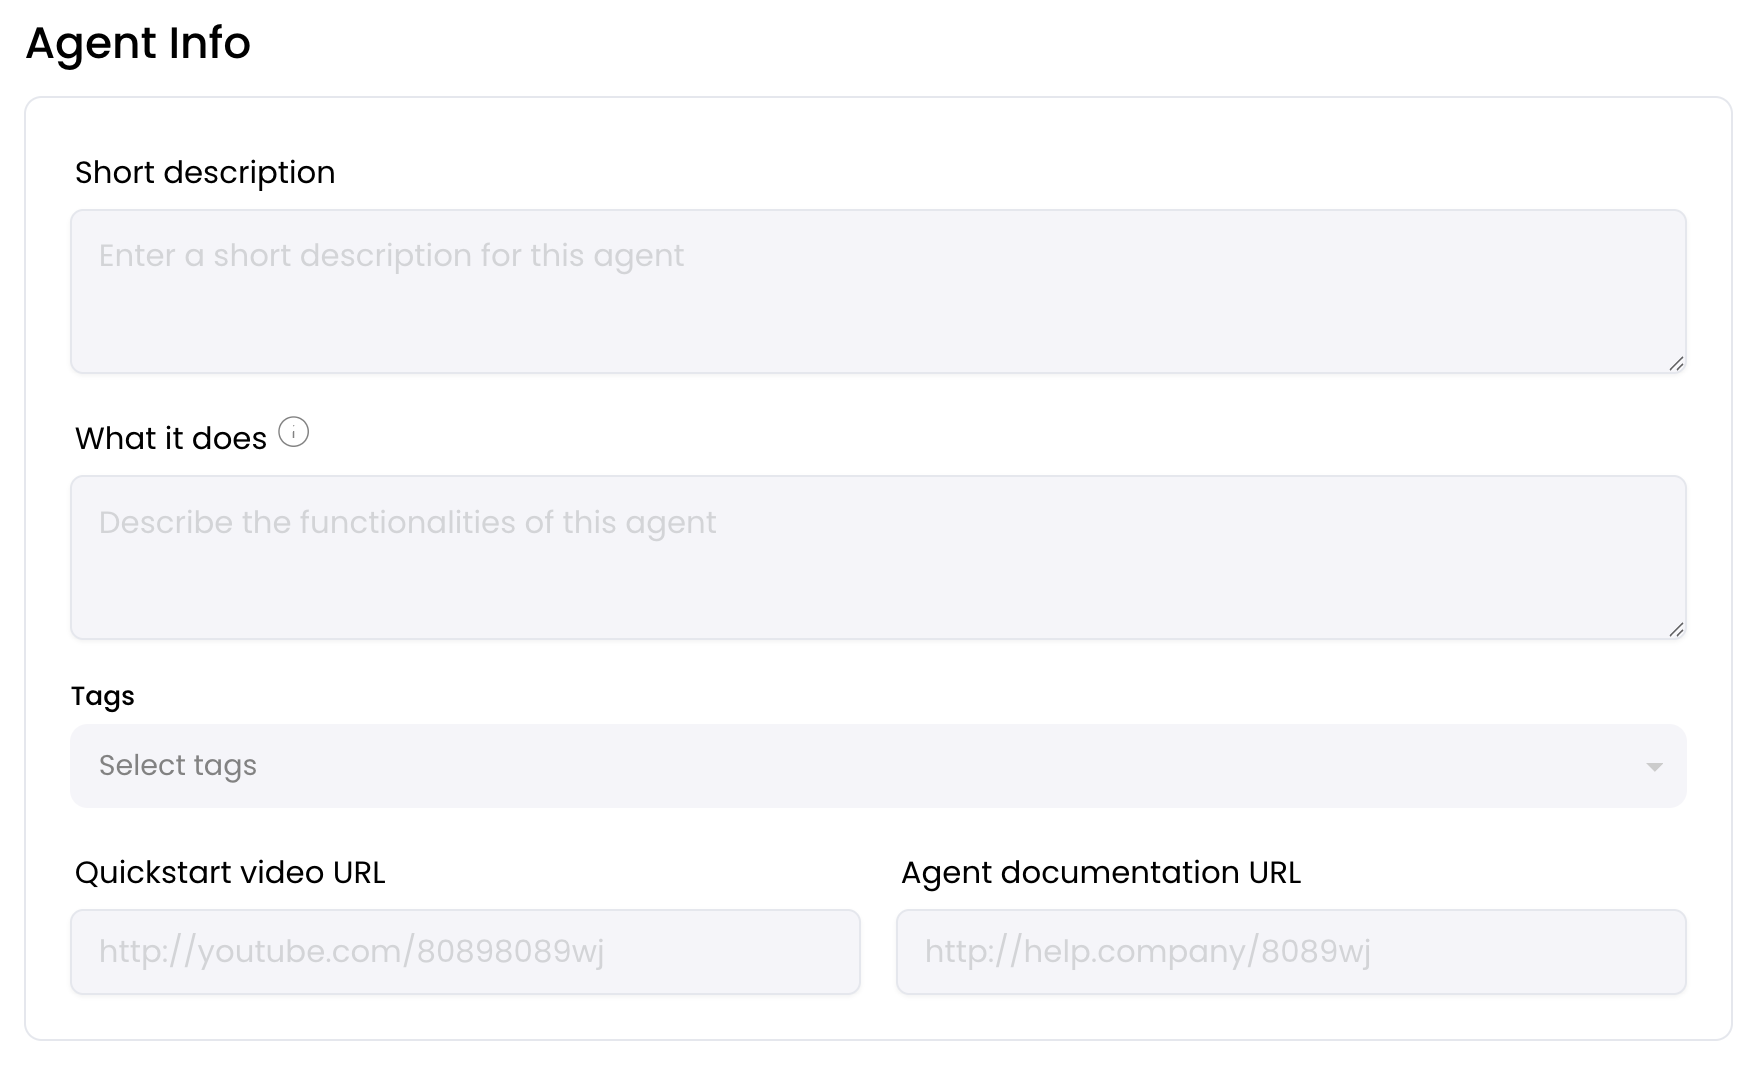
2
Deploy to Writer
Click the deploy button. Once deployed, the agent will be available to those teams within the app library. You can choose to deploy the agent to all teams or select specific teams.