

Agent Builder v2 is in open beta. Features and limitations described here are subject to change.
Prepare your environment
Before you begin, make sure you have:- AI Studio access with Agent Builder v2 enabled for your organization. Your Writer contact can confirm this.
- A coding tool: Cursor, Claude Code, or Codex, for MCP-based deploy and environment management.
- Docker installed locally for building and testing your application.
- Application code with a
Dockerfilethat listens on port 8000 by default, or any other port except 8001 (which is reserved). The port is configurable per environment. - A GitHub account if you plan to sync a repository when you create the agent or later from the GitHub tab.
Create an agent in AI Studio
Start by creating an Agent Builder v2 agent in AI Studio. You can sync with GitHub at creation time or start without a repository and connect one later.- Log in to AI Studio.
- Go to the Agents tab.
- Select Build an agent.
- Choose how to get started:
- Connect GitHub to import an existing repository or create a new one. Authenticate with GitHub if prompted, then select an Owner and a Repo. You can pick an existing repository or choose Create new repo, enter a name, and set visibility to Private or Public. Only repositories where you are an admin appear in the list, because auto-pull needs a push webhook that only admins can add.
- Start manually to create or upload a new application without connecting GitHub yet.
Configure the MCP server in your coding tool
After you create your agent, a Getting started modal guides you through connecting an AI coding tool. Connecting the MCP server gives your tool access to listing environments, deploying code, and managing environment variables.- In the Select tools step, choose Cursor, Claude Code, or Codex.
- Select Next, then complete the Set up MCP step for that tool.
Prepare your application
Your application needs aDockerfile. Here is an example for a Next.js application:
.tar.gz tarball. For a Node.js application:
Upload and deploy
You can deploy through GitHub sync, the AI Studio UI, or MCP from your coding tool. If a branch is connected with auto-pull enabled, new commits on that branch deploy to the synced environment without a manual upload. Deploy through the AI Studio UI- Go to your agent’s Deploy tab.
- Select the Development environment.
- Select Import new snapshot.
- Drag and drop your
.tar.gzfile, or select it to browse. - Select Save.
- Wait for the build to complete. The status changes to “In development”.
- Open Cursor, Claude Code, or Codex with the MCP server configured.
- Ask your AI coding agent to deploy the agent to development. The MCP server packages your code and uploads it automatically.
- You can also ask it to list environments, show revision history, or report deployment status.
Set environment variables
Environment variables are injected into your container at runtime and are encrypted at rest.- In AI Studio, select your Development environment.
- Go to the Environment variables tab.
- Select Add environment variable.
- Enter the variable name and value, for example
WRITER_API_KEYorDATABASE_URL. - Save your changes.
Test in development
After your build completes, your application is accessible at the development URL shown in the environment detail panel.- The first load can take 2-5 seconds because of container cold start.
- Subsequent requests while the container is warm are fast.
- You can view build logs and deployment status in the version history tab.
- Make changes locally.
- Rebuild your tarball:
tar -czvf myapp.tar.gz .. - Upload a new snapshot through the UI or MCP.
- Each upload creates a new version in version history.
- Roll back to any previous version if needed.
Promote to production
When you’re satisfied with your development deployment, promote it to production.- Open the Development environment detail panel.
- Go to the Access tab.
- Select Promote to production.
- Select who can access the production agent:
- Only you for private access.
- Specific teams to select teams from the dropdown.
- All teams to make it available to everyone in your organization.
- Select Promote.
Find your agent in Writer App
After you promote an agent to production, it appears in the Agents tab in Writer App. That list includes agents you own and agents that teammates have shared with you.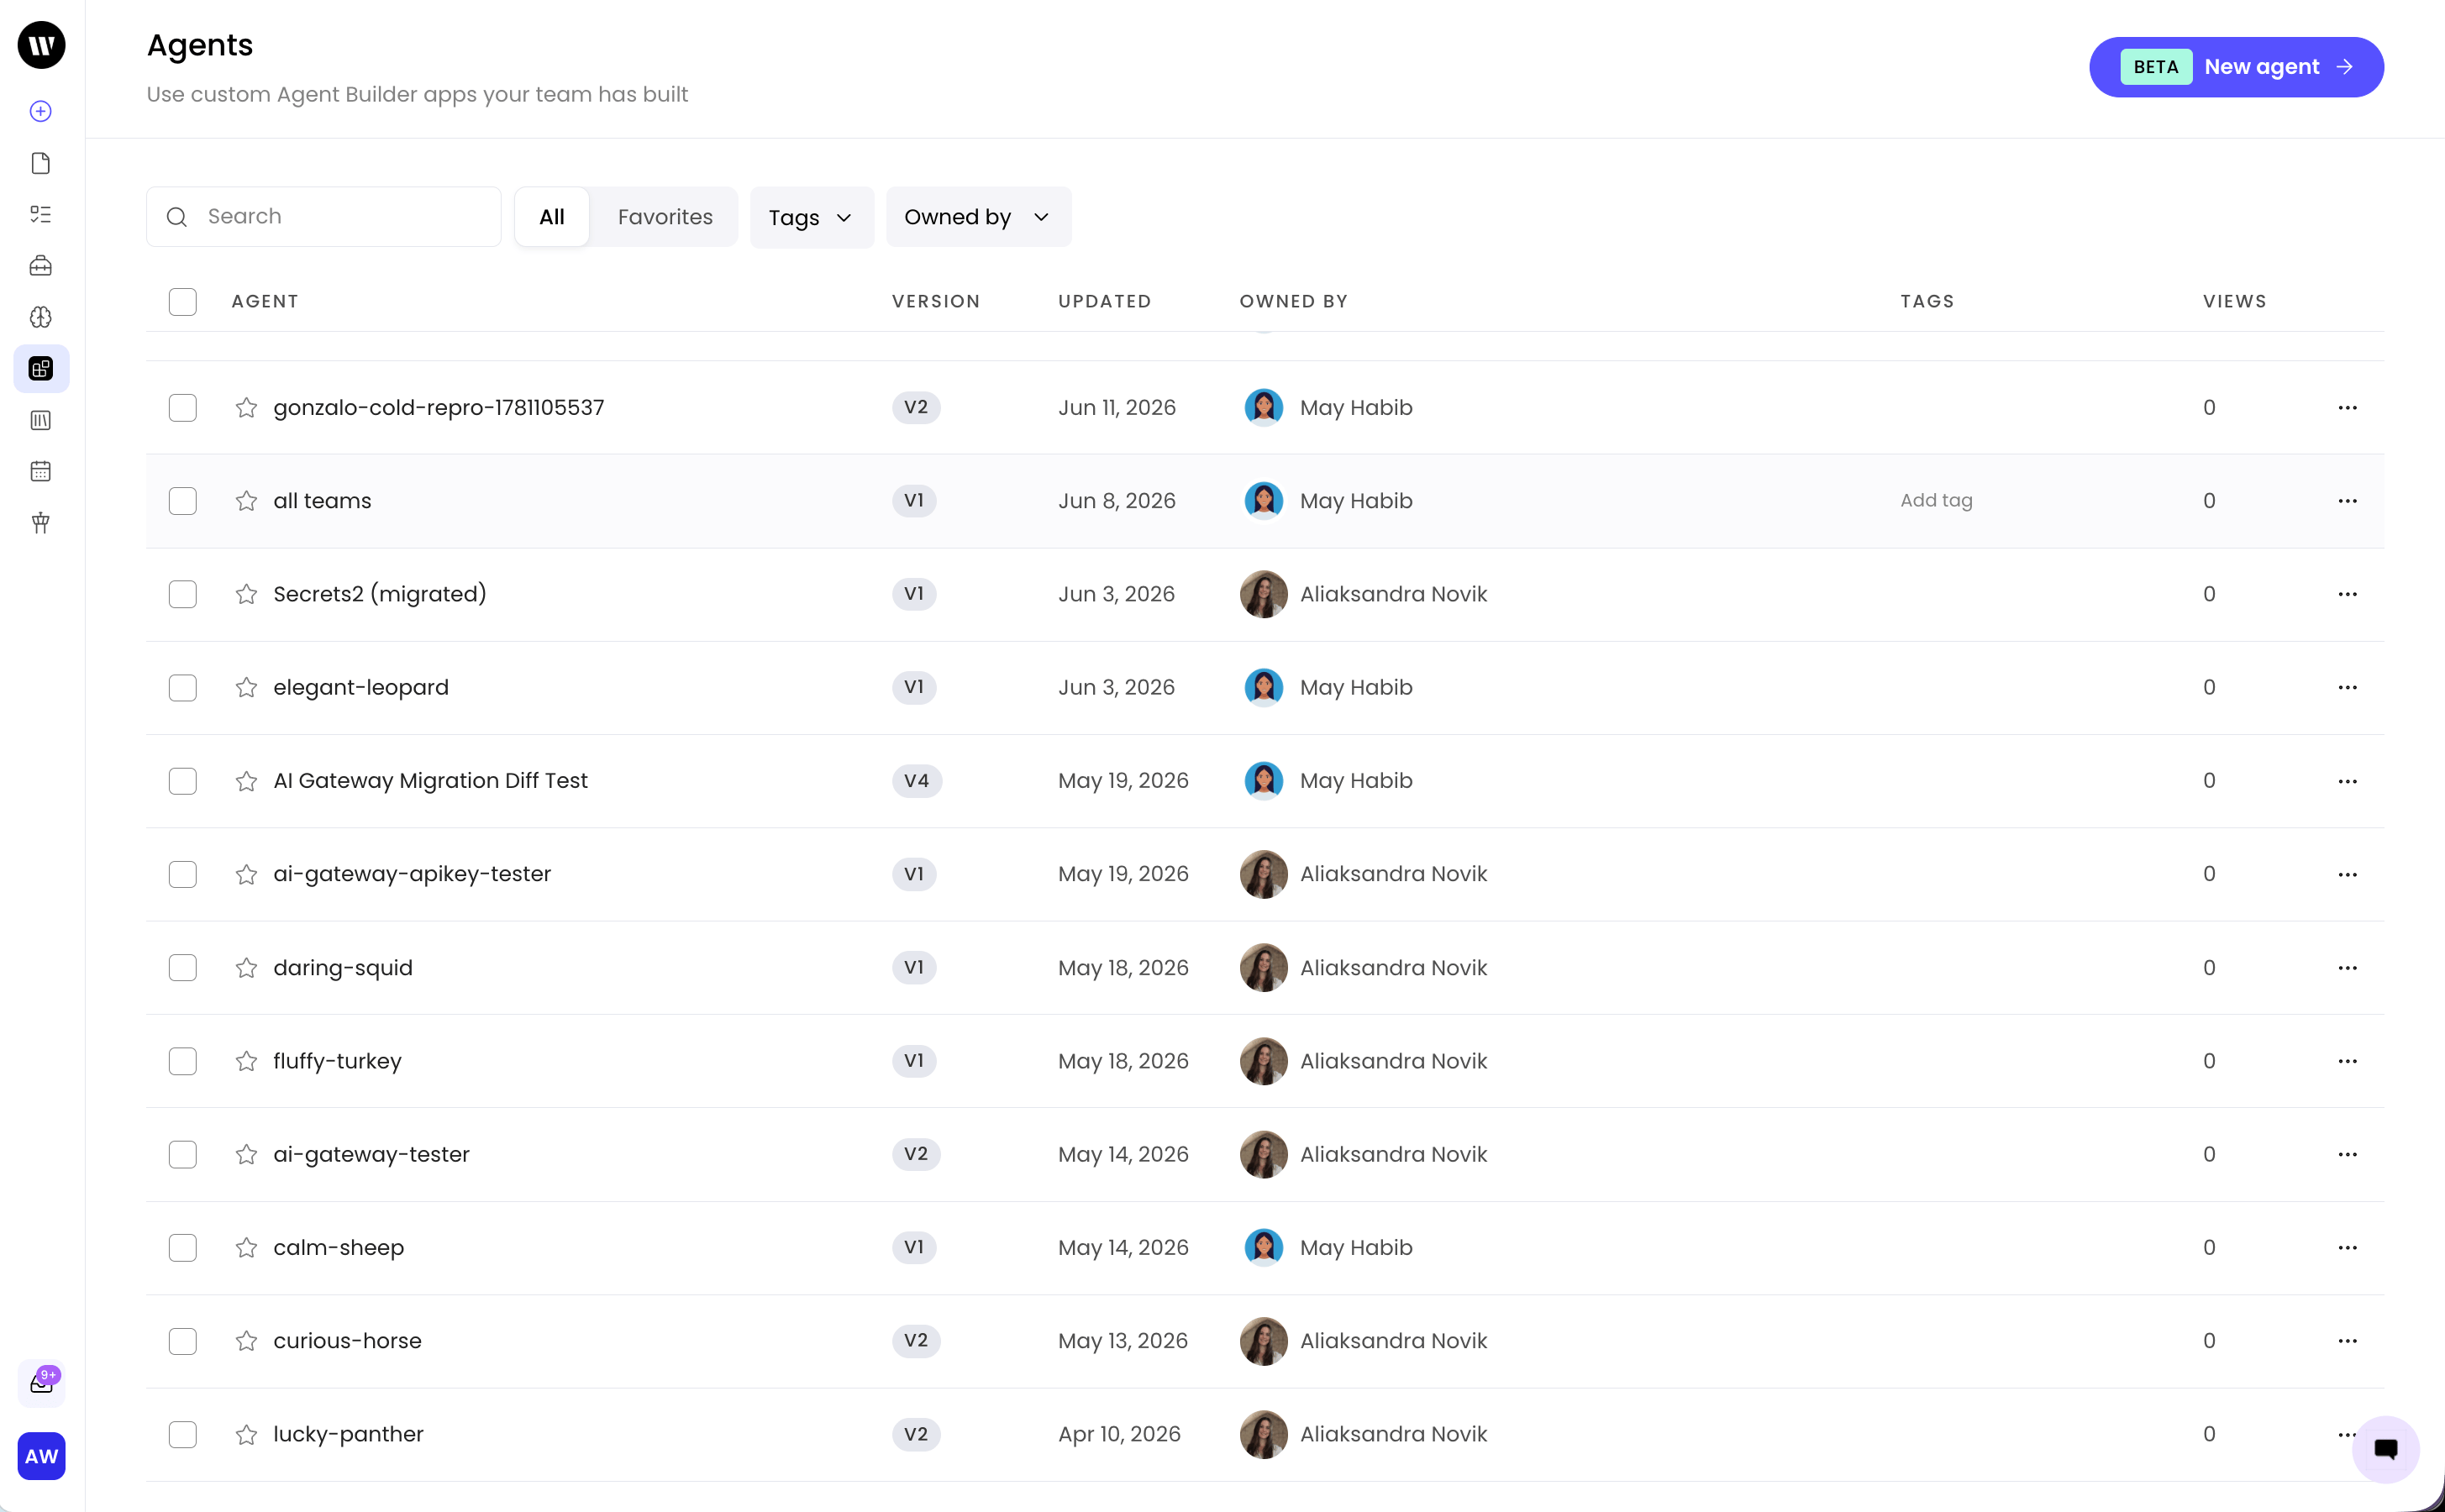
- Open a production agent to run it.
- See the Version for each agent, which matches the version of that agent’s production environment in AI Studio.
- See Views, which shows how many people have viewed the agent in the past 30 days.
- Search and filter by All, Favorites, Tags, or Owned by.
Organize agents with tags
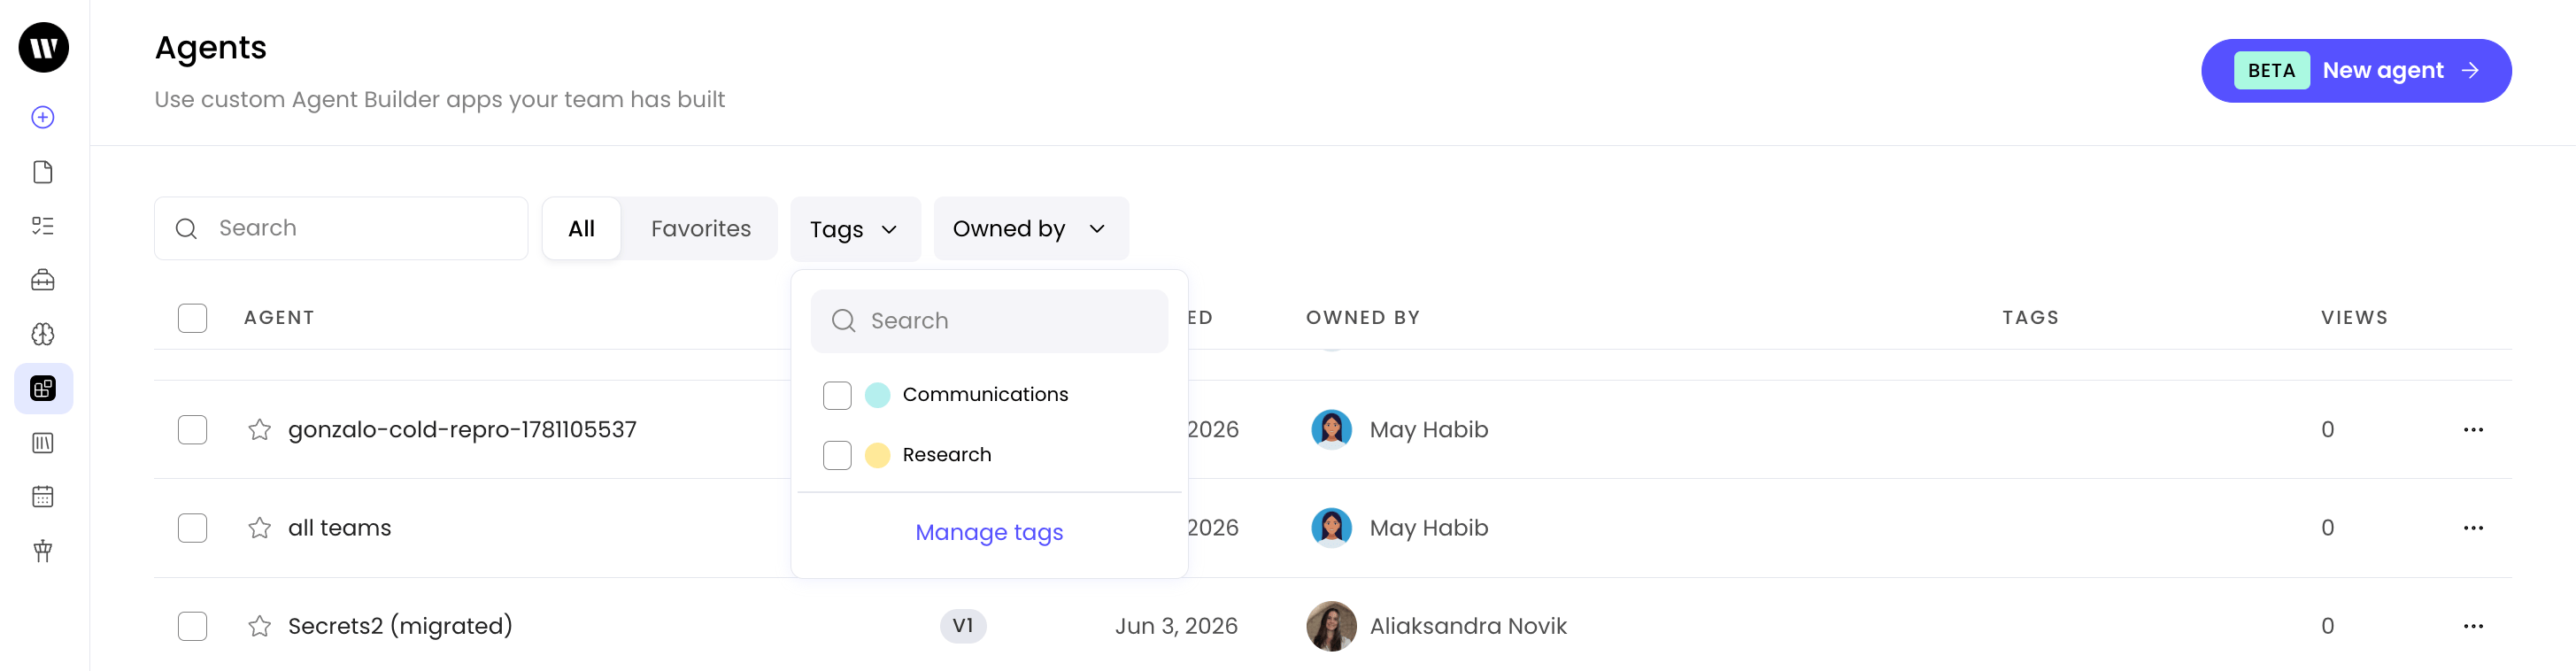
As your library of Agent Builder v2 agents grows, tags help you keep everything organized and find what you need. Tags are personal to you, so you can build a system that matches how you work, whether that’s by use case, project, or any other category that’s useful to you.- Go to the Agents tab in Writer App.
- Hover over the agent you want to tag and select Add tag.
- Create a new tag or choose an existing one to apply it.
- Select Manage tags in the Tags filter to rename, delete, or recolor tags.
Use bulk actions
You can manage multiple agents at once from the Agents tab. Use the checkboxes next to your agents to open the bulk actions menu, then select Add to favorites or Tag.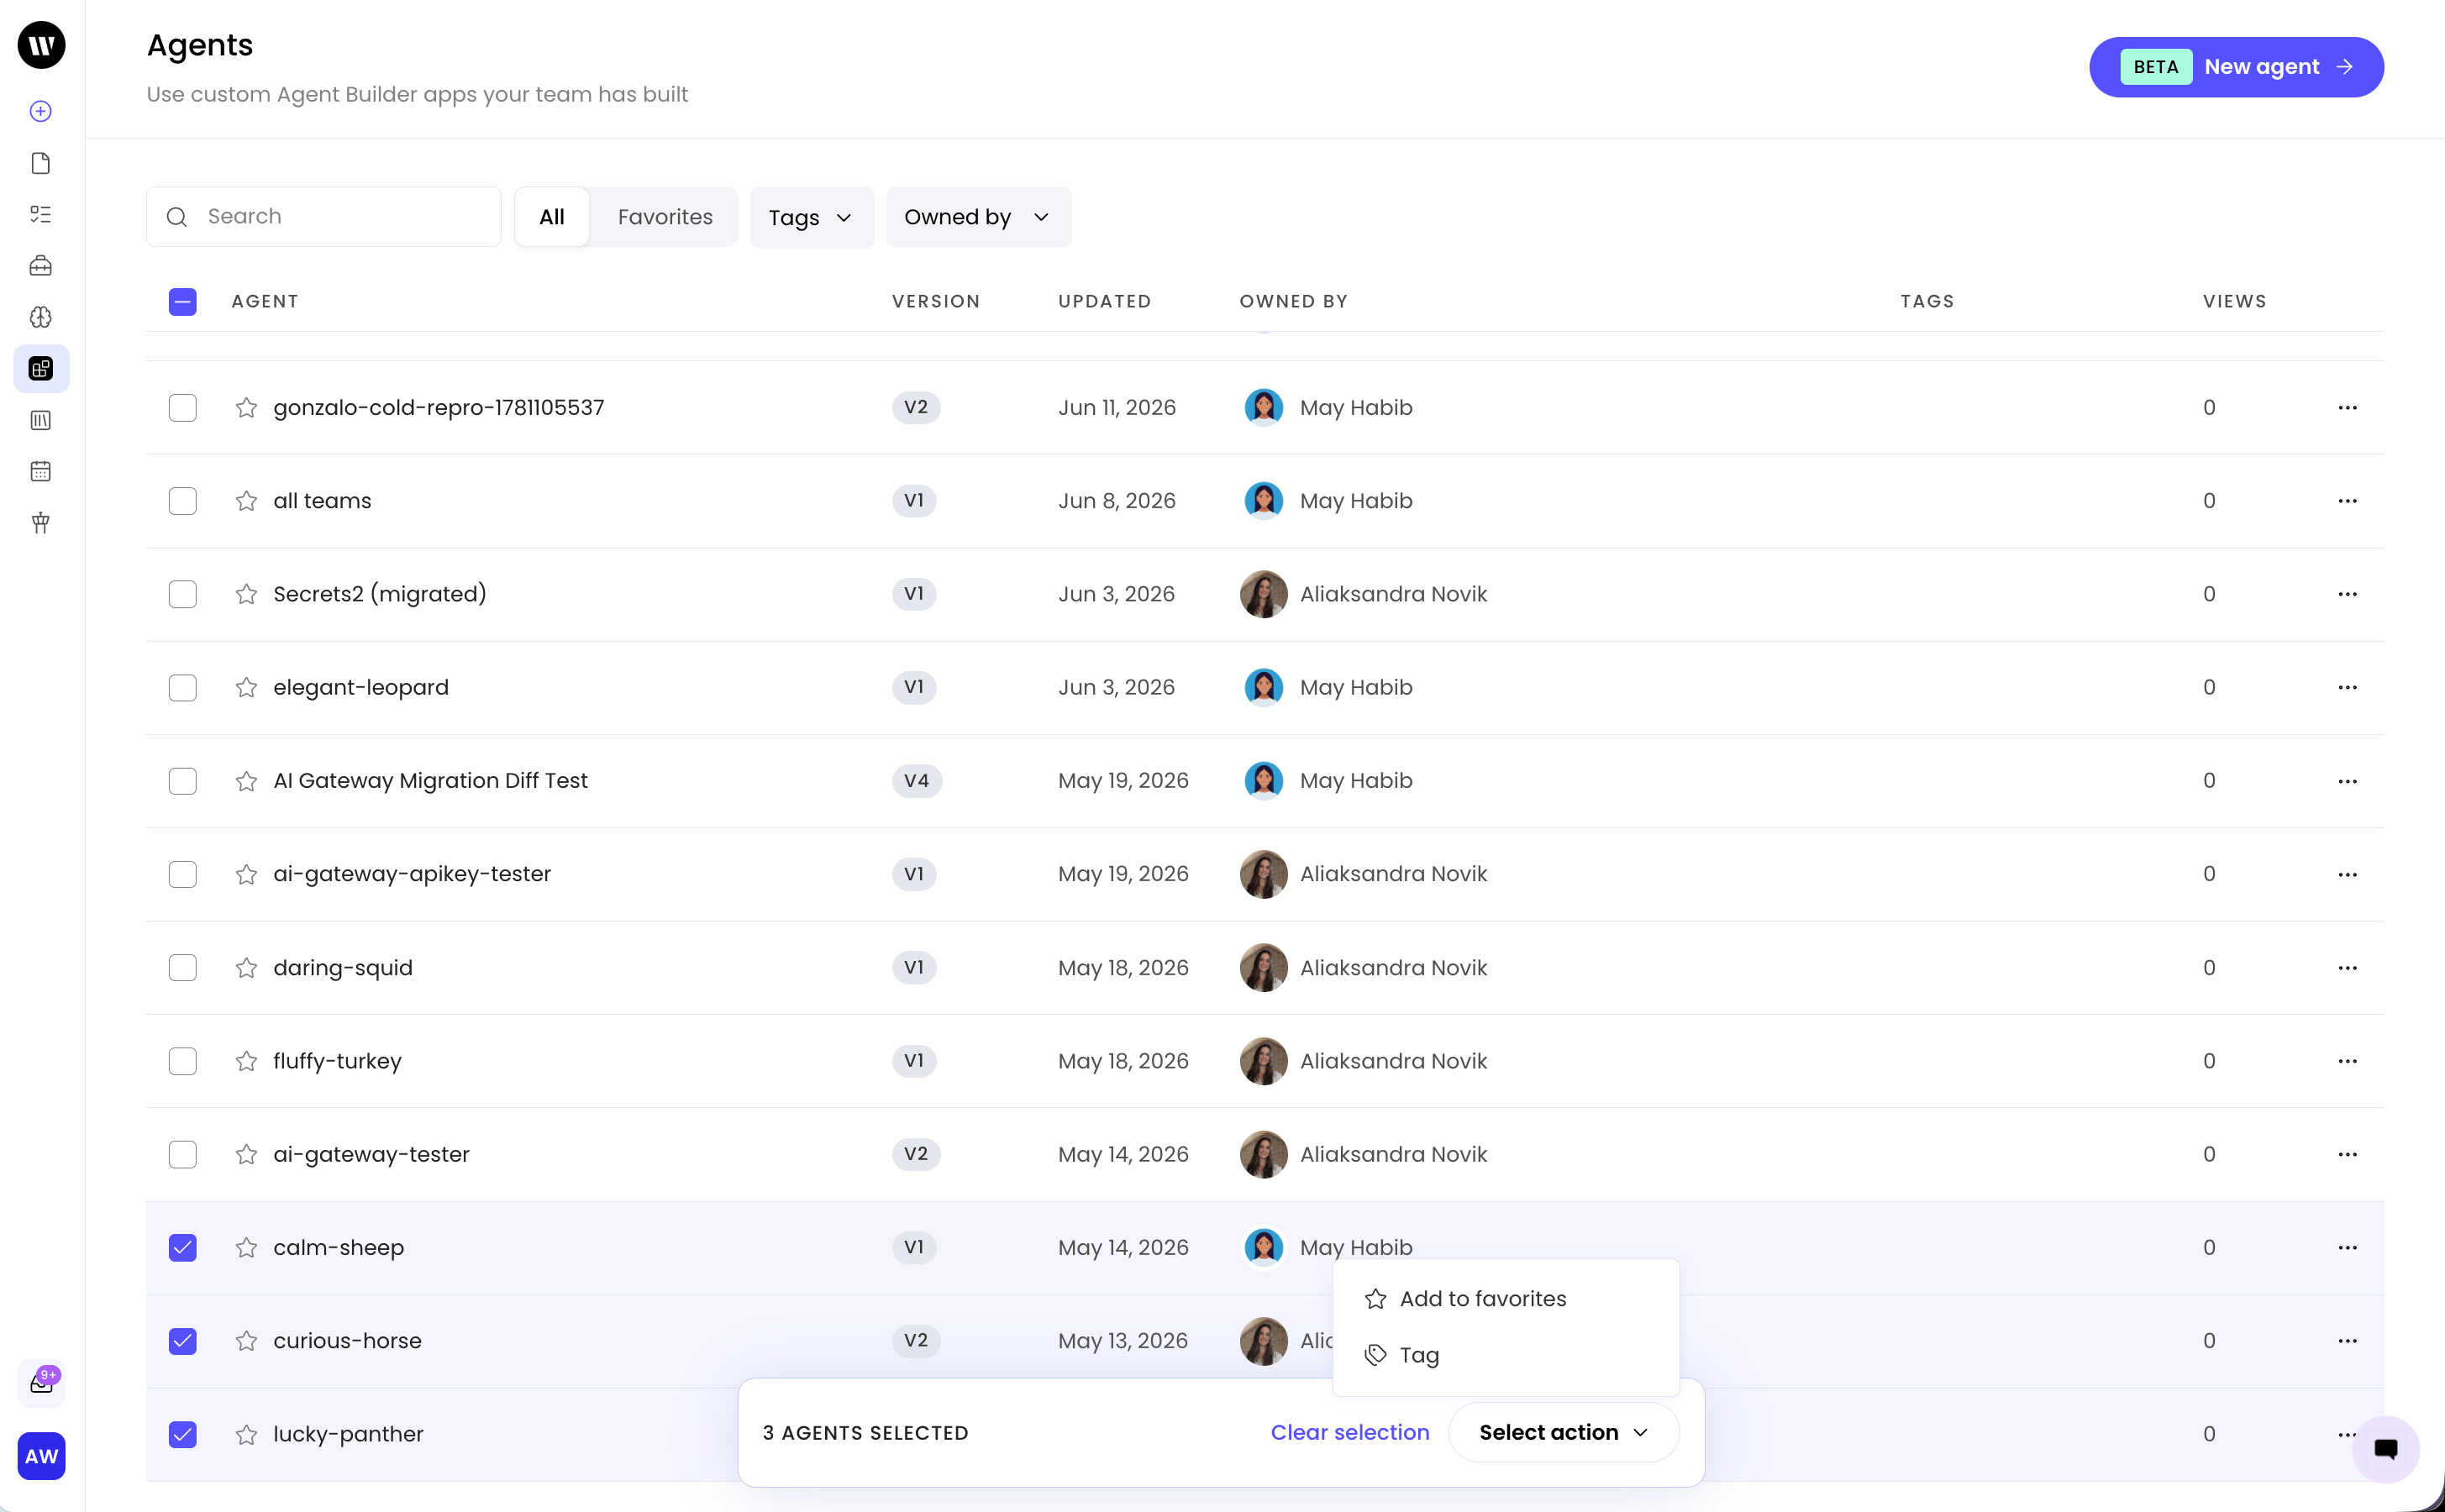
Configure your deployment
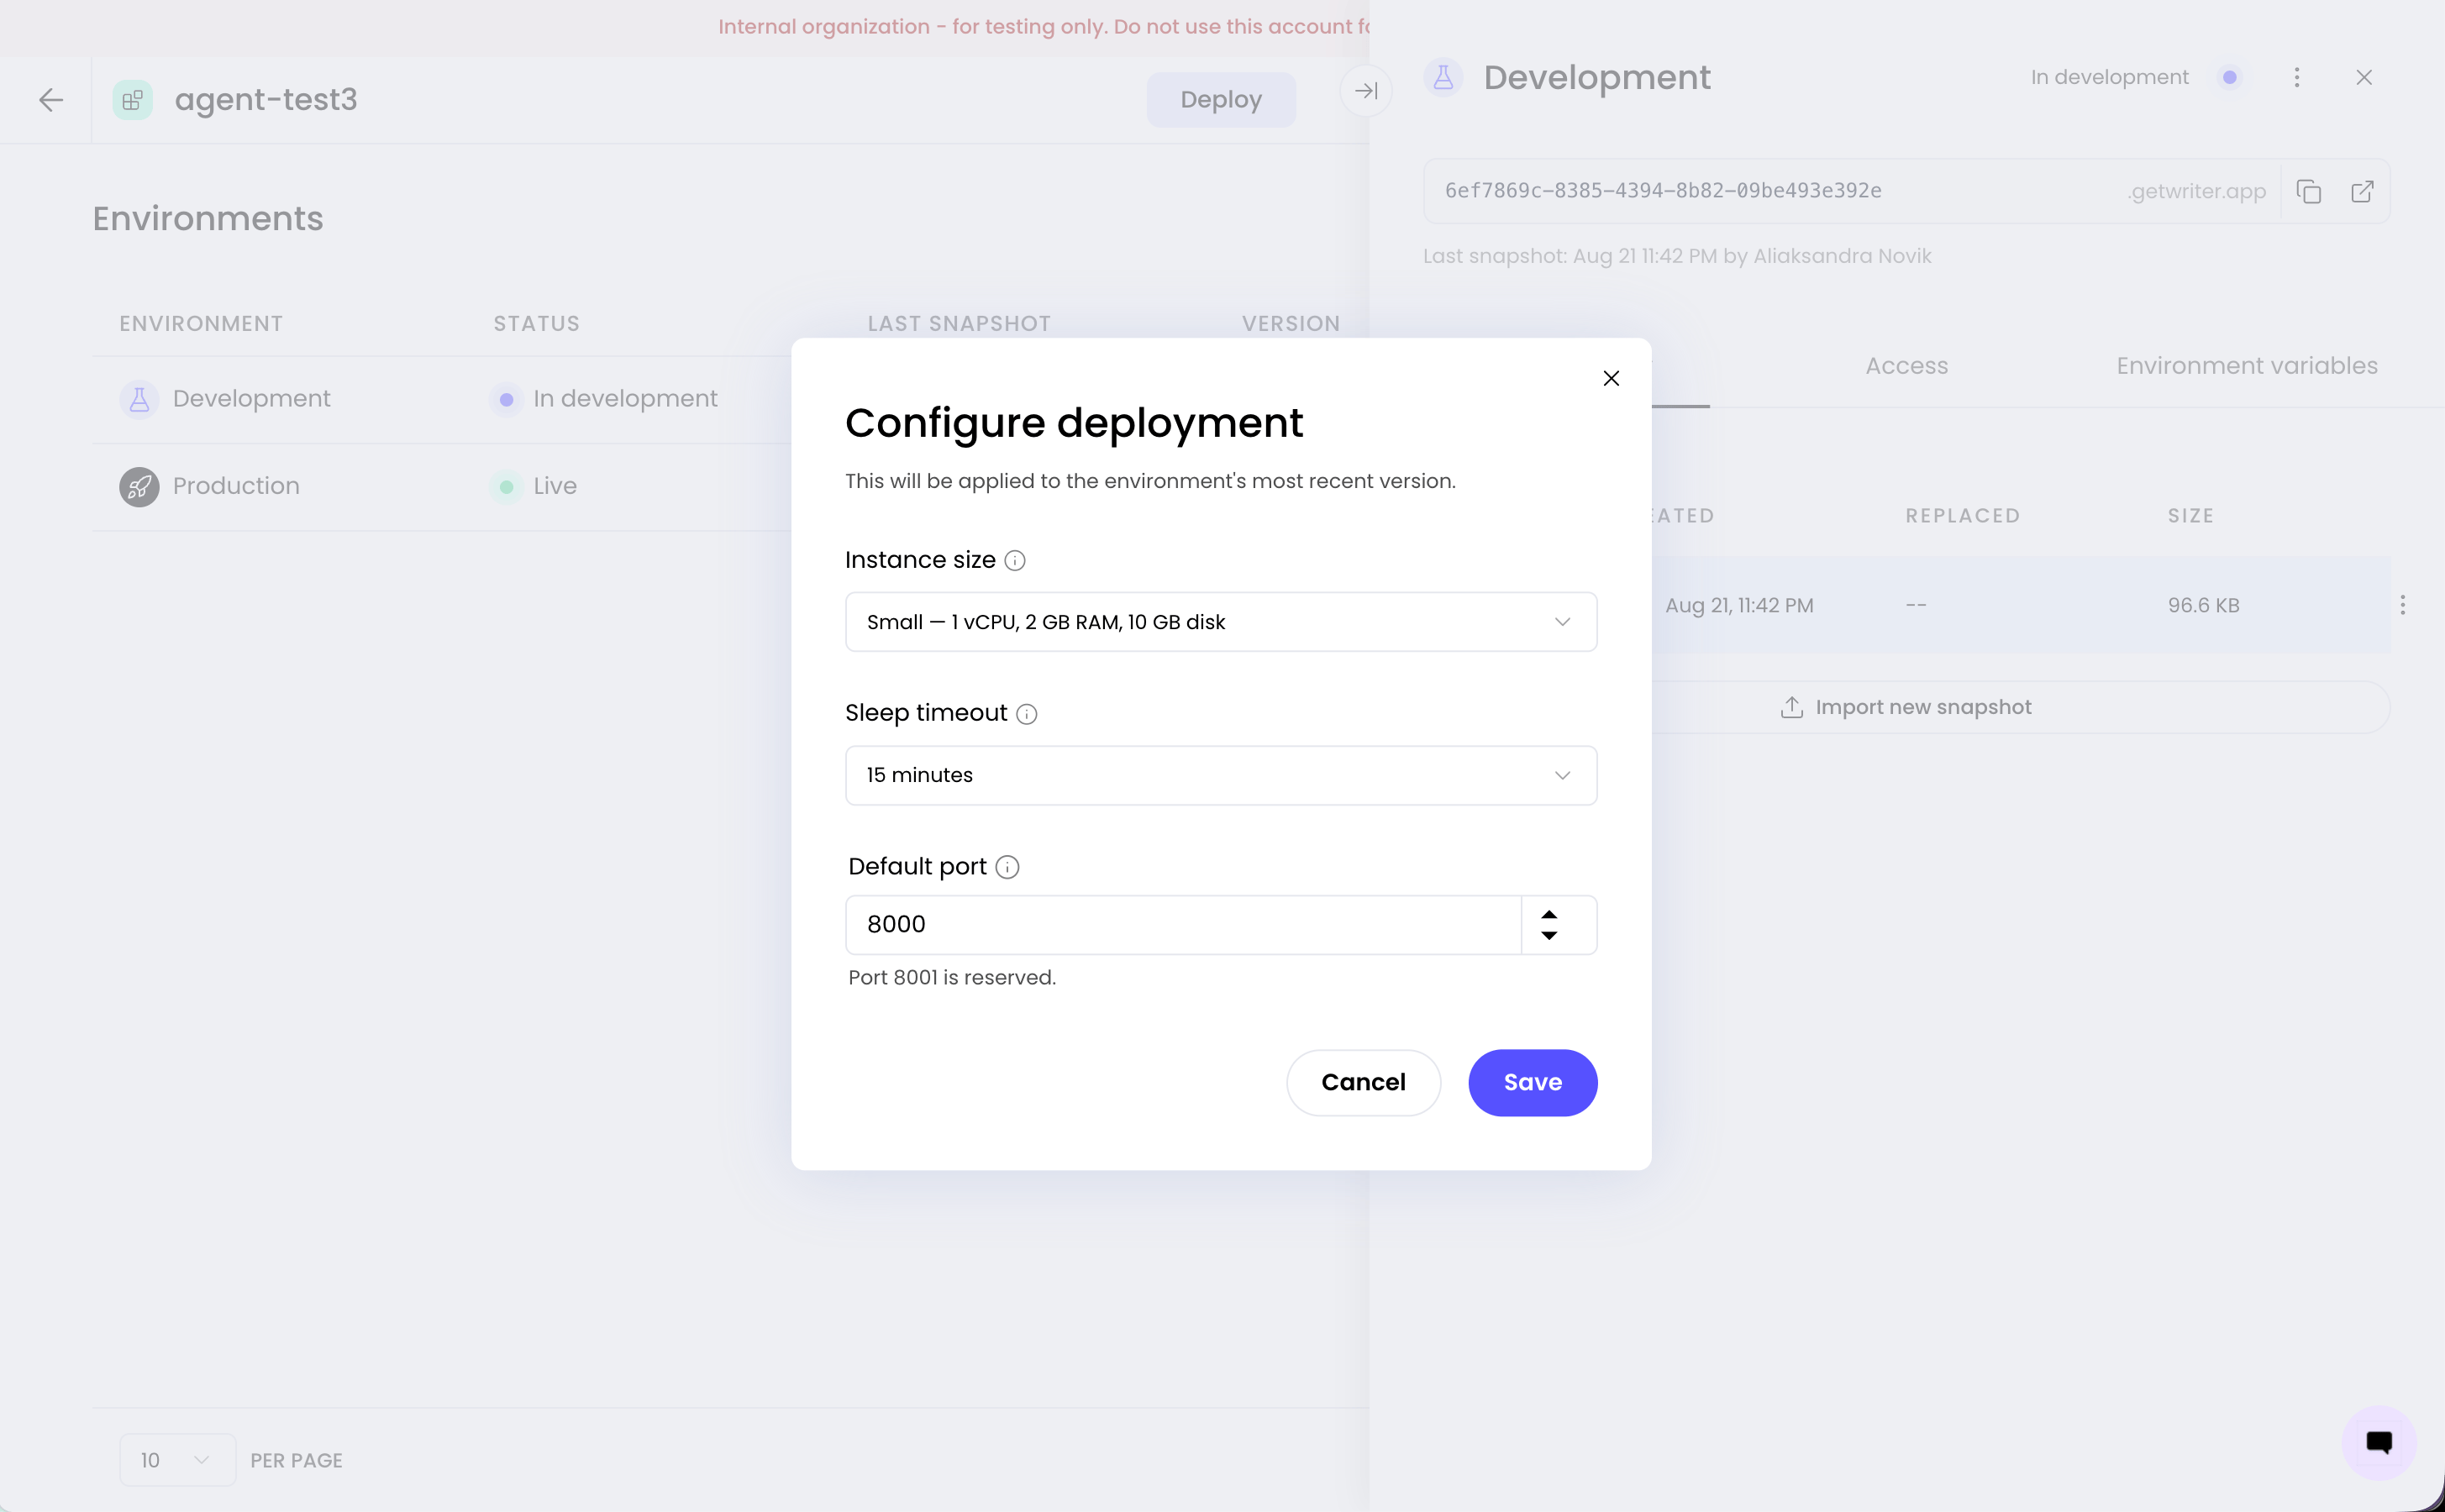
Each environment has deployment settings that control how your container runs. The defaults work for most agents; adjust them when you need to tune resources, cold-start behavior, or the port your app listens on. The configuration applies to the environment’s most recent version.- Open the environment detail panel and select Configure deployment.
- Adjust the settings as needed:
- Select Save. The settings apply to the latest version in that environment.
Change the deployment URL
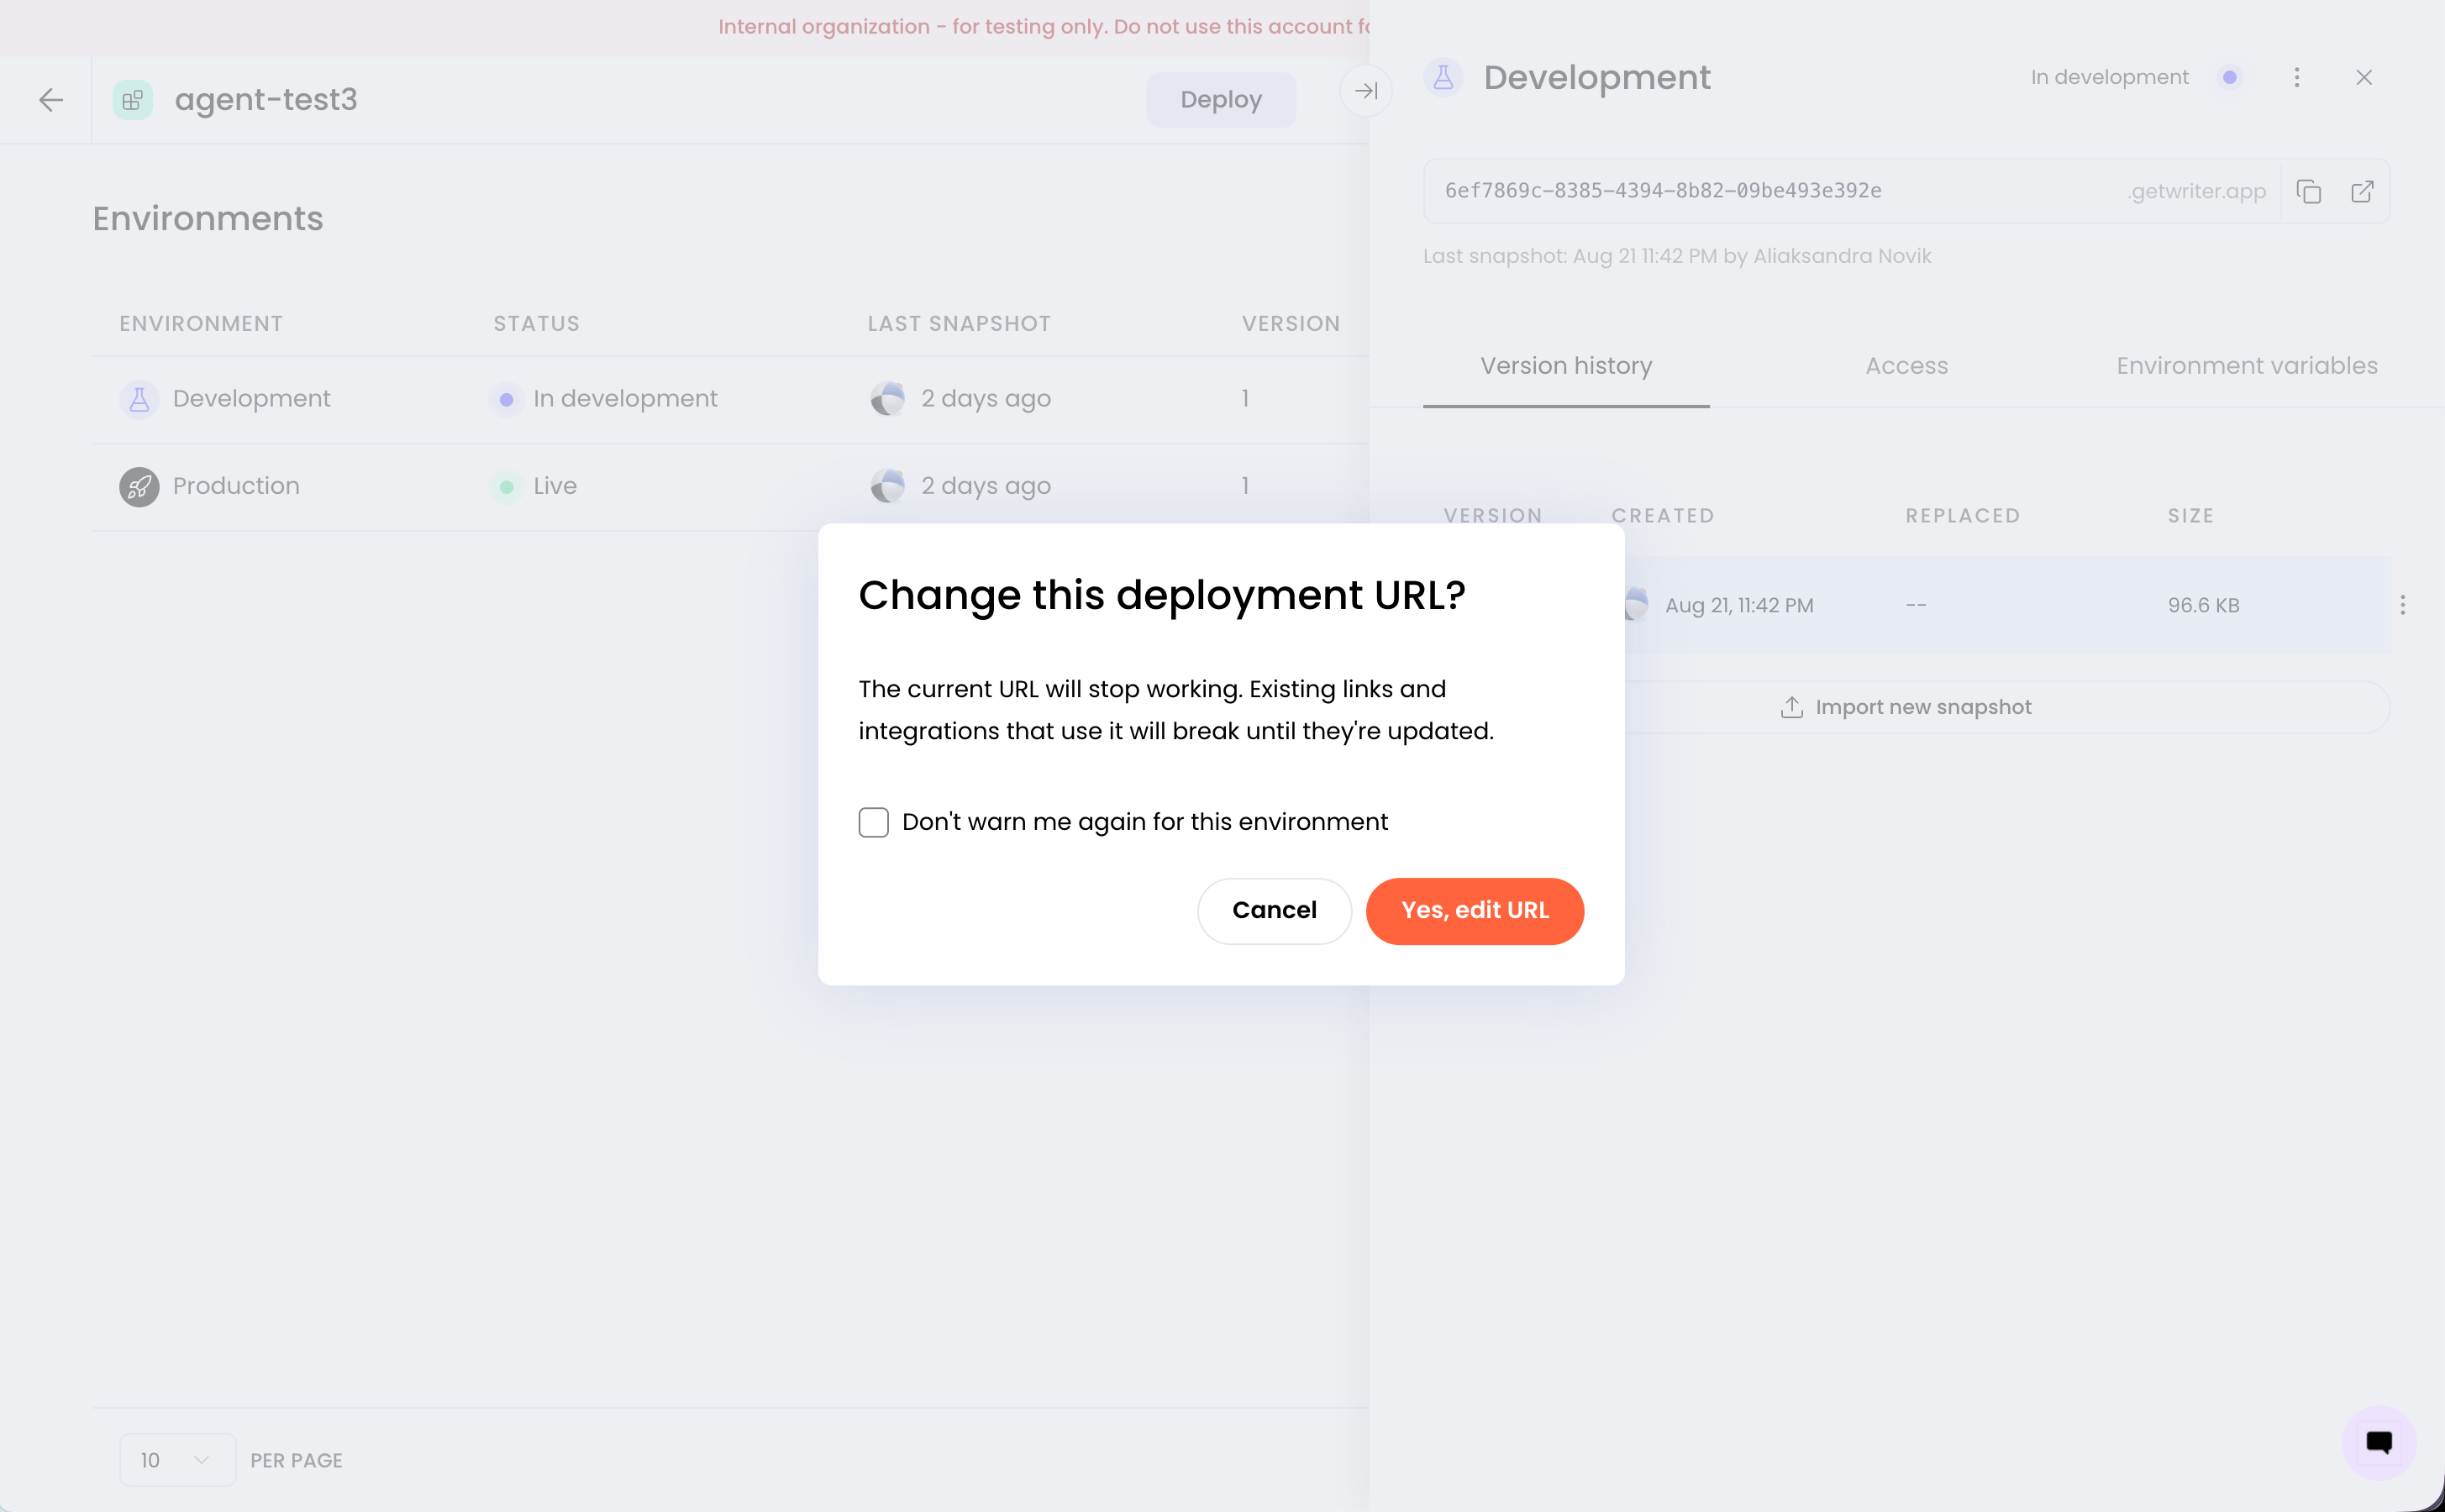
Each environment has a deployment URL you can edit from the environment detail panel. Changing it retires the current URL immediately, so update any bookmarks, API callers, or integrations that still use it.- Open the Agent Builder v2 agent in AI Studio.
- Select the environment whose URL you want to change.
- Select the deployment URL at the top of the environment detail panel.
- Review the confirmation. The current URL stops working, and existing links and integrations break until you update them.
- Optionally select Don’t warn me again for this environment if you don’t want this confirmation the next time you edit this environment’s URL.
- Select Yes, edit URL, then enter the new URL and save.
Call your agent via API
In addition to the UI-driven experience in AI Studio, Agent Builder v2 supports headless usage. If your application exposes HTTP endpoints, you can call them programmatically from any external service, script, or frontend using an API key. This is useful when you want to:- Embed your agent into another application or product surface.
- Call your agent from a backend service, scheduled job, or CI pipeline.
- Integrate your agent with existing tooling outside AI Studio.
Generate an API key
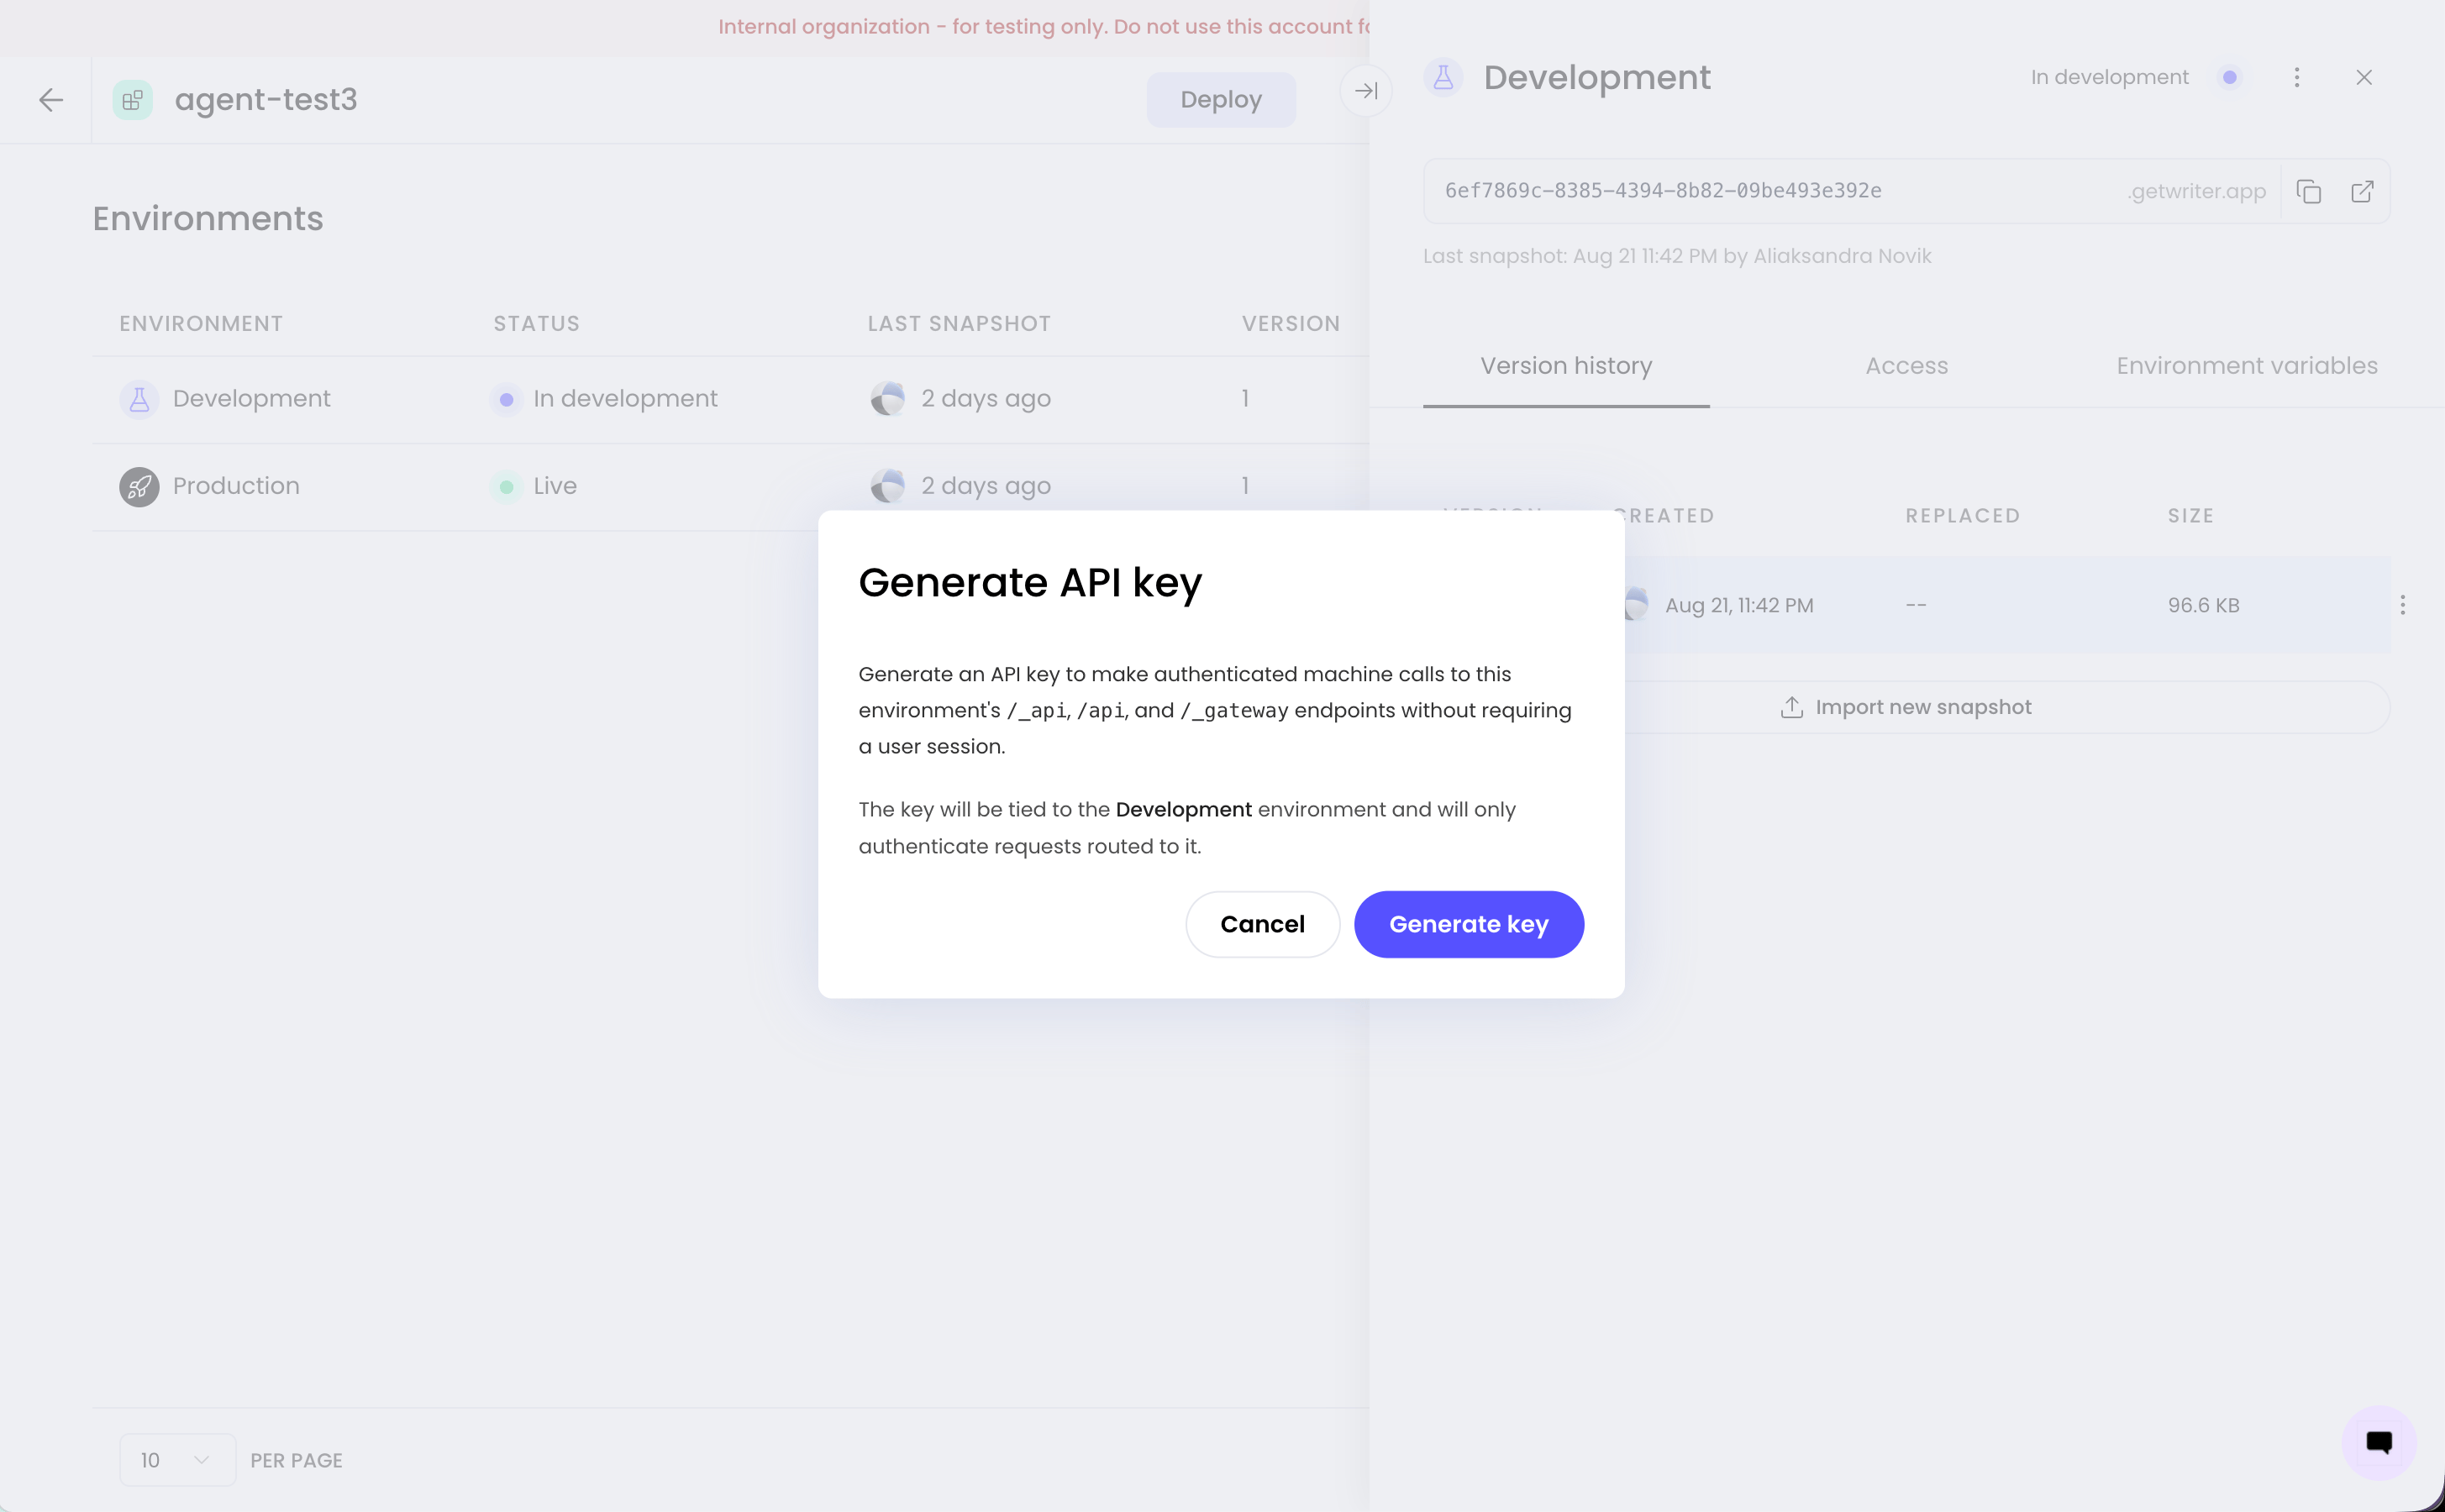
Each environment has its own API keys, so development and production keys are managed separately. An environment API key authenticates machine calls to that environment’s/_api and /api endpoints without a user session.
- Open your agent in AI Studio and select the environment you want to call, such as Development or Production.
- Select the three vertical dots in the environment and select Generate API key.
- Select Generate key.
- Copy the key when it’s displayed. This is the only time the full key is shown, so store it securely in a secrets manager.
Make a request to your agent
Use the environment’s deployment URL as the base URL and pass the API key as a bearer token in theAuthorization header. You can call any endpoint your application exposes.
Manage keys
Each environment has one API key at a time. You can:- Create a key in the AI Studio UI when you first need API access for an environment.
- Regenerate a key in the AI Studio UI when you need to rotate it. The old key stops working immediately and a new one is issued.
Next steps
- Learn about Agent Builder v2 to understand supported frameworks, environments, GitHub sync, and limitations.
- Review key concepts to understand environments, snapshots, and the promotion flow.