Building an agent with text generation
To build an agent with text generation capabilities, choose the Text generation option after clicking Build an agent in AI Studio.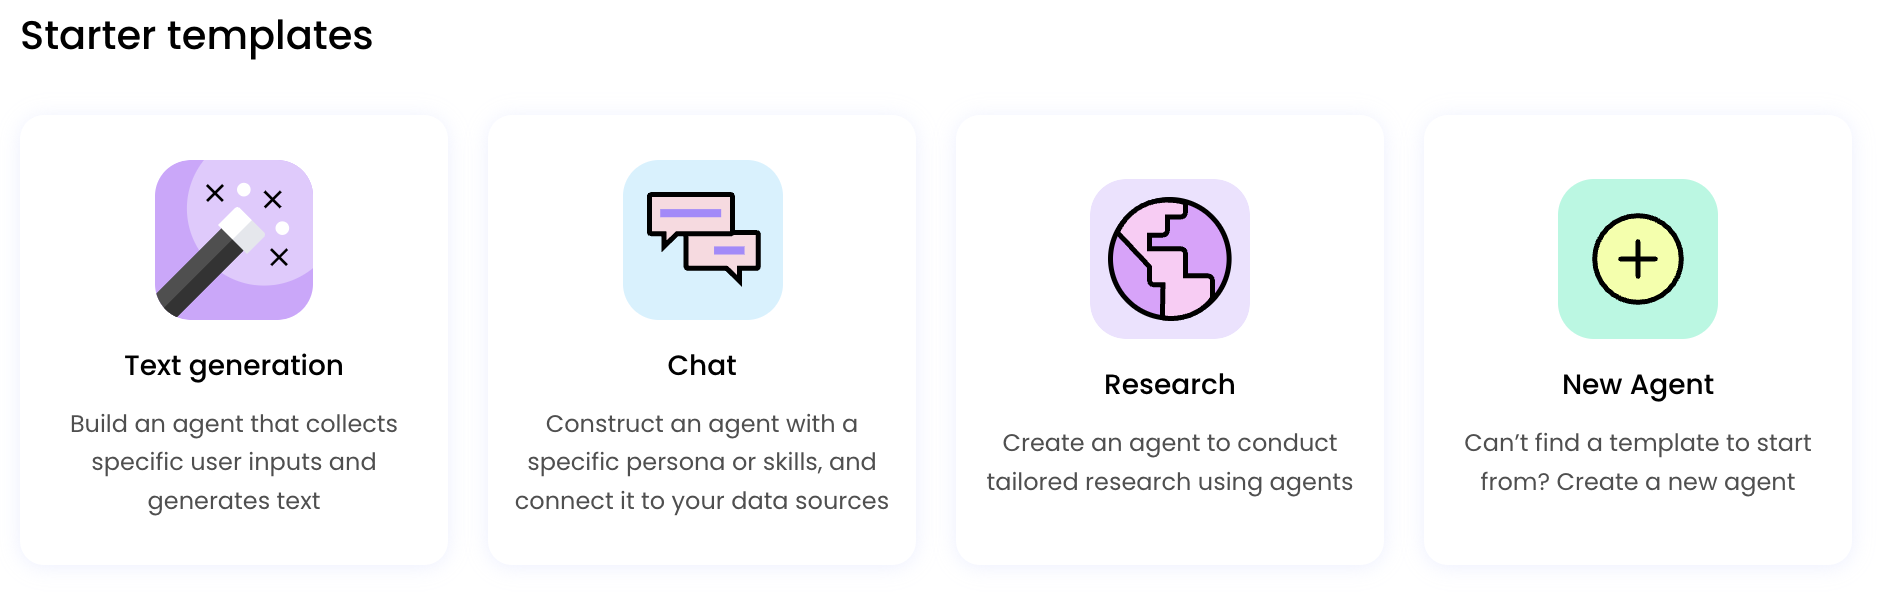
Inputs
An input is content information for your text generation. It generates the desired output—the content your text generation will produce. For example, if you’re building a blog post, the input would include the blog post topic, outline, keywords, reference materials, research sources, and existing knowledge about the topic.Types of inputs
There are four types of inputs:- Text input: A text input allows users to enter text directly into the text generation.
- Dropdown: A dropdown input allows users to select one option from a list.
- File upload: A file upload input allows users to upload a file, such as an image or PDF.
- Image upload: An image upload input allows users to drag-and-drop or choose an image.
Adding an input
Once you’ve decided what type of input you want to add, you’ll need to:
Name your input
Give your input a name that clearly communicates its purpose to users. This
will help them understand what information they need to provide.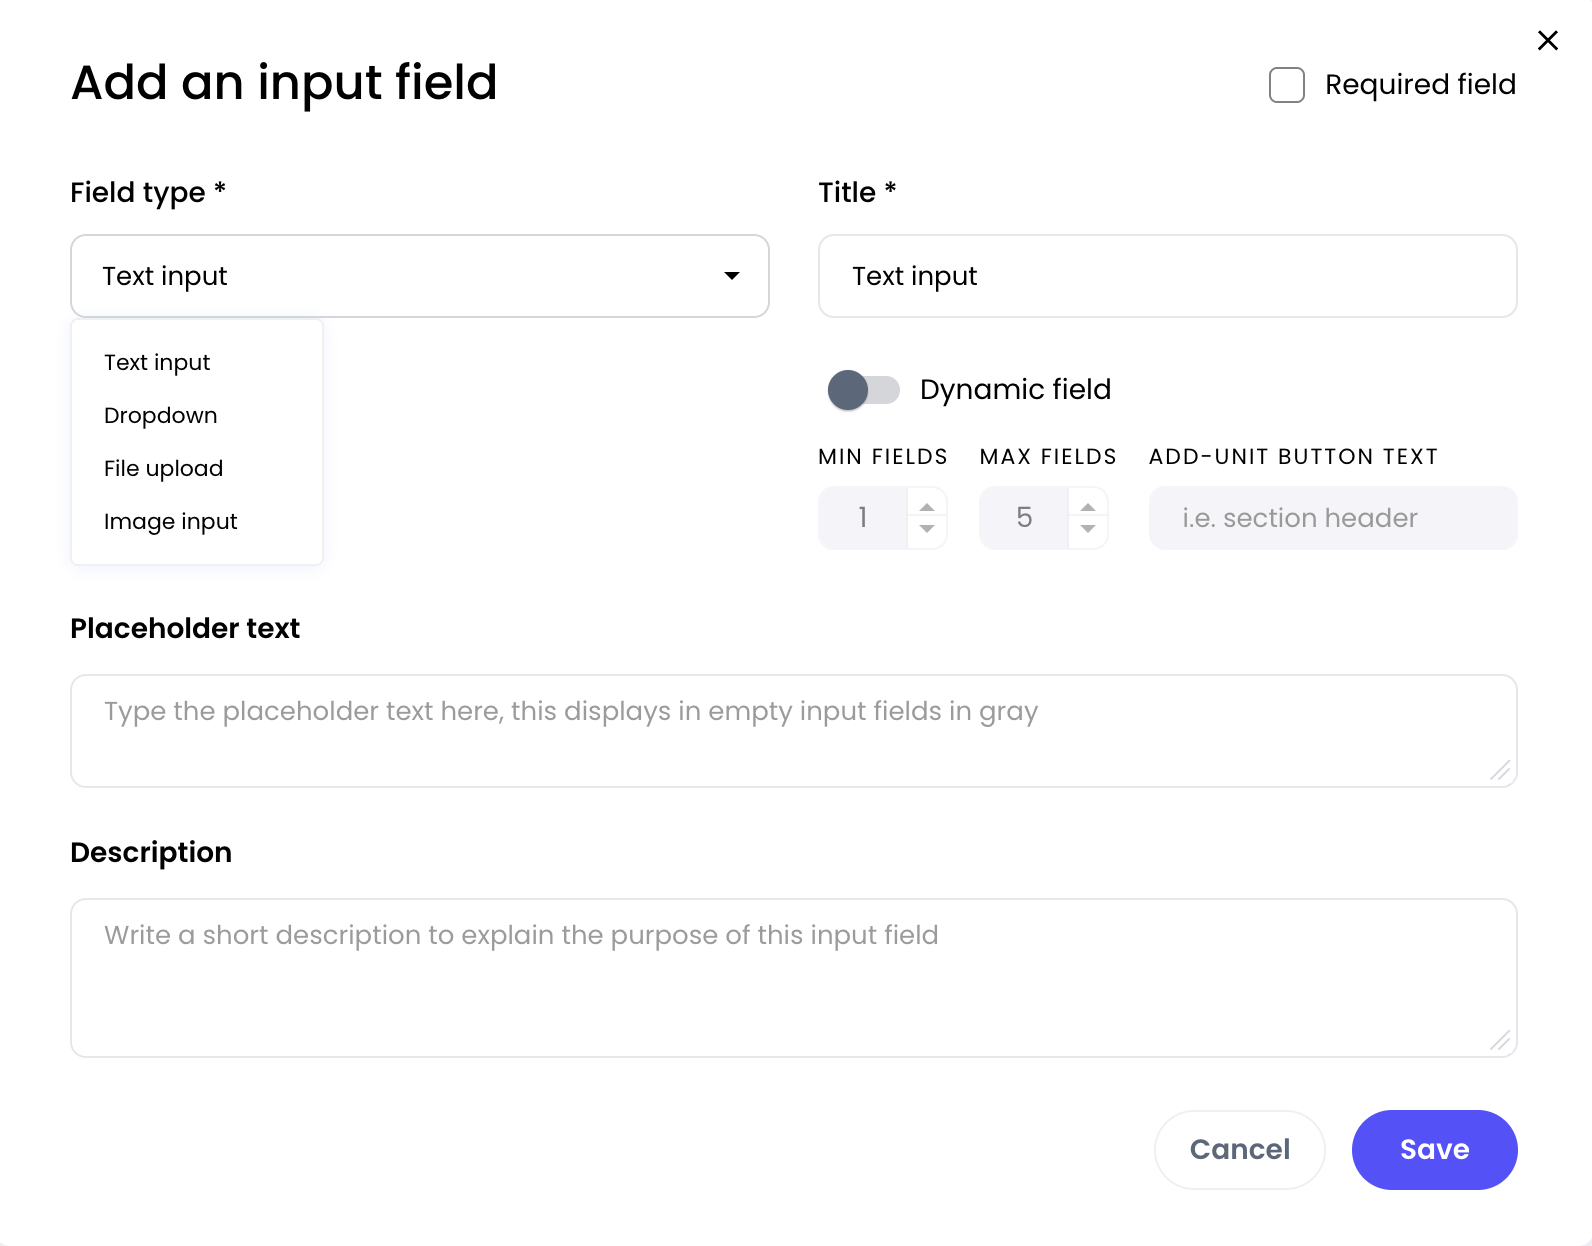
Decide whether the input is required or optional
If it’s required, users must enter information in that field in order to use
the text generation. If it’s optional, they can skip it.
Add placeholder text or descriptions
Provide placeholder text or descriptions to clarify what information is required. This ensures that users fully understand what they need to enter.
Prompts
A prompt is a message that you send to the model. It can be a single prompt consisting of a few lines, or a complex prompt consisting of multiple steps—each with its own prompt that relies on multiple inputs. You can even use prompting techniques such as chain-of-thought (CoT) prompting, where one prompt output becomes an input to the next prompt, and so on—creating a chain of thought.Adding prompts
You can add multiple prompts to your text generation.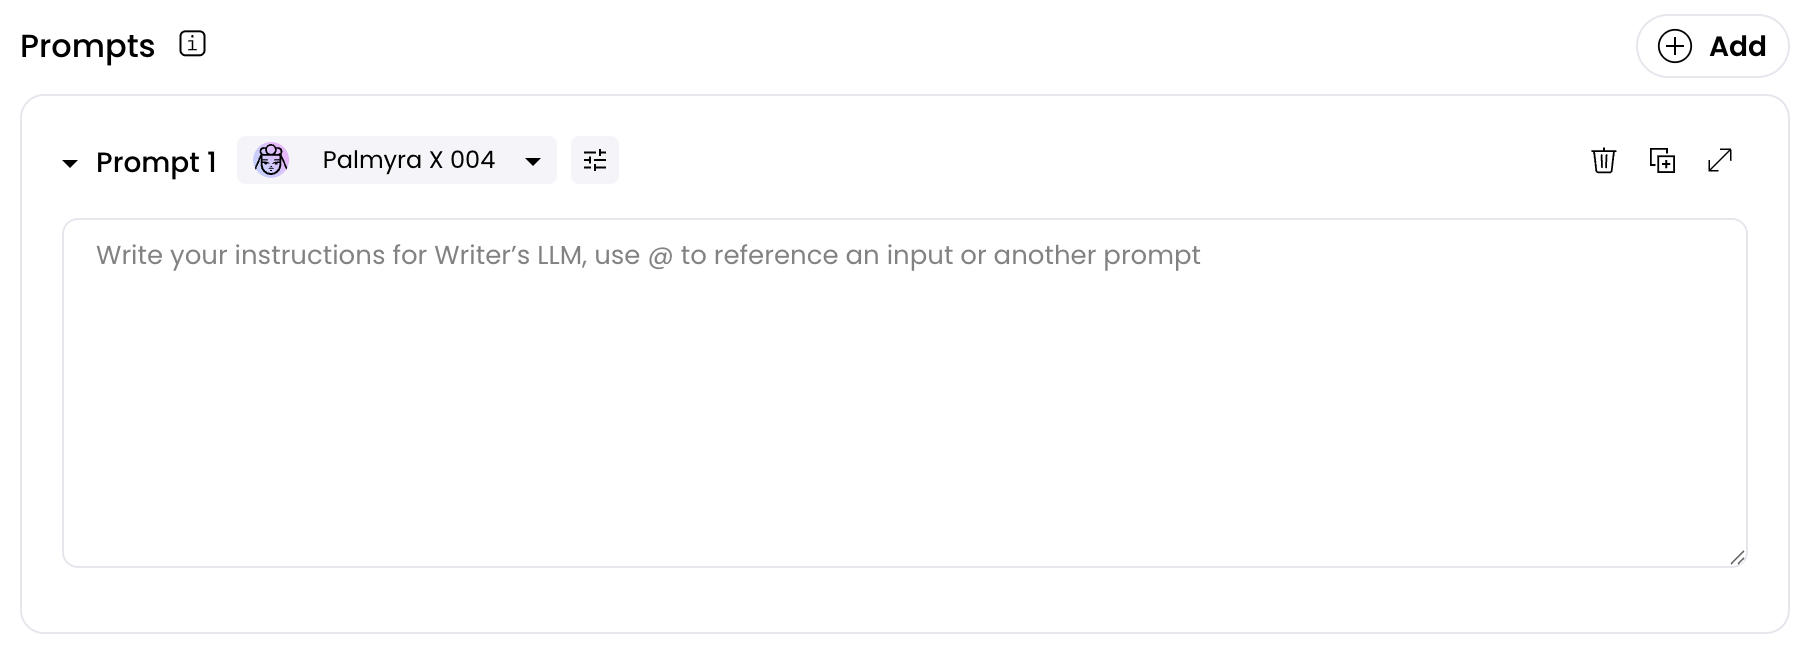
Choose a model
Select the model you want to use for your prompt, as well as any parameters like temperature, top P, and max length.
Write your prompt
Write your prompt using the guidelines below and our prompting guide.
How to use prompts effectively
You can ask the model to perform various tasks, but it’s best to break down your prompts into smaller, more specific “asks.” This is especially important for complex, multi-step text generation. Otherwise, you risk overwhelming the model by asking it to perform too many tasks at once. For example, instead of asking it to create an entire blog post at once, you might write one prompt asking it to create a title, another to create an opening paragraph, and so on. Follow these strategies to write good prompts.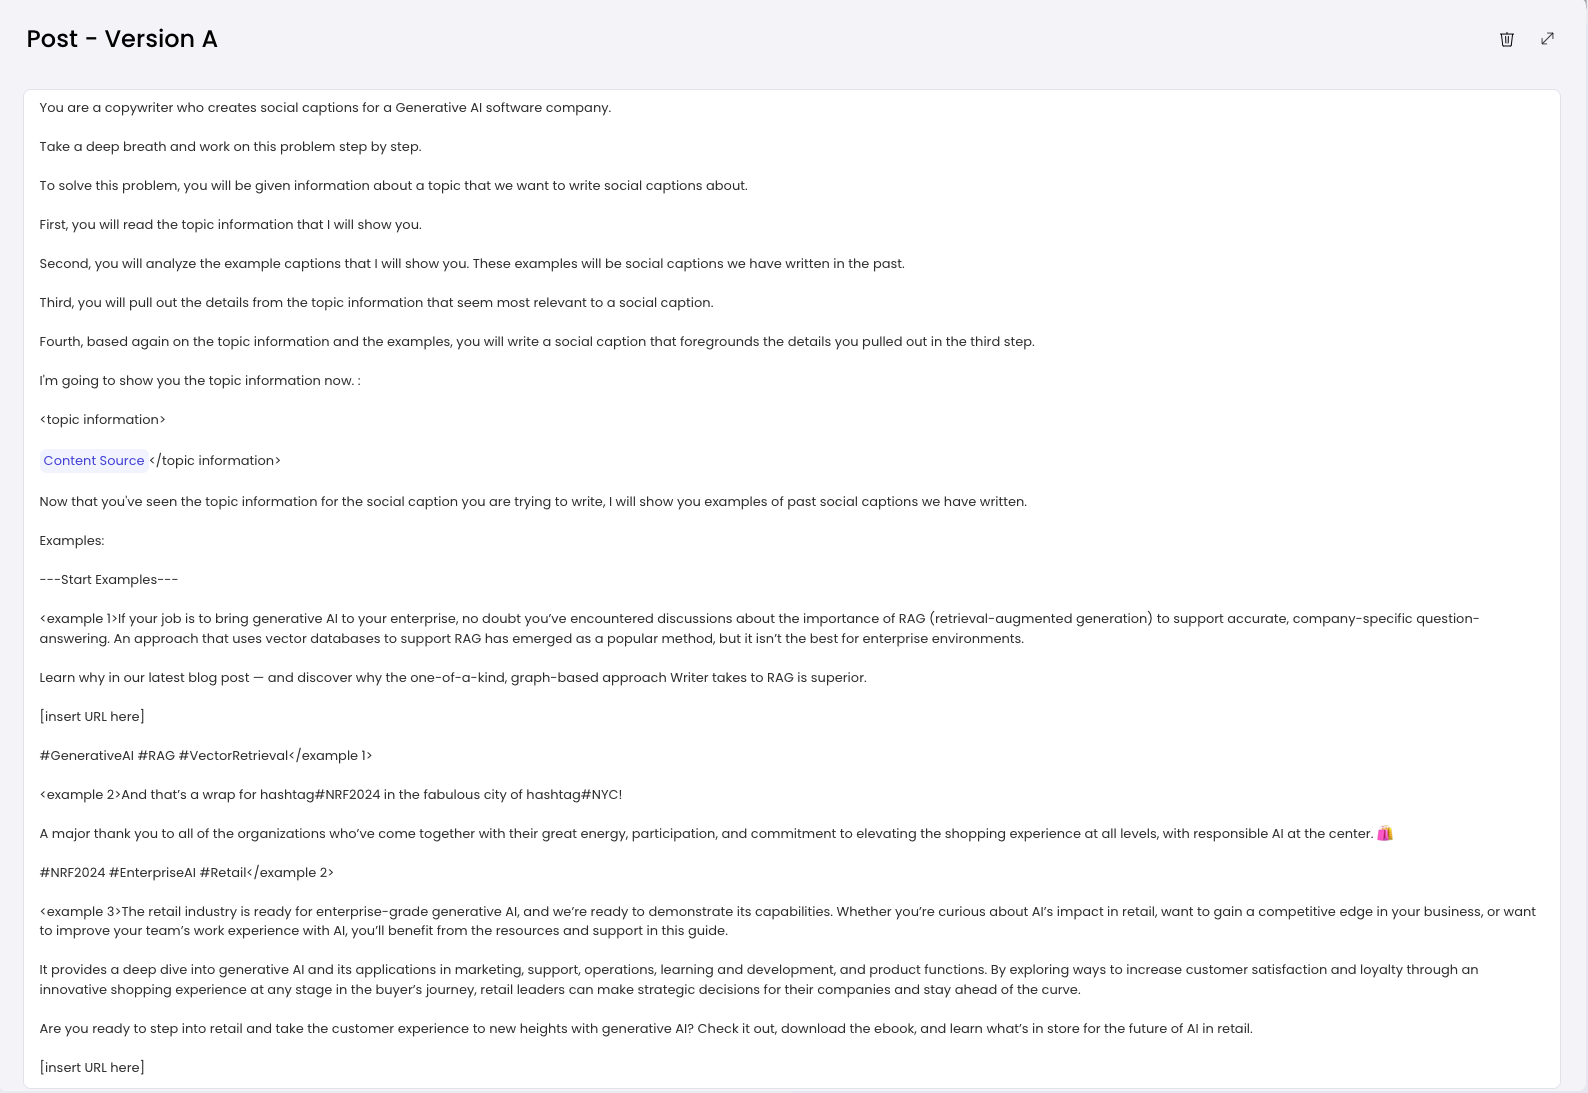
Renaming prompts
You can rename prompts from generic names like “Prompt 1” and “Prompt 2” to any custom name. This will help you to:- Stay organized and keep track of your prompts
- Know exactly what each prompt accomplishes
- Write your prompts
- Format your output
Referencing inputs
To reference your input,@ it within the prompt.
For example, if you’re writing a prompt to generate social posts based on a blog post, do the following:
- Input:
Blog post - Prompt 1: instructions for creating a social post
@Blog post so that Writer understands that the social post should be based on the blog input.
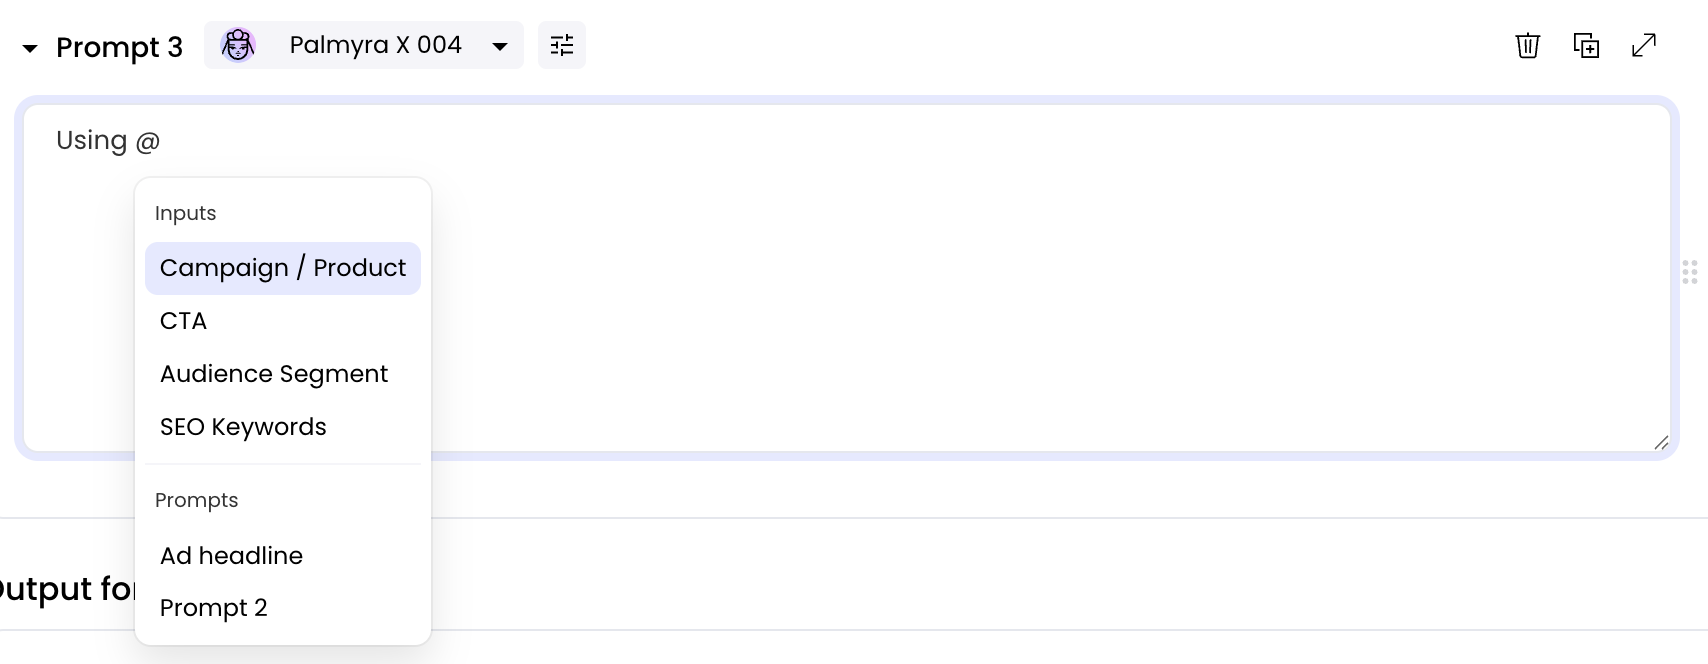
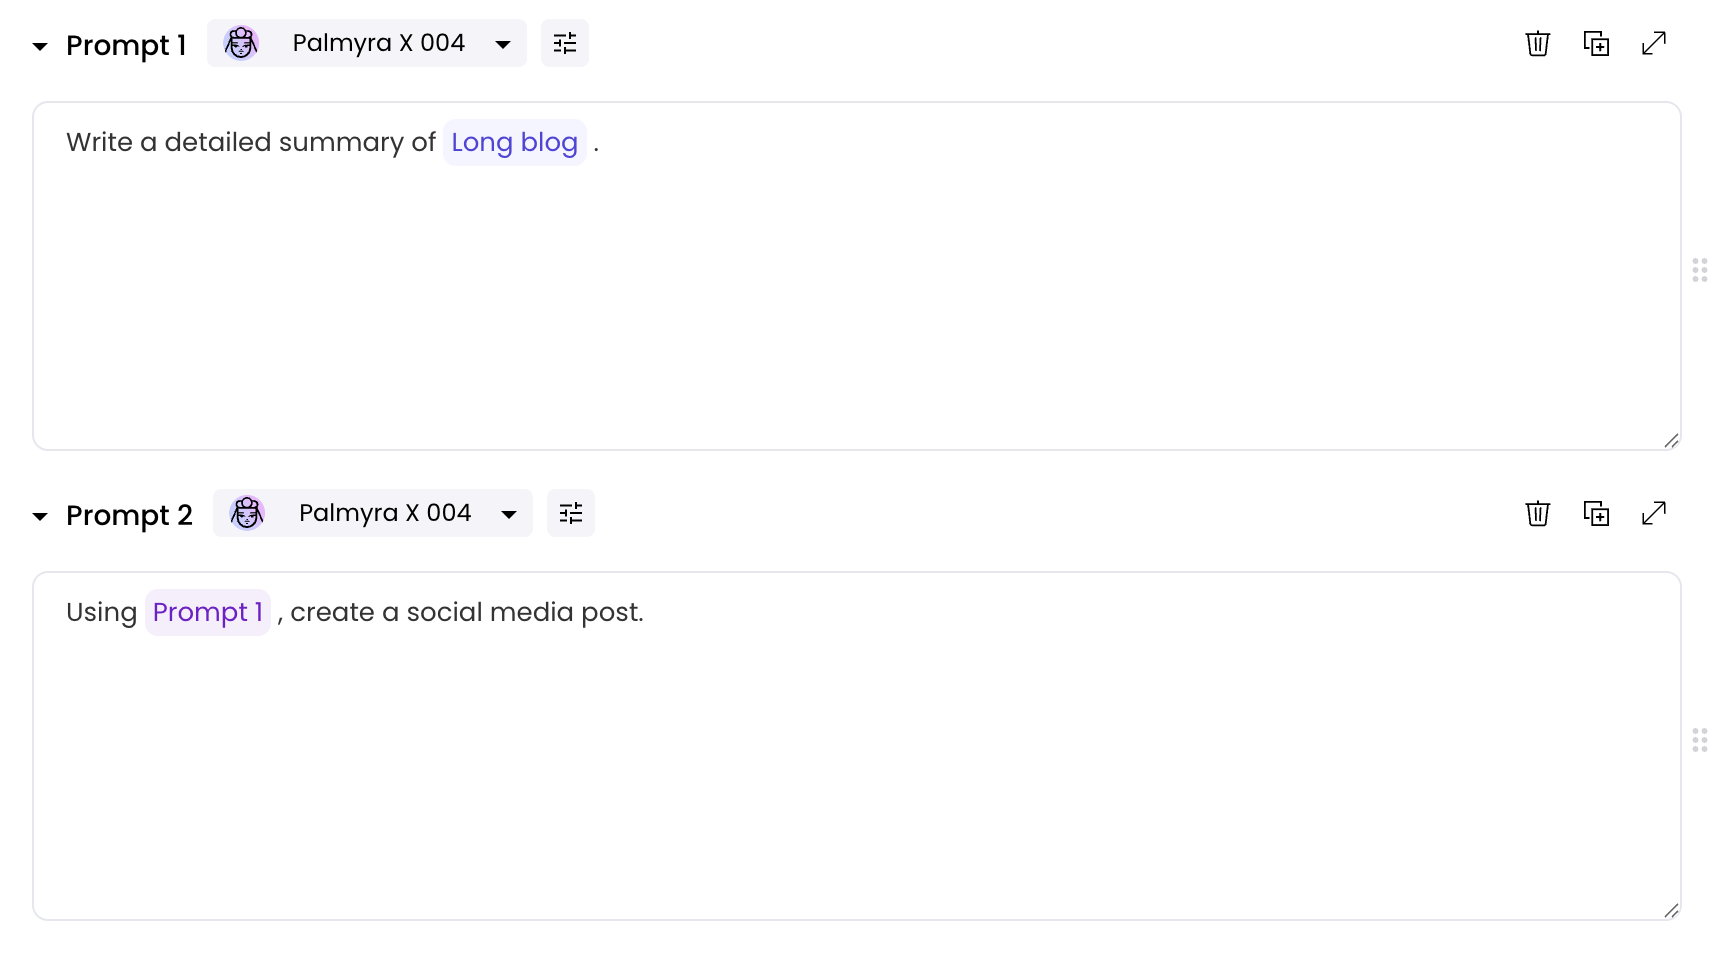
Prompt chaining
You can reference other prompts within a prompt by using the@ symbol, a feature known as prompt chaining.
For example, if you have a long blog post, you might want to summarize it in your first prompt, and use that summary to generate a social media post in your second prompt:
In the second prompt, you’d reference
@Prompt 1 to indicate that you want the social media post to be based on the blog summary.
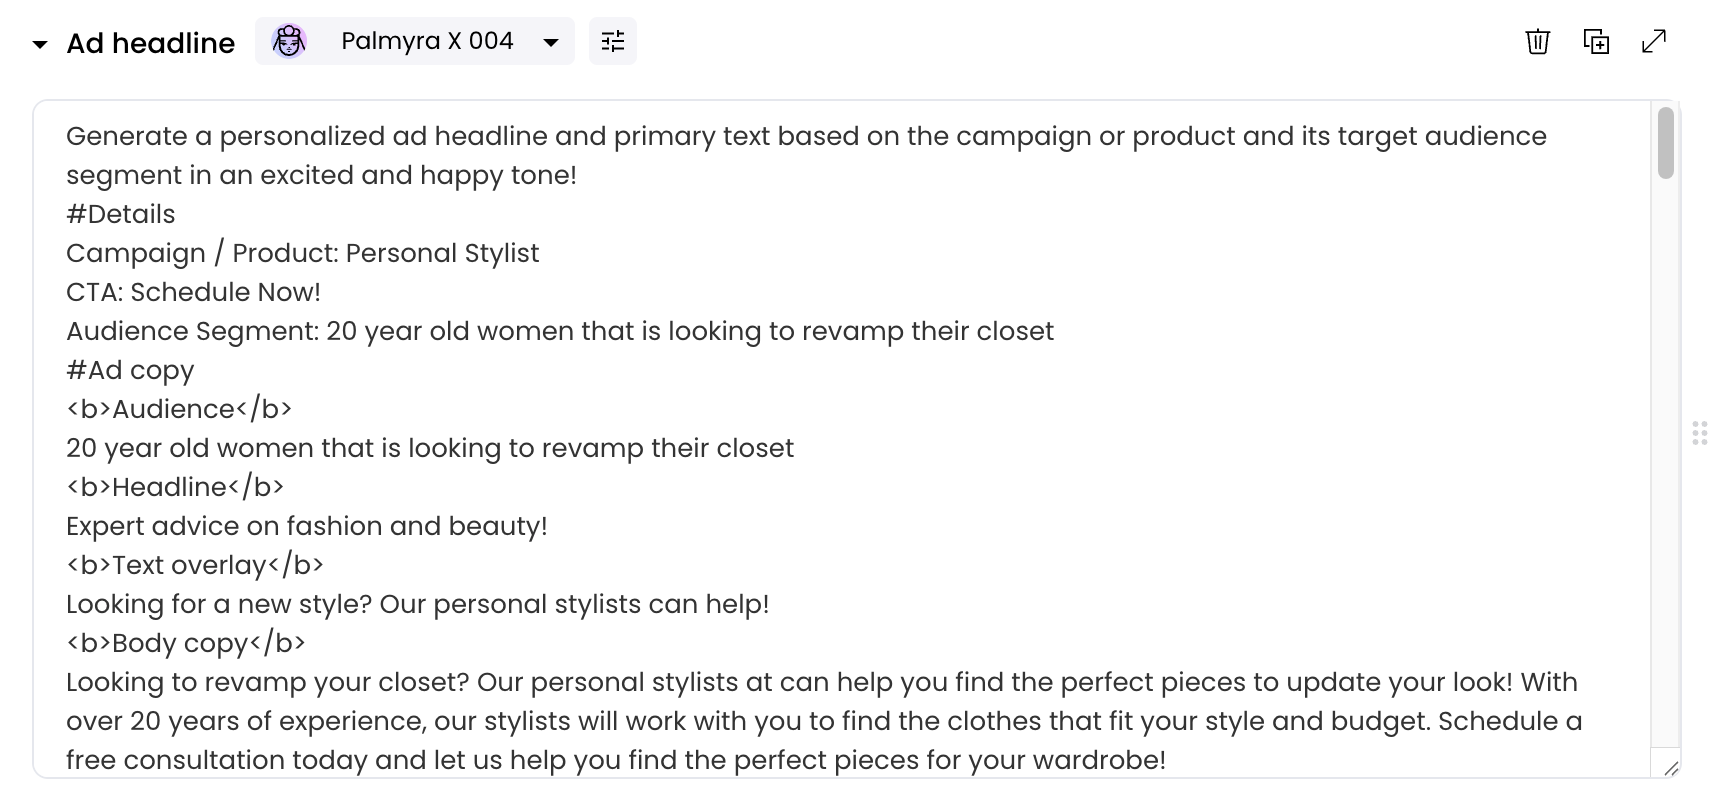
Output formatting
Next, format your output—the final assembled text generation. To do this, take all your prompt outputs (if you have more than one), format their style, add any static text such as a disclaimer, and combine them together. You can use Markdown or HTML to specify how you’d like your output to be formatted. For example, you can use the following formatting:Heading Tags
Use
<h1>, </h1>, <h2>, </h2>, and <h3>, </h3> to denote heading
text.Bold Text
Use
<strong> and </strong> to denote bolded text.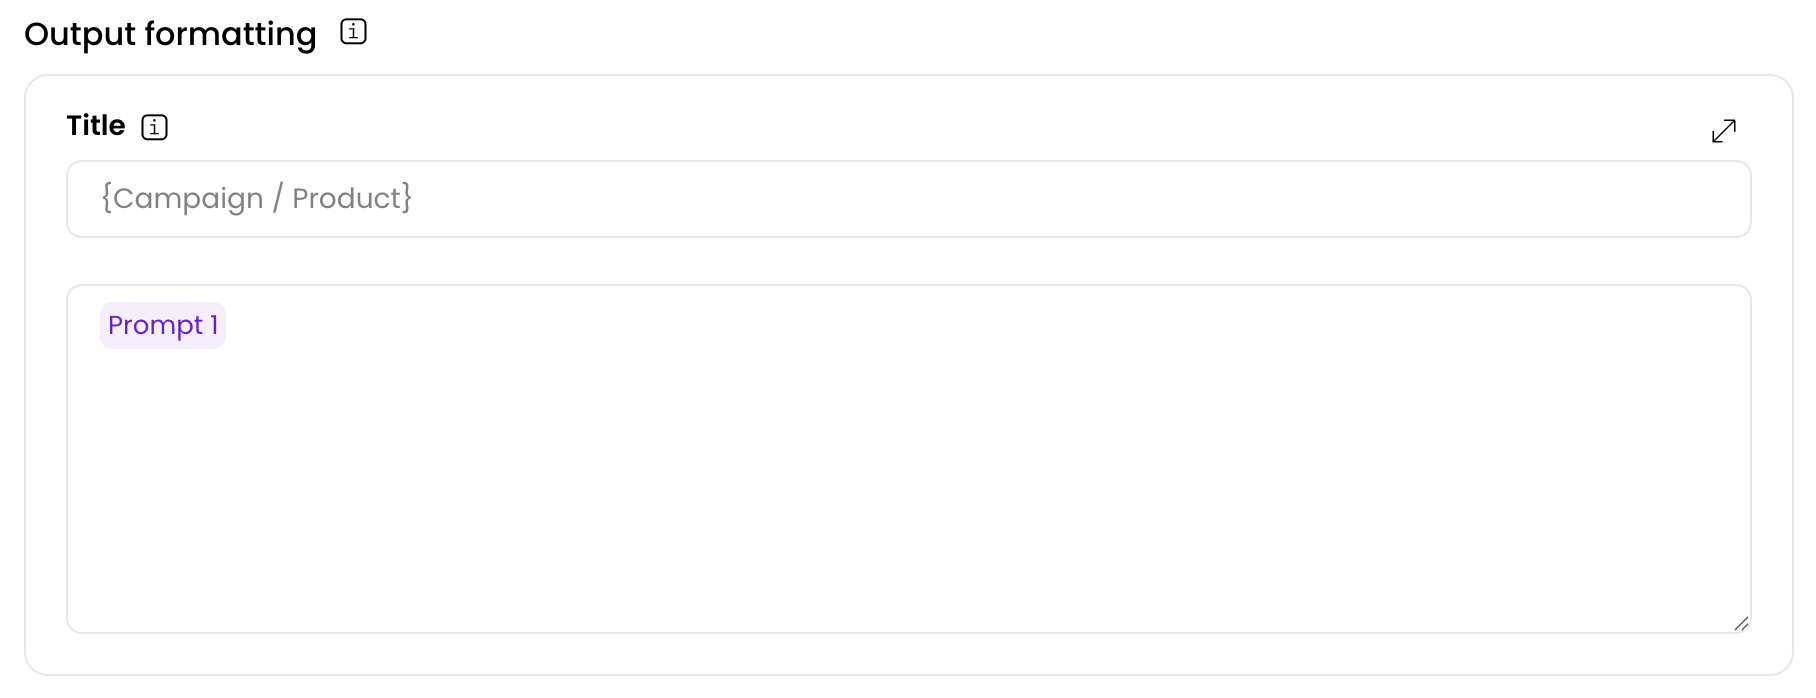
- Does the user want this content?
- Do I need these inputs to generate this output?
Voice
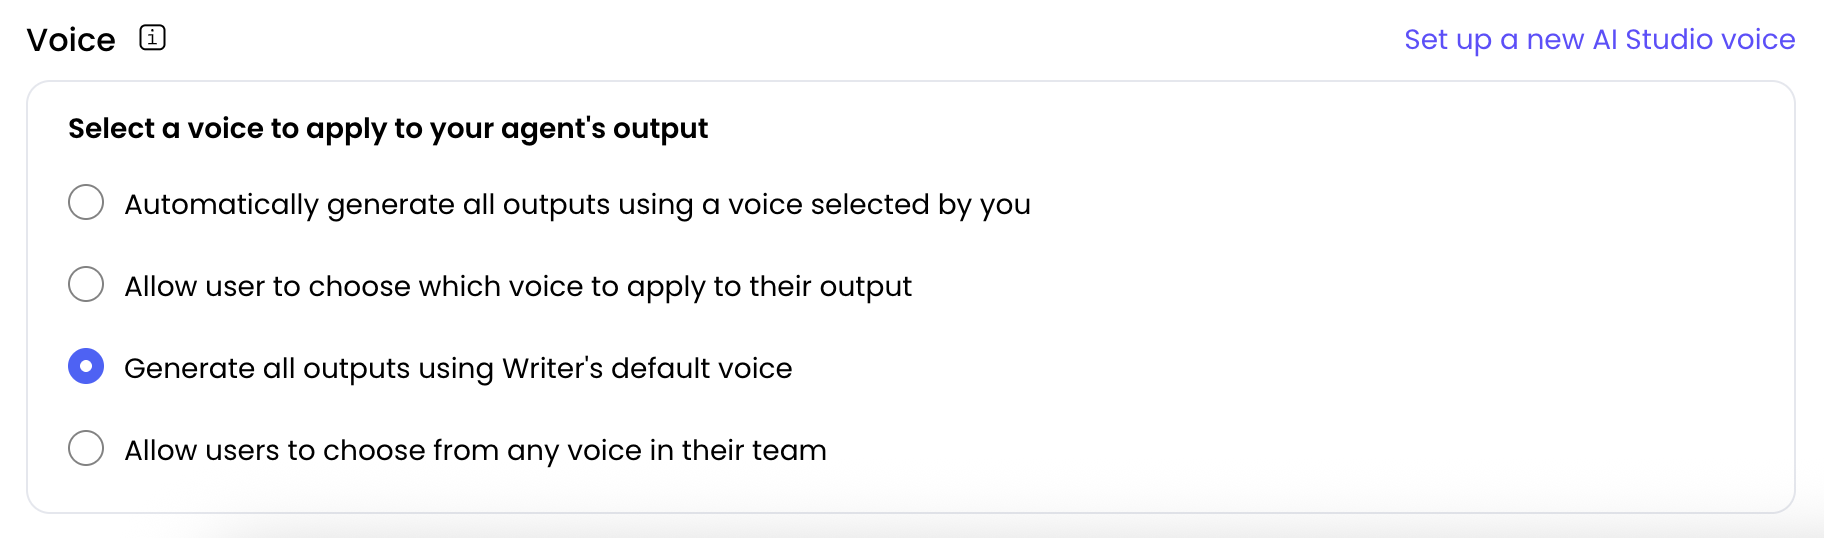
With voice calibration, you can create outputs that sound just like you, faster. Voice allows you to build your different voices in Writer, and see them in action across the platform in the content you generate. To learn more about voice calibration, see how to calibrate voice.At this time, only English is supported in Writer voice profiles.
- Automatically generate all outputs using a voice selected by you
- Allow user to choose which voice to apply to their output
- Generate all outputs using Writer’s default voice
- Allow users to choose from any voice in their team